The Lesson Live Stream enables instructors to conduct online classes by utilizing third-party services, specifically the video platform YouTube. This feature allows you to engage with your students effectively by providing study materials, enabling them to contribute comments and questions through the Live Chat, and receiving immediate feedback.
You can also save the stream as the video lesson and add it to one of the lessons, so the students who missed Live Stream will be able to watch it later.
To activate live streams, go to STM LMS Settings > Addons and enable the addon.
Once enabled you can change the lesson type to Live Stream (you can select the type in Lesson settings on the lesson editing page).
You will be able to set additional options like specify the stream start/end time and date.
Use YouTube to launch a live stream lesson.
Learn here how to use live streaming on Youtube.
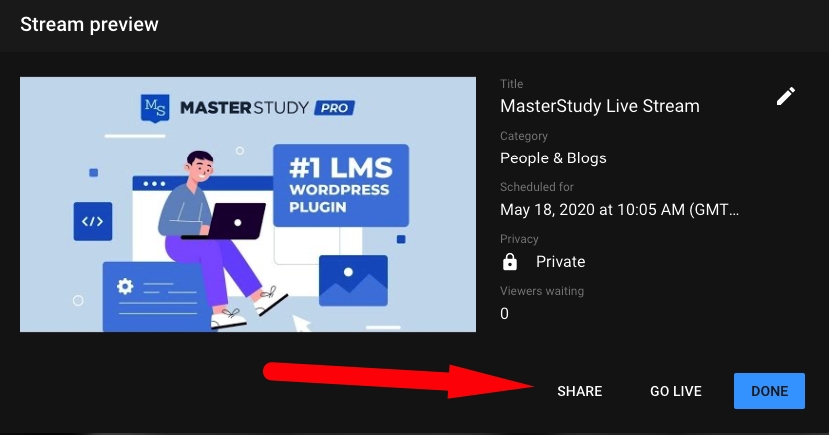
Further, you need just to embed a stream directly into the lesson. Don’t forget to make the stream private, so only users with the link can access ut. Once you set up the video on YouTube, click on the Share button under the player.
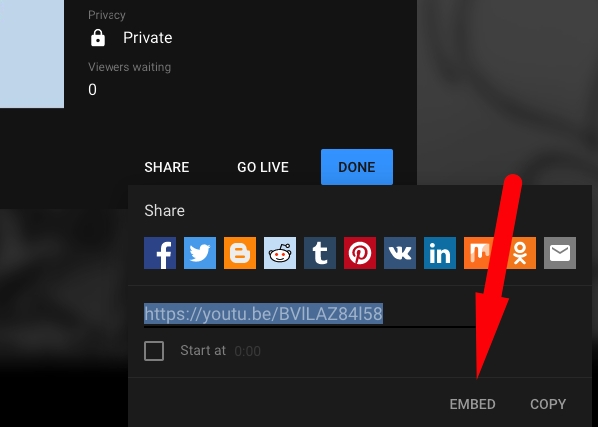
Next, in the popup find the button Embed and click on it.
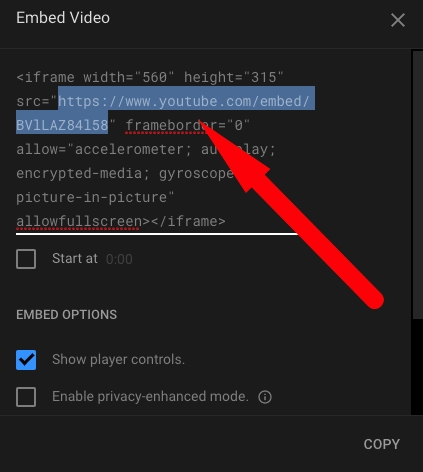
Now you will see the iframe code where you need to copy just a part of it. The link should include "embed" word. Copy the link as shown in the image below.
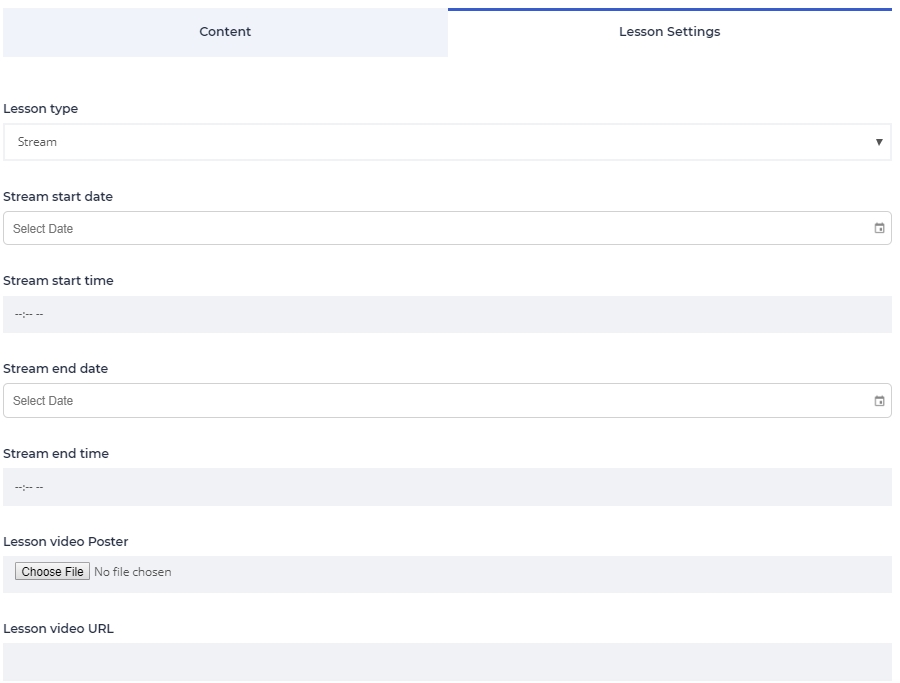
Use this link to add the video to the lesson page. Just paste it in the Lesson video URL field.
Also, you can open any course straight from your profile page via frontend builder and choose one lesson in your Сurriculum.
Go straight to the Lesson Settings. From suggested options on Lesson Type choose Stream in the drop-down menu. Next, set the time and date for the stream and add the video URL.
Before the Live Stream, students will see the countdown till the start time. For the correctness of the countdown pay attention to the Time Zone you set.
The time zone automatically updates from WordPress General settings. So if you need to change it, follow the general settings (Settings > General).


