Checkout Elementor Widget
After designing your own checkout form using Checkout Builder, you have to add the special widget of CCFBW to your WooCommerce Checkout page. This guide provides step-by-step instructions on how to add the CCFBW Elementor widget to the WooCommerce Checkout page using Elementor.
Adding the Widget to the WooCommerce Checkout Page
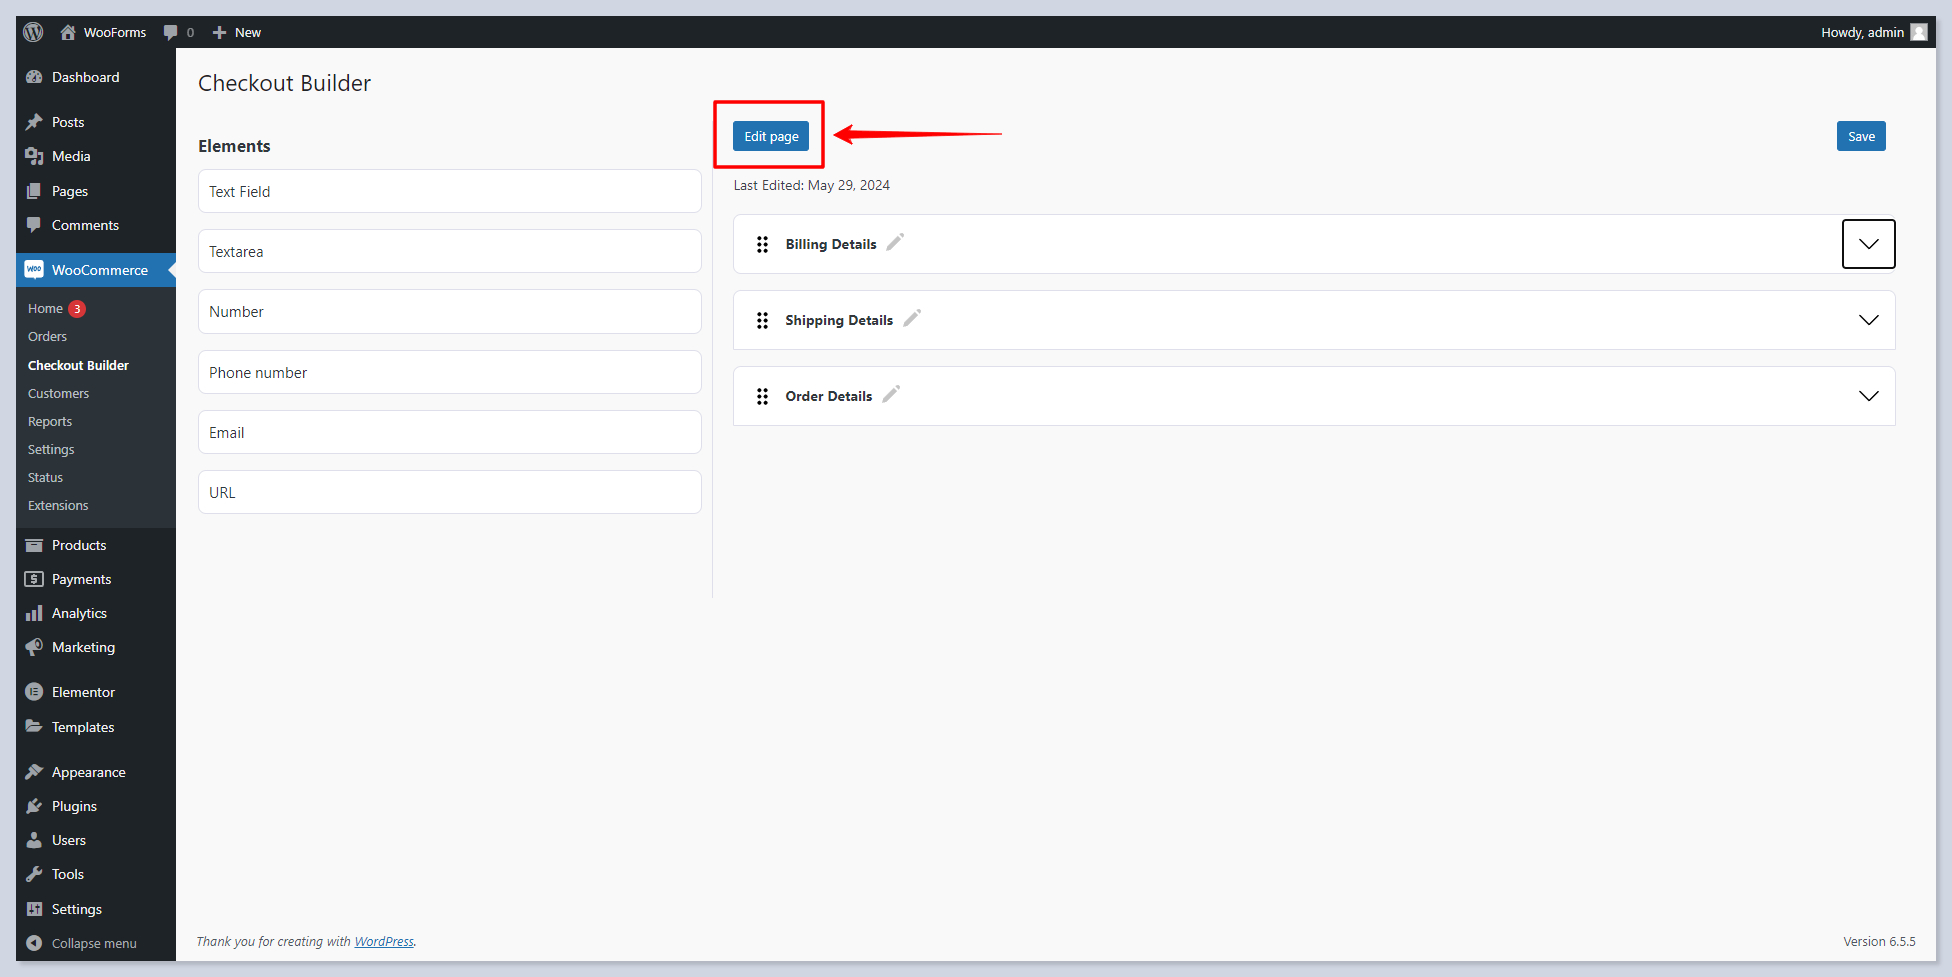
Click on the Edit Page button to open the WooCommerce Checkout page.
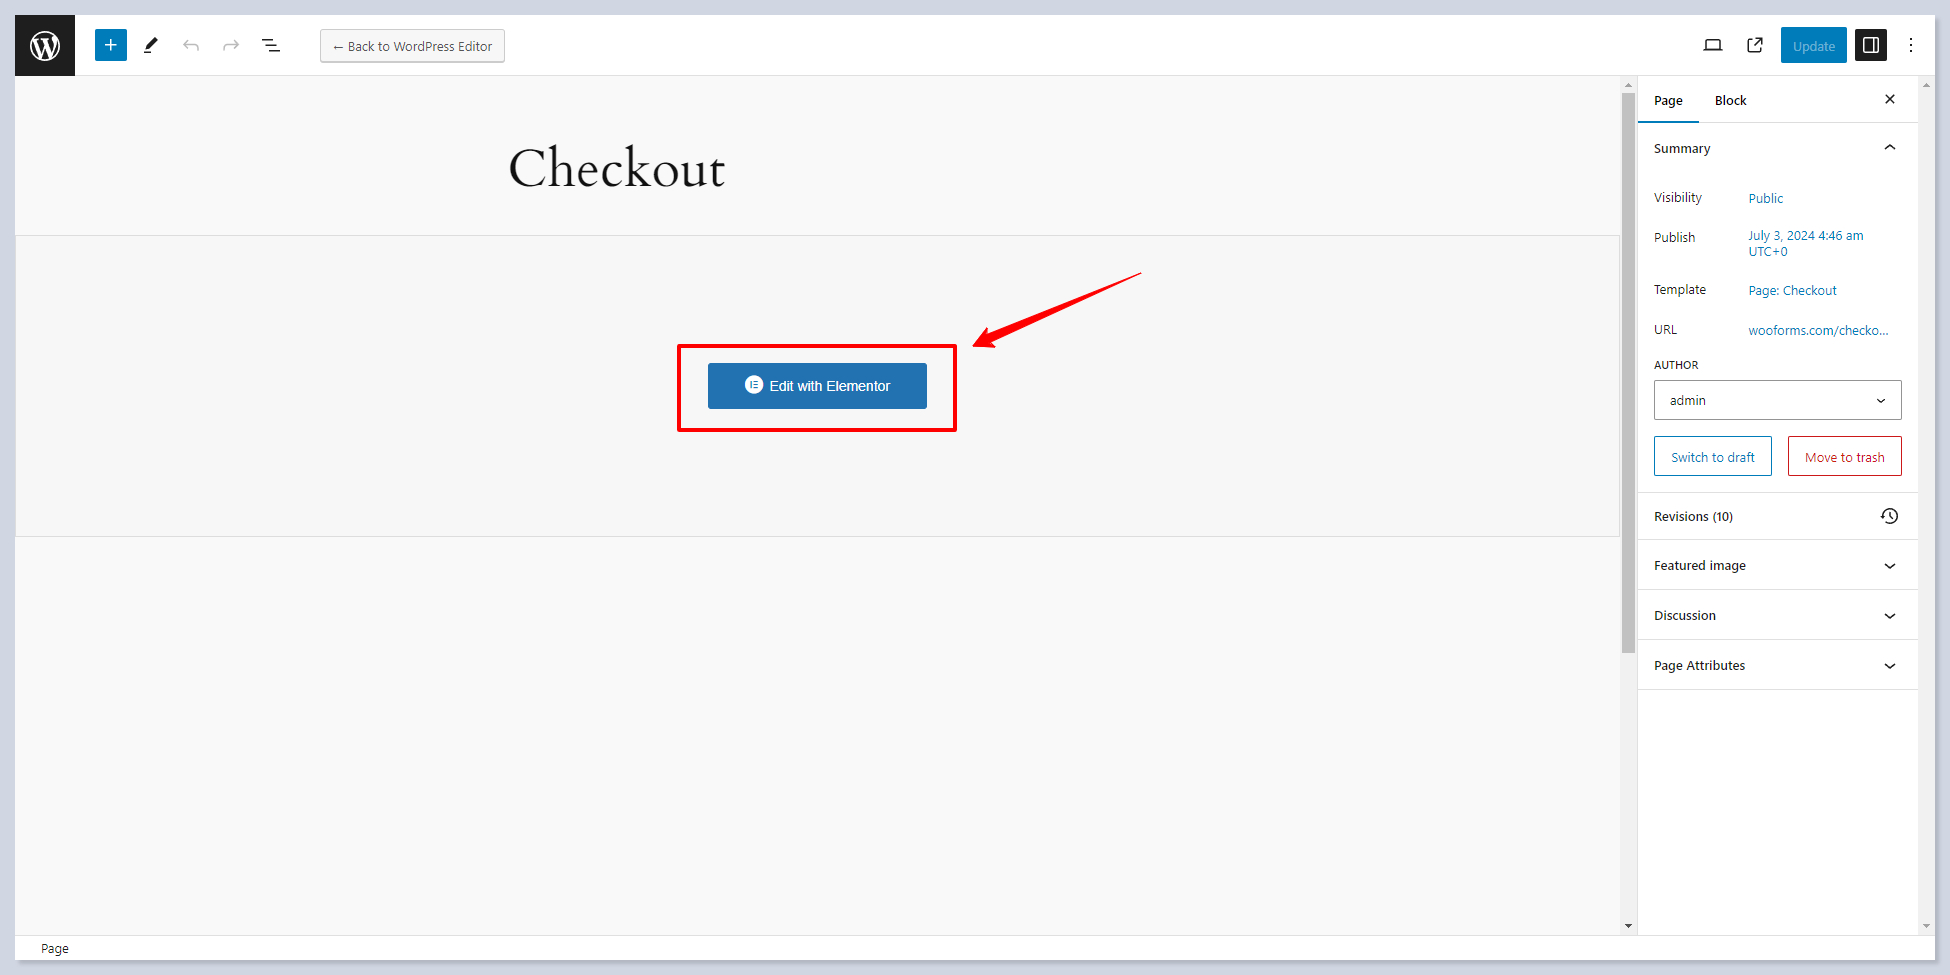
On the WooCommerce Checkout page, click on the Edit with Elementor button.
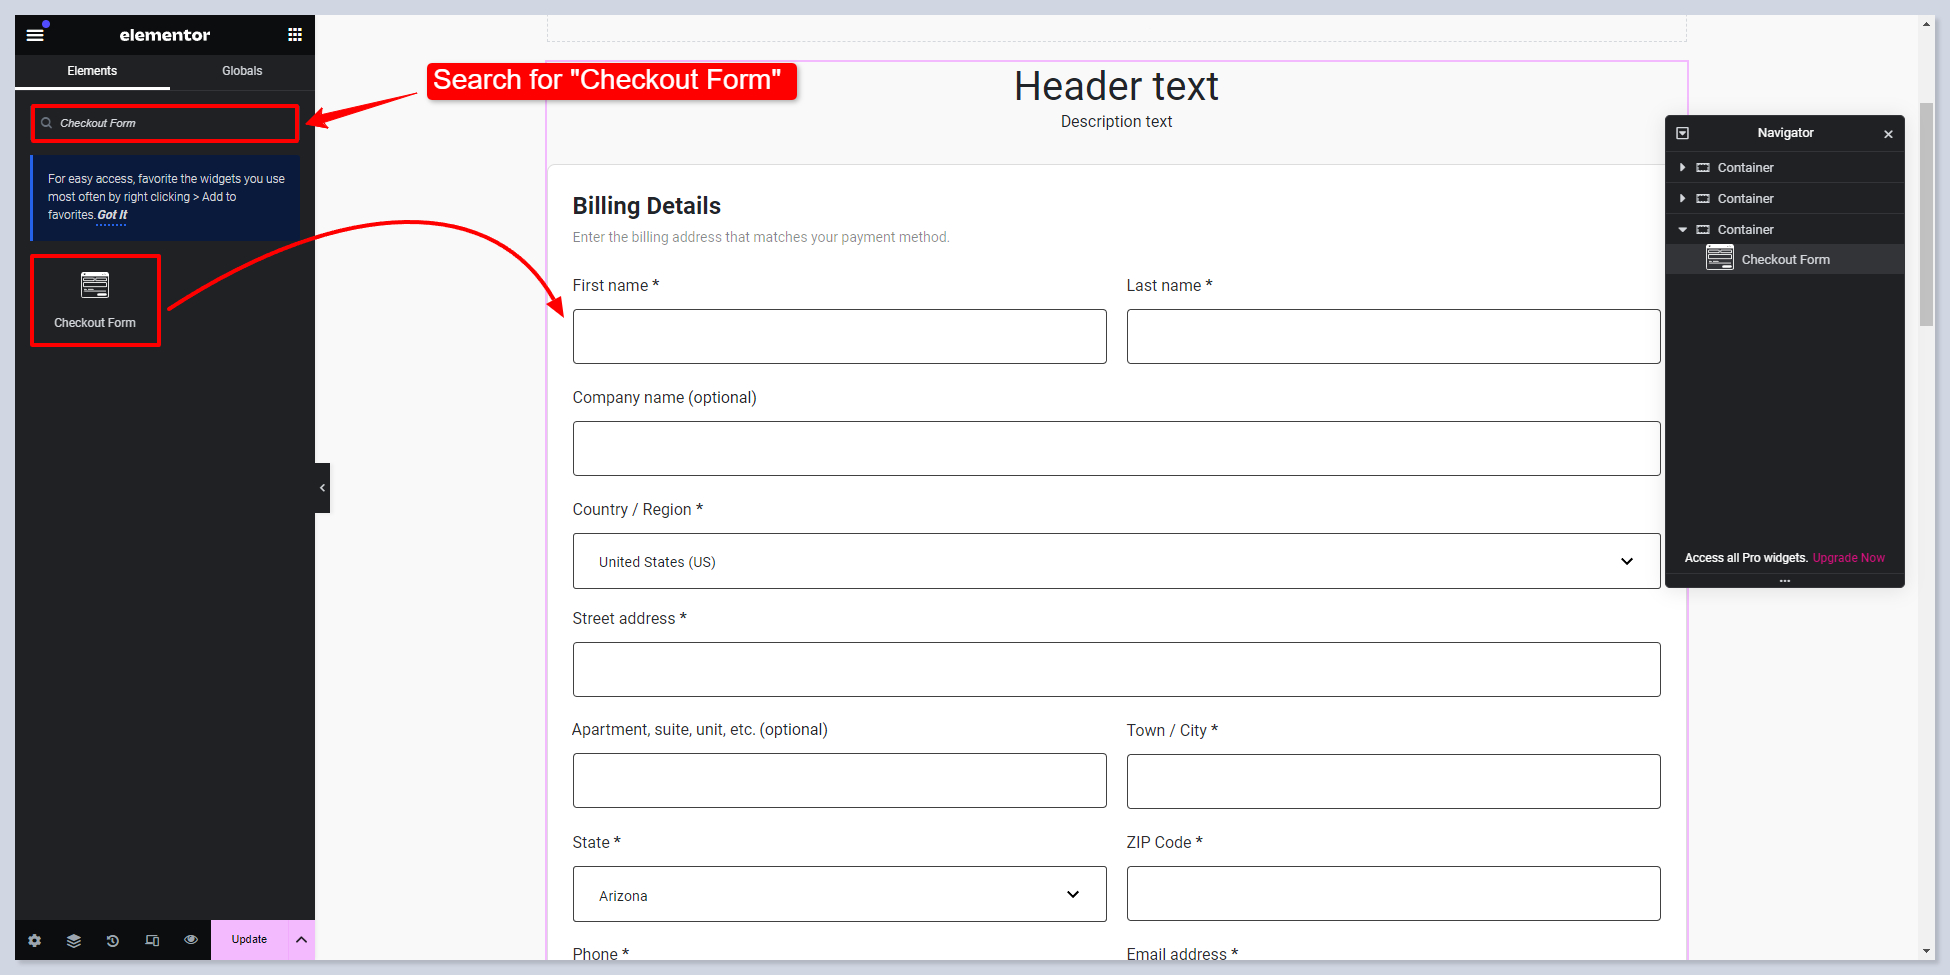
Add the Checkout Form Widget:
In the Elementor editor, use the search bar to search for the "Checkout Form" widget.
Drag and drop the "Checkout Form" widget onto the desired section of the page.
Save Your Changes:
After adding the Checkout Form widget, make sure to save your changes by clicking the Update button in Elementor.
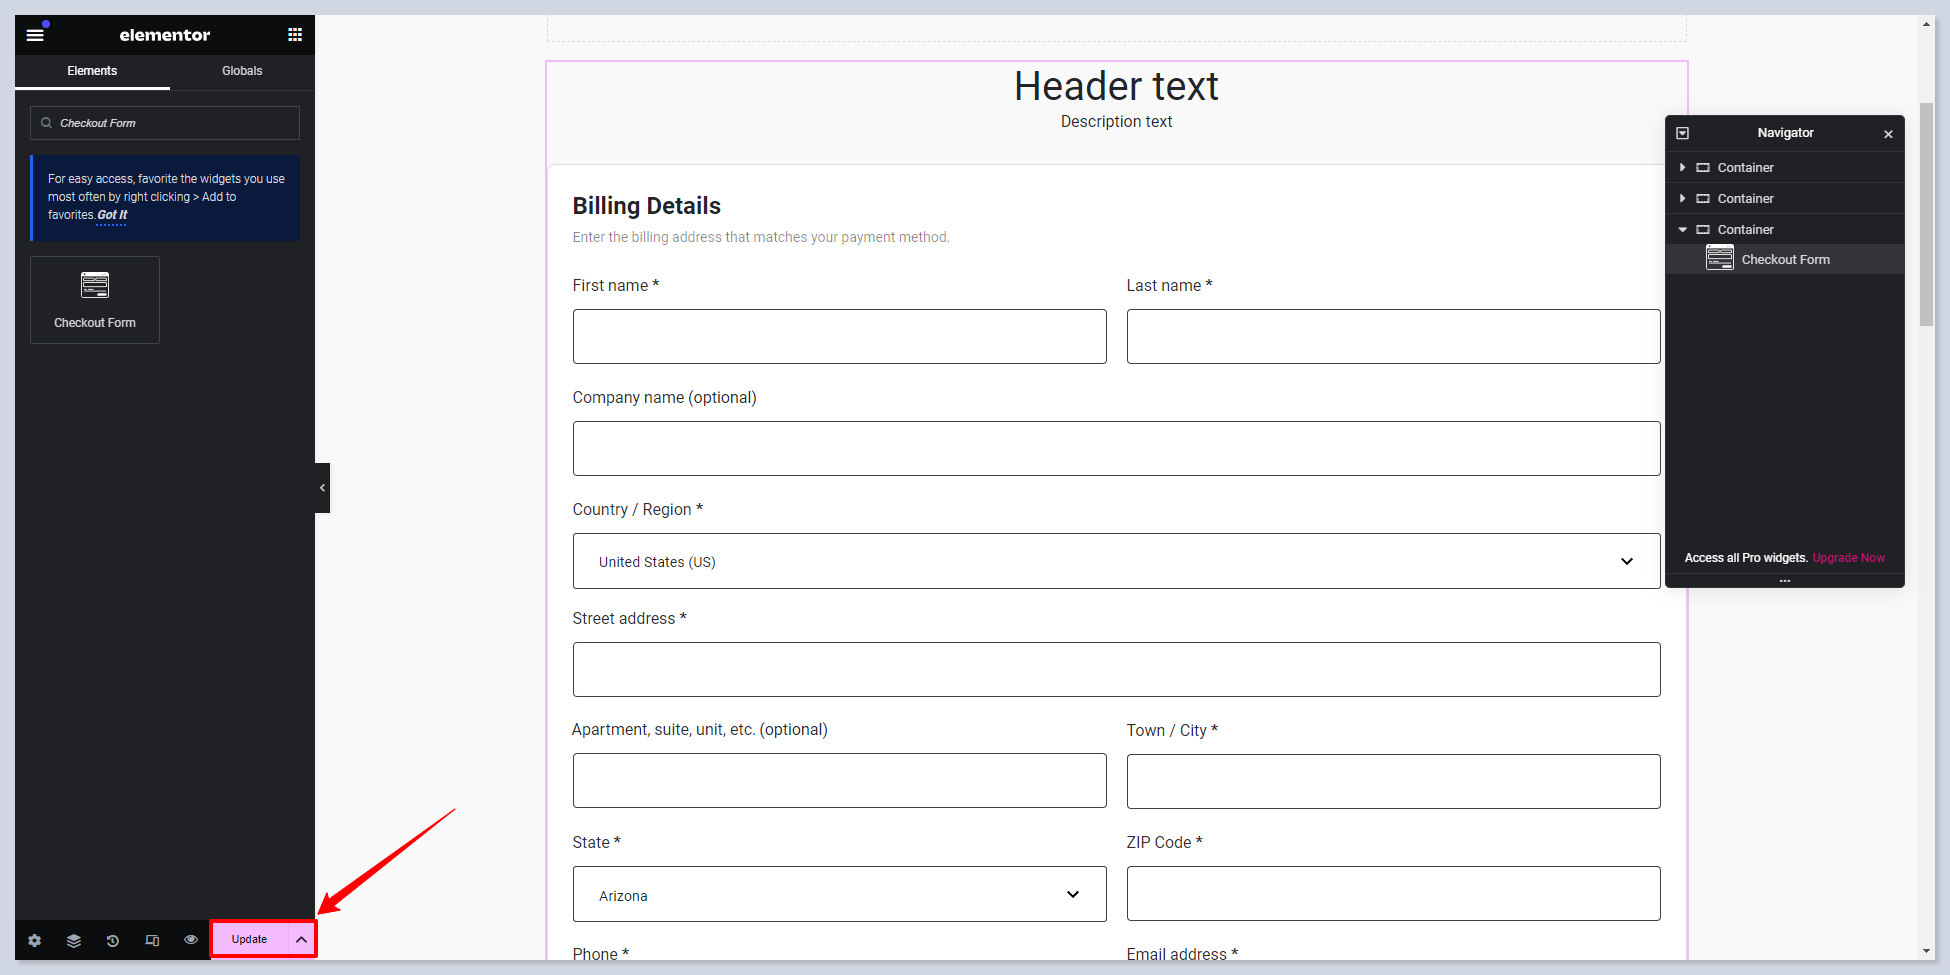
You have successfully added the CCFBW's Checkout widget to the WooCommerce Checkout page using Elementor.
Widget Parameters
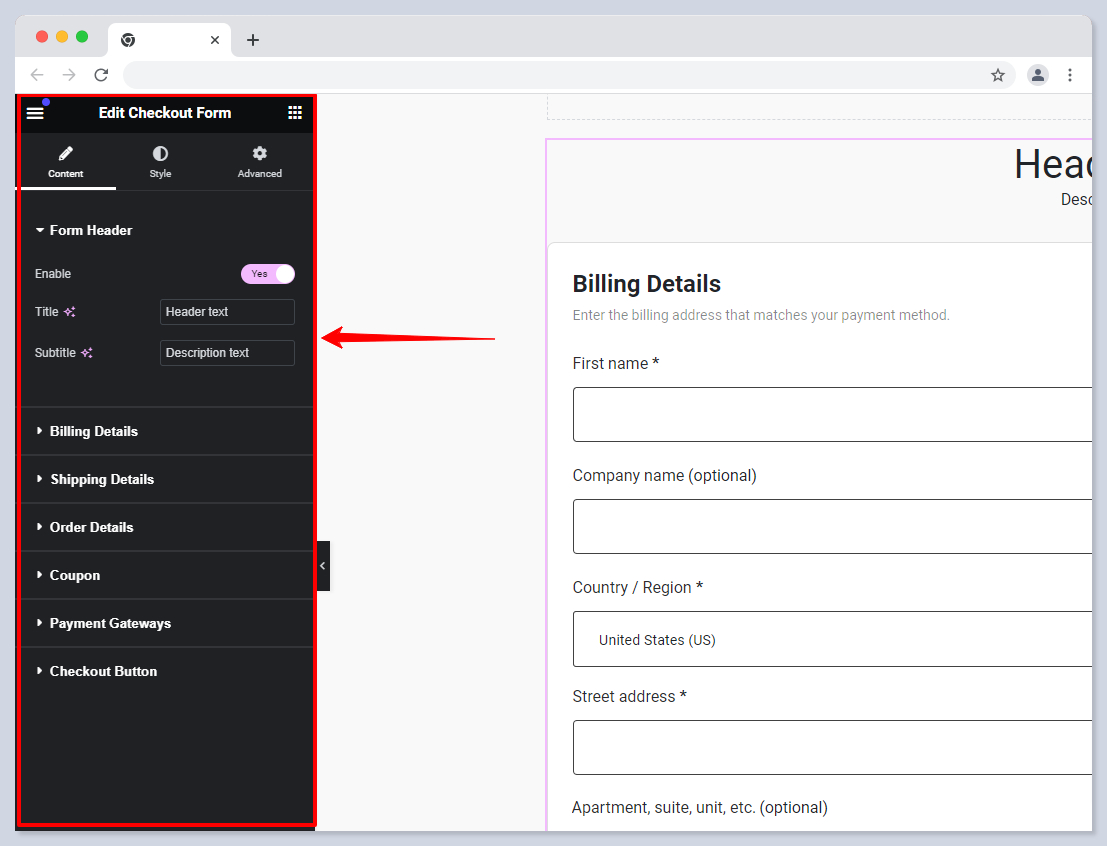
After adding the widget to your WooCheckout page, you can modify its look by its parameters in Elementor:
Form Header
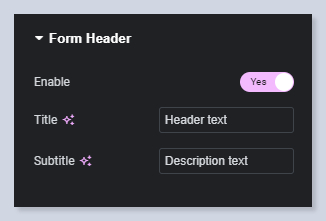
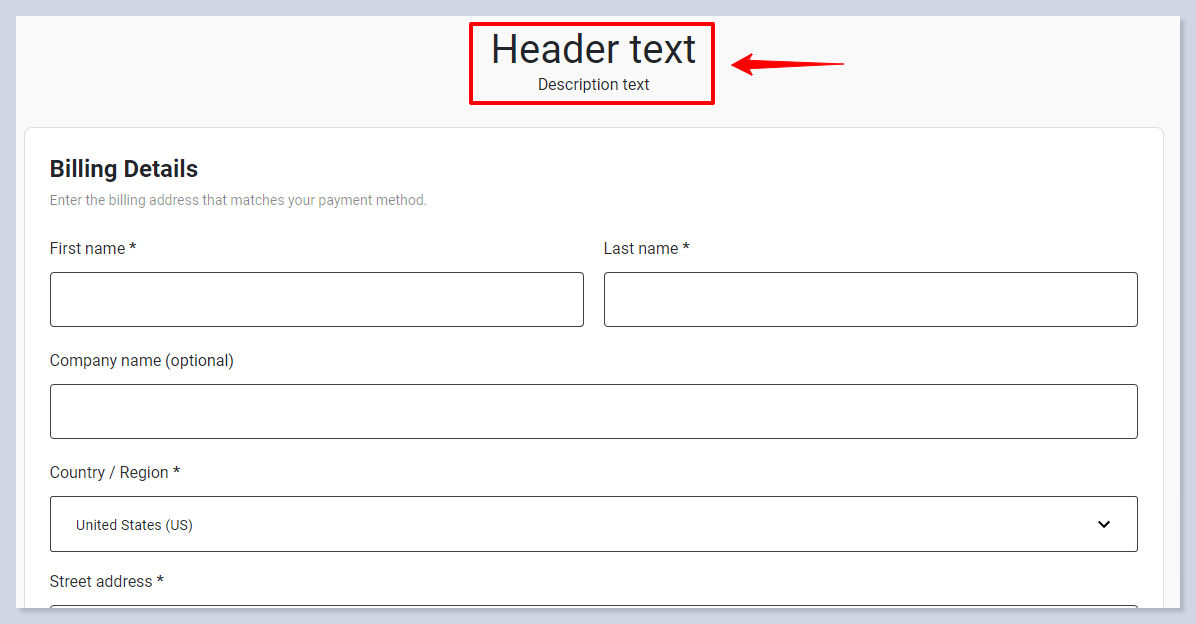
The Form Header section is responsible for changing the texts in the Header part of the Checkout form:
Here is the result:
Fields and Sections
In the next settings, you can set the width of the fields in different sections—Billing Details, Shipping Details, and Order Details—relative to the width of the form:
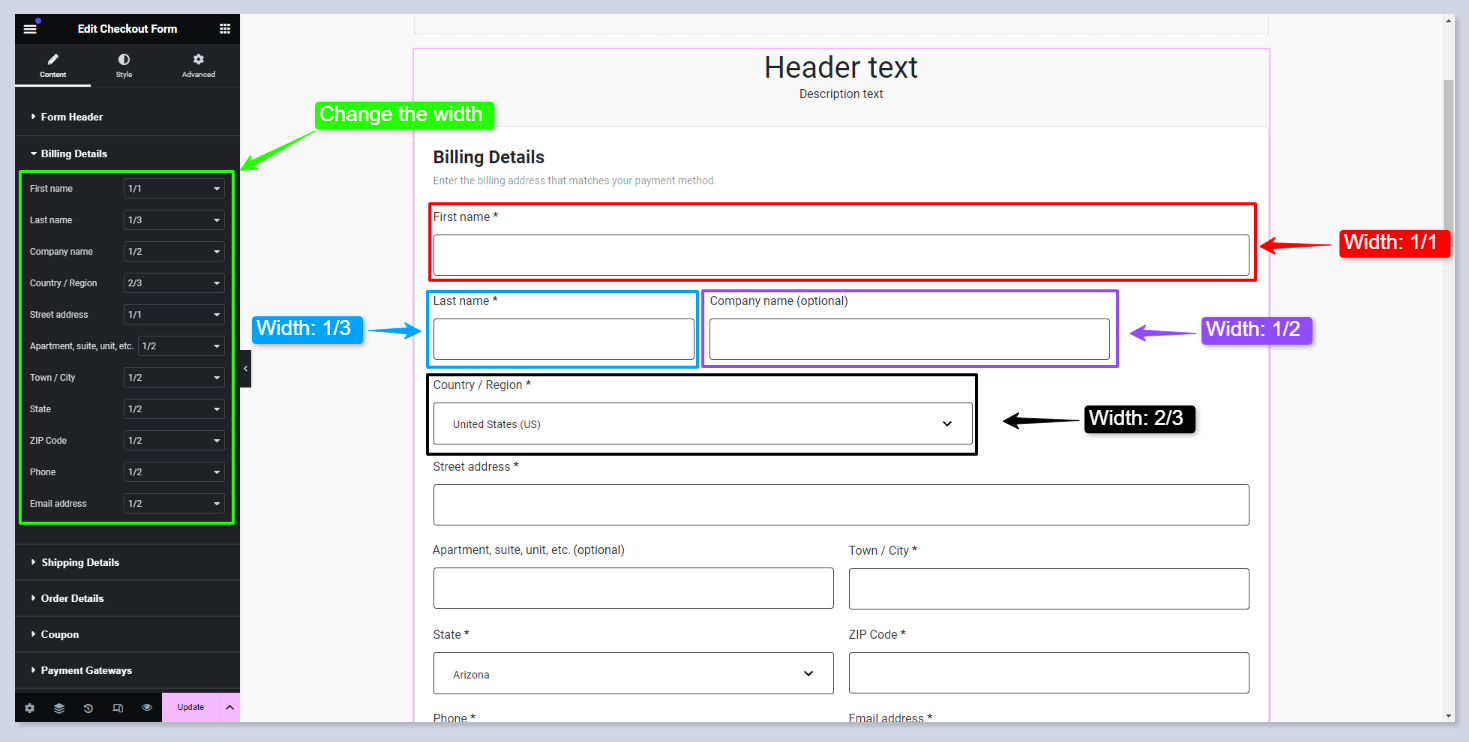
Available widths are:
1/1(full width)1/2(half-width)1/3(one-third width)2/3(two-thirds width)
Coupon
In the Coupon section, you can modify the text for the special section used for entering discount coupons in WooCommerce:
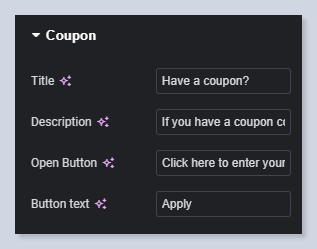
Here is how it will look in the front:

Payment Gateways
In the Payment Gateways section, you can modify the text for the special section used for selecting payment methods in WooCommerce:
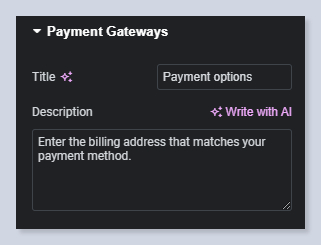
Here is how it will look in the front:
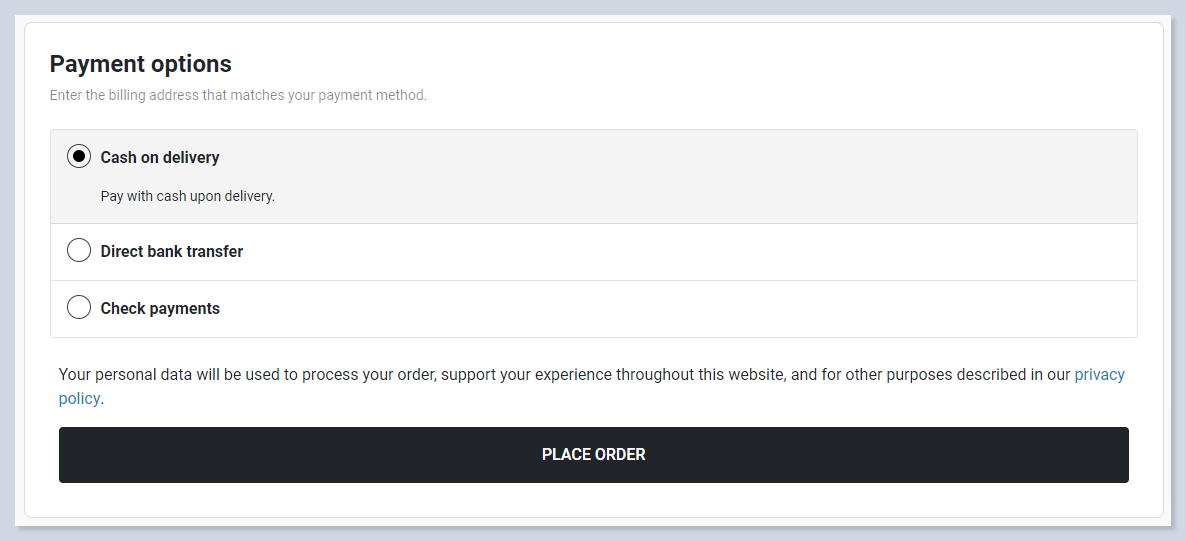
There is also an availability to change the text of the Checkout Button ('Place Order' in the previous screenshot).
You can further customize the appearance, such as changing the color, background, behavior, font style, etc., in the Style and Advanced tabs of Elementor.
Was this helpful?