MasterStudy App Documentation
App PageChangelog
  • Introduction
  • MasterStudy LMS API Plugin Setup
  • Flutter Environment
  • Android App Build on macOS
    • Flutter Setup for the macOS system
    • Android Studio Setup on mac
    • Android Studio Emulator on mac
    • Null safety setup
    • Installing Flutter Packages on mac
    • Setting the Site URL on mac
    • Adding App Icon on mac
    • Setting App Name on mac
    • Firebase on mac
    • Firebase Project Setup
    • Change Package Name
    • Test Your App on mac
    • App Release on mac
  • iOS App Build
    • Building App for iOS
    • Firebase for iOS
  • Google And Facebook Sign-In
    • Google Sign-In
    • Facebook Sign-In
  • Android App Build on Windows OS
    • Flutter Setup for Windows System
    • Android studio Setup on Windows
    • Android Studio Emulator on Windows
    • Null safety setup
    • Installing Flutter Packages on Windows
    • Setting the Site URL on Windows
    • Adding App Icon on Windows
    • Firebase on Windows
    • Firebase Project Setup
    • Change Package Name
    • Setting App Name on Windows
    • Test Your App on Windows
    • App Release on Windows
  • Extra Materials
    • Item Page
    • Changelog
  • stylemixthemes
  • Themes
  • Plugins
Powered by GitBook
On this page

Was this helpful?

  1. Android App Build on Windows OS

Installing Flutter Packages on Windows

PreviousNull safety setupNextSetting the Site URL on Windows

Last updated 4 years ago

Was this helpful?

You continue to work in the same folder of the MasterStudy App that you opened in the previous step.

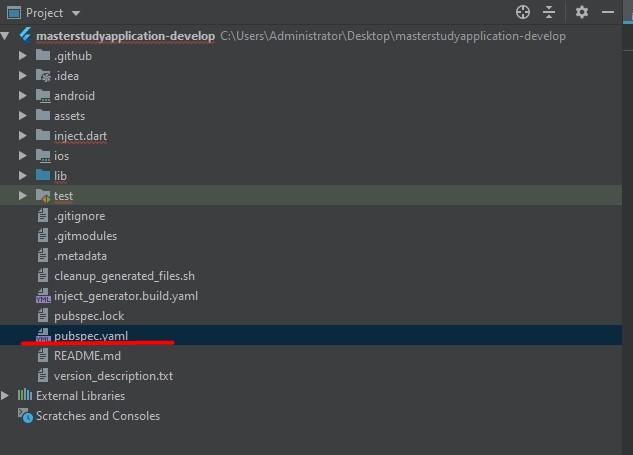
Open the pubspec.yaml file. Click on your masterstudy project then find the file pubspec.yaml.

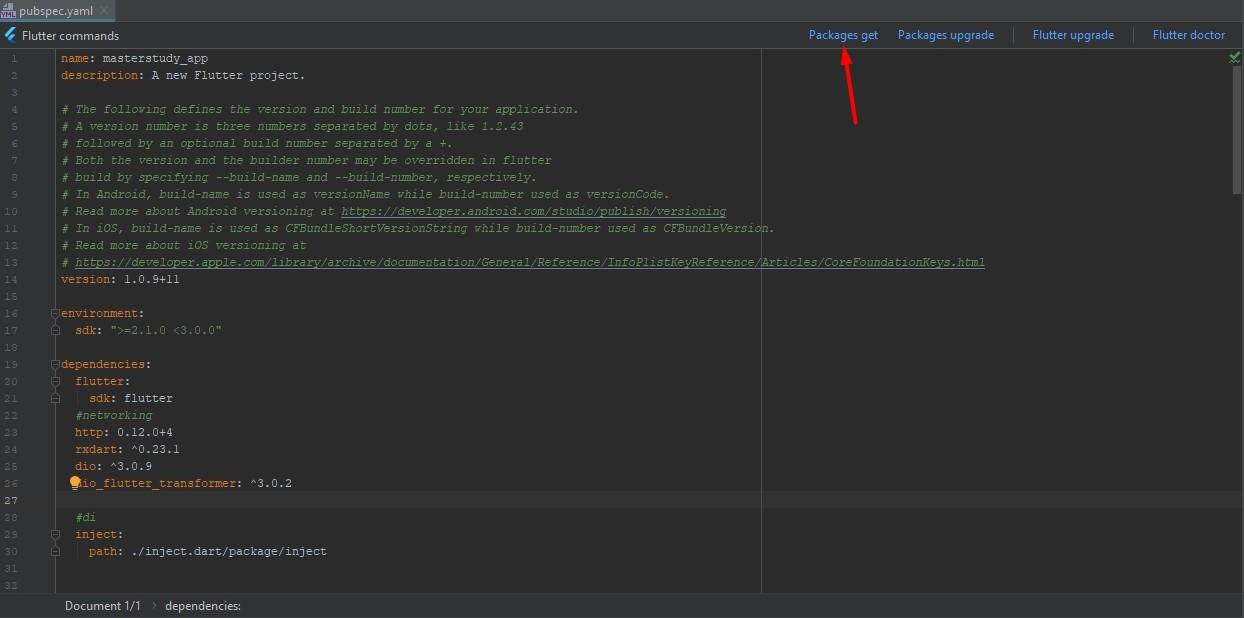
Click on the Packages get.

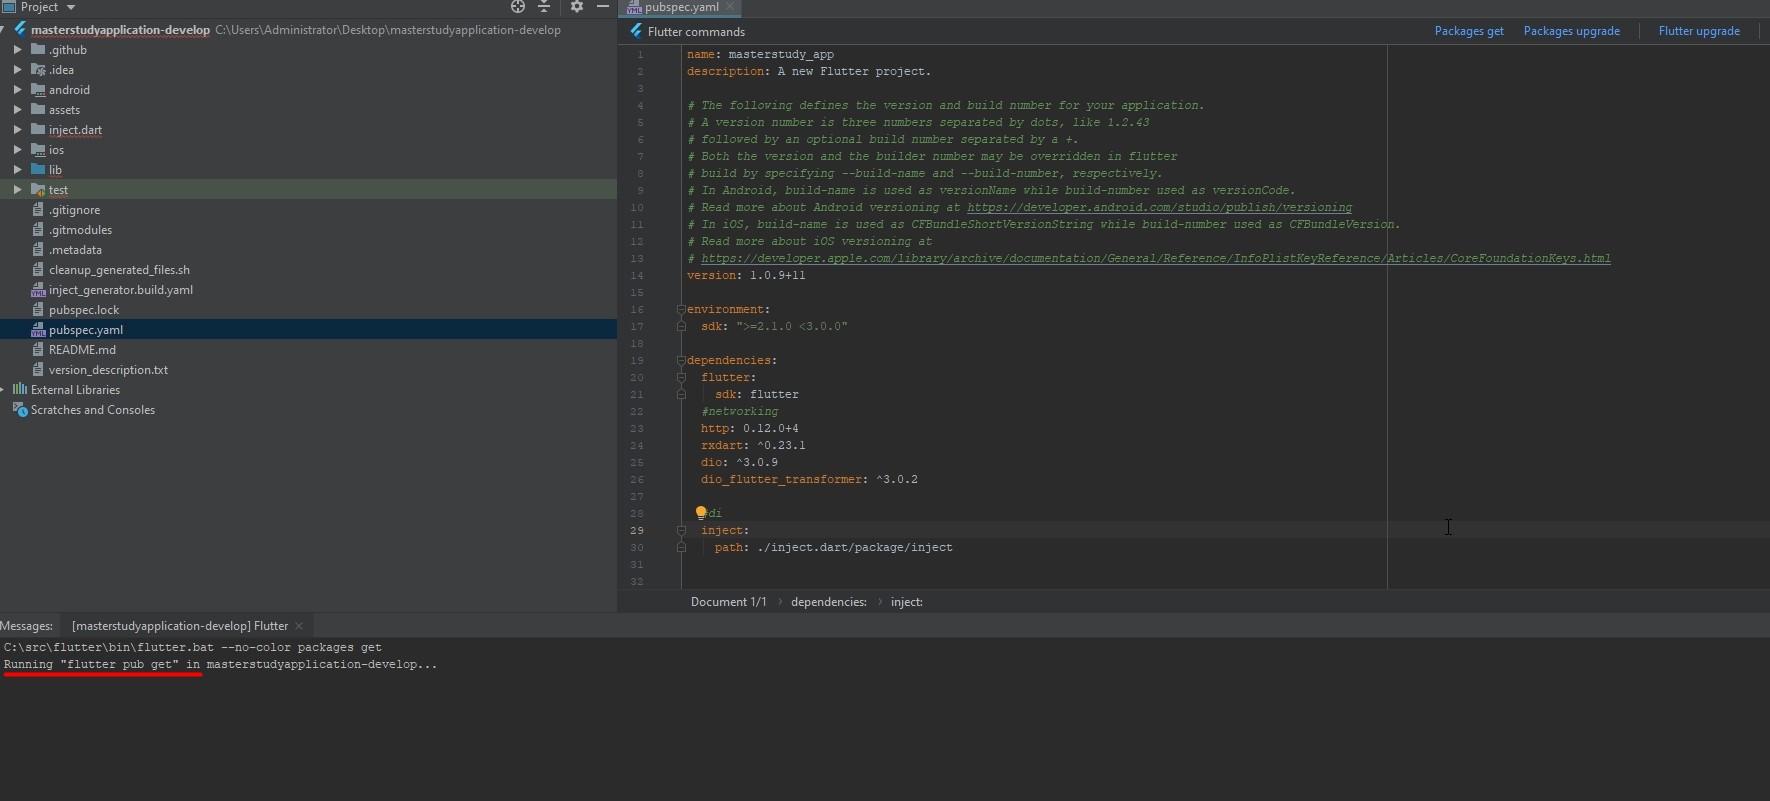
Wait for the process to finish.

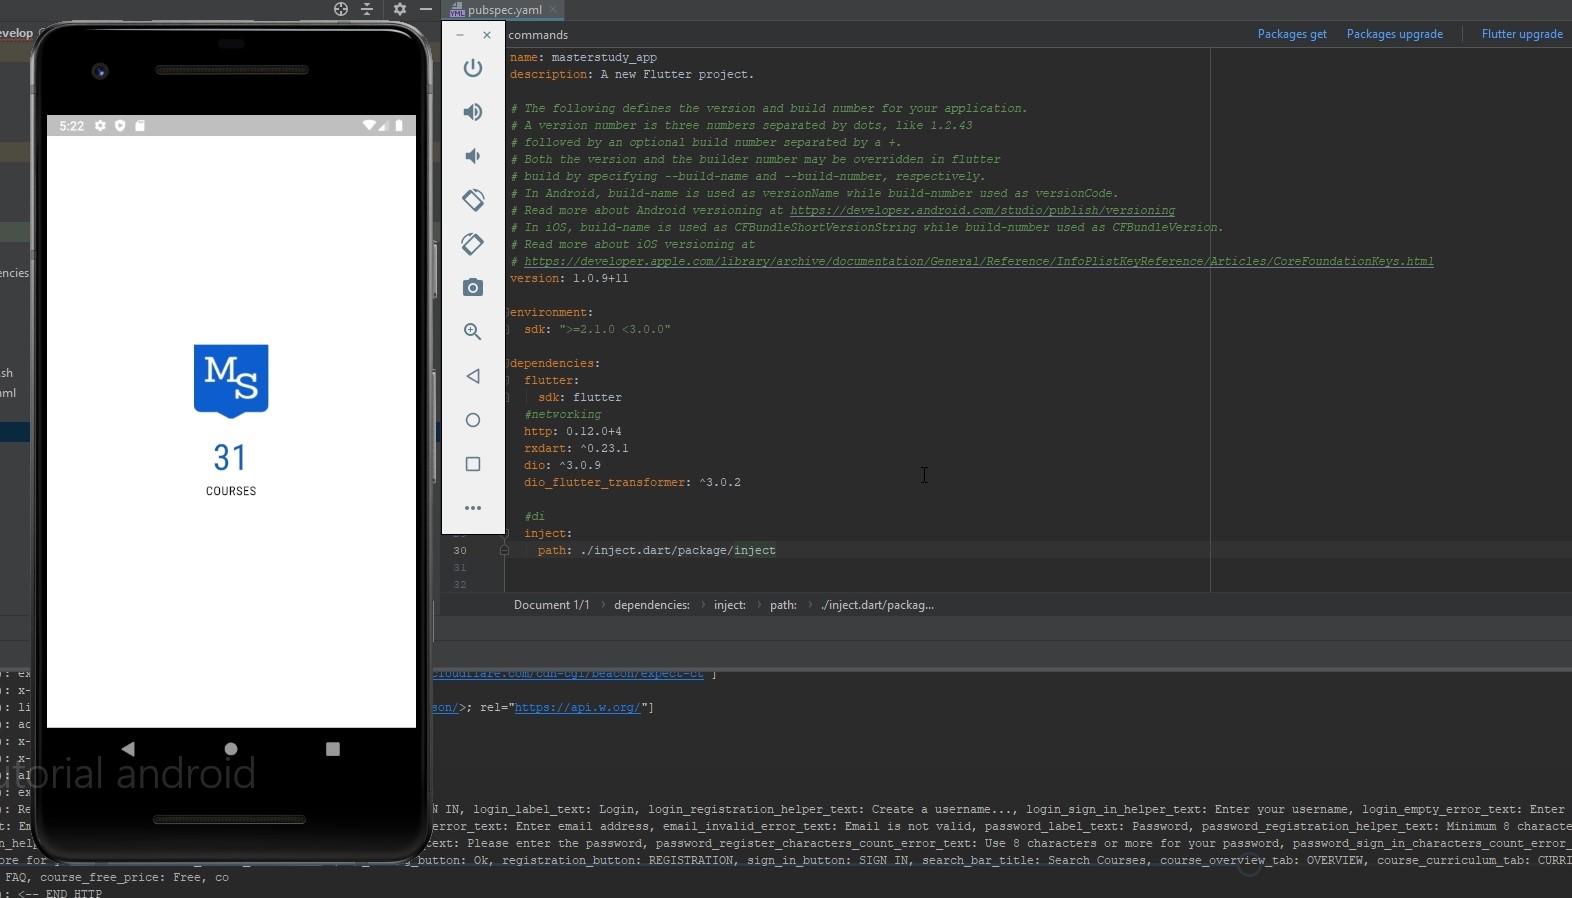
Now you can check your app. For this, activate the emulator and click run.