Firebase for iOS
Last updated
Was this helpful?
Last updated
Was this helpful?
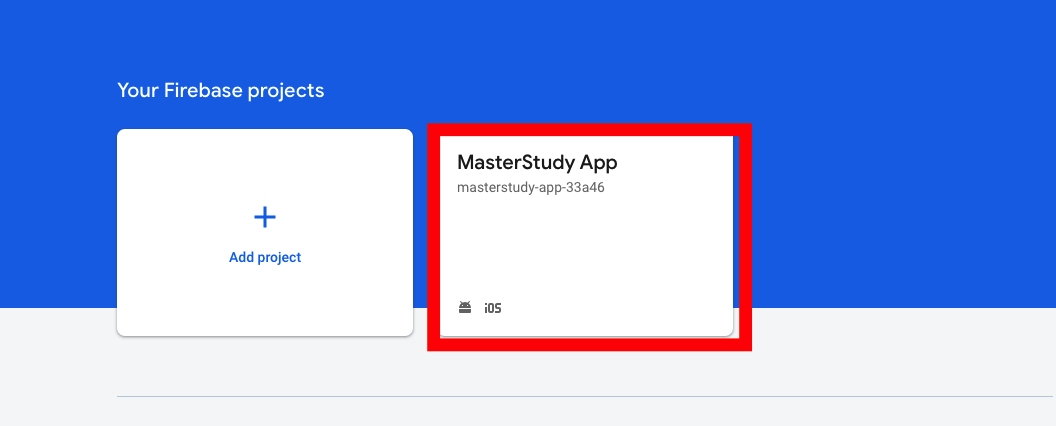
Crashlytics feature is integrated with Google Firebase service. You need to sign up on the Firebase website and create a new project. Then, add your app to your Firebase project to register app.
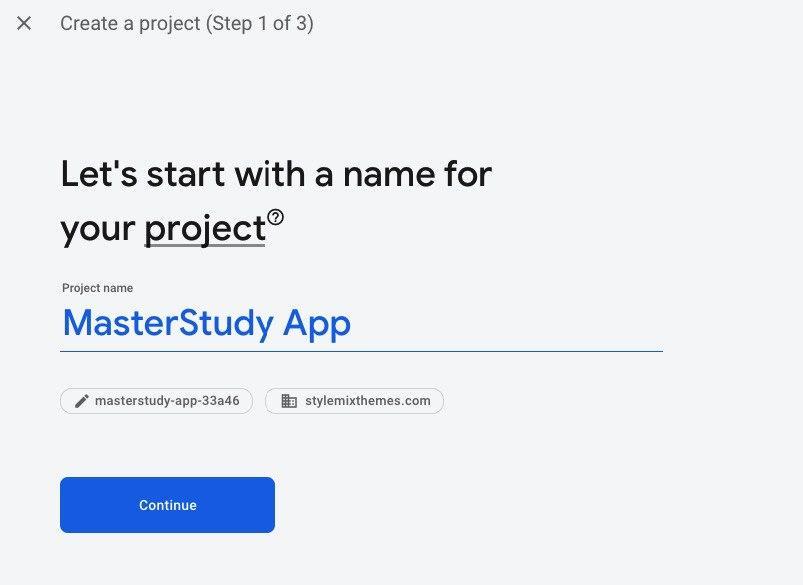
Create a new project.
In the newly opened window enter the name of the project. And click Continue.
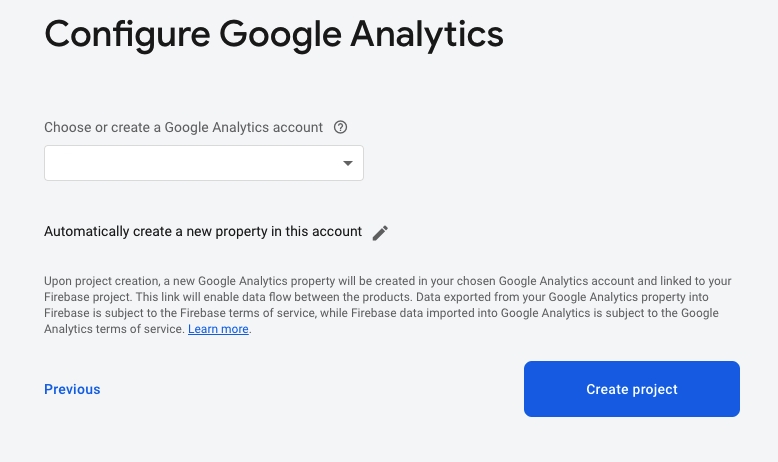
Next, select Google Analytics account or create a new one. Click on the Create Project.
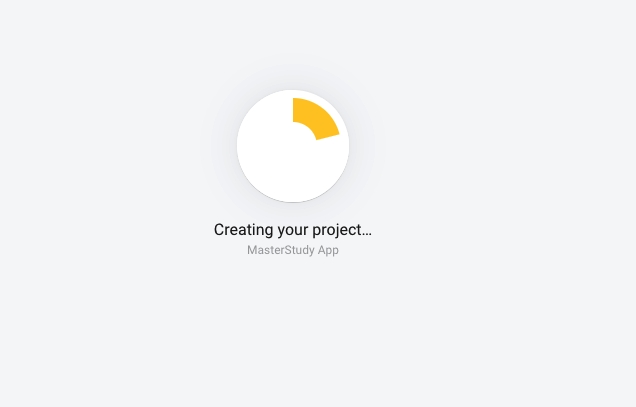
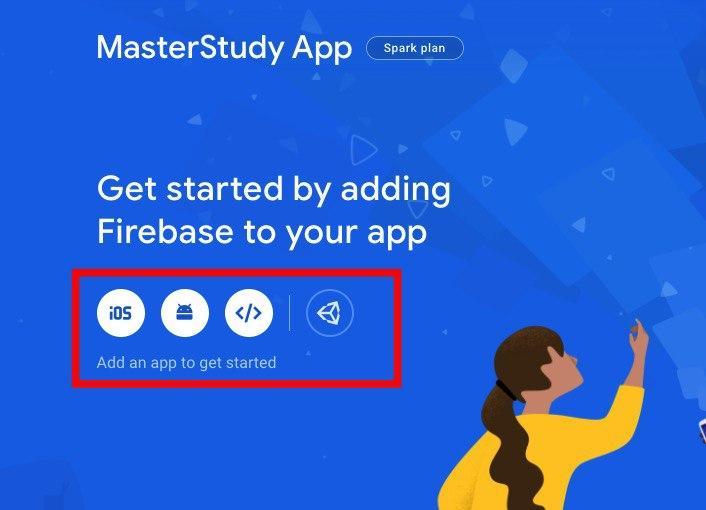
Wait for the project to load.
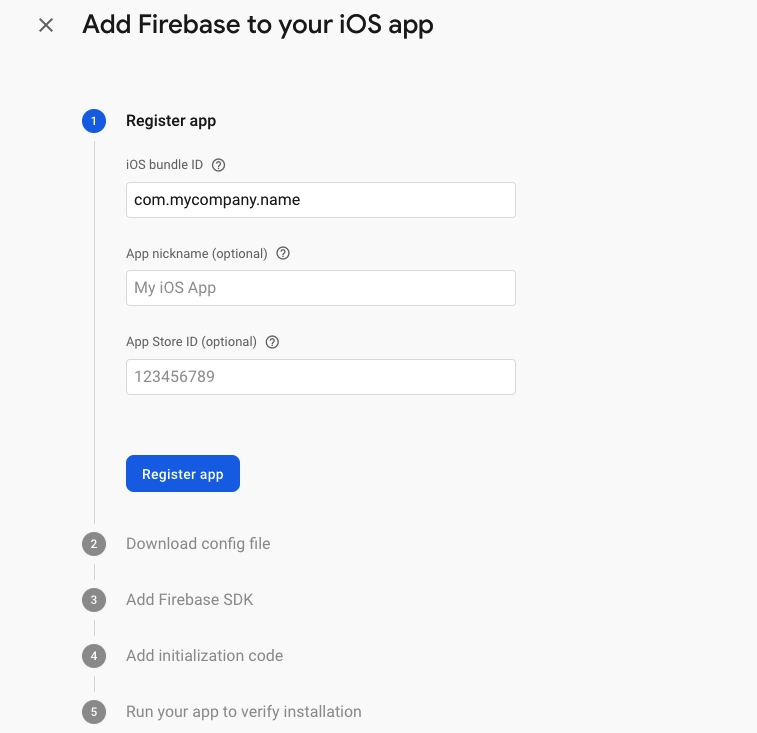
On the opened page select the app platform iOS or Android.
Enter your Bundle ID and click on Register App.
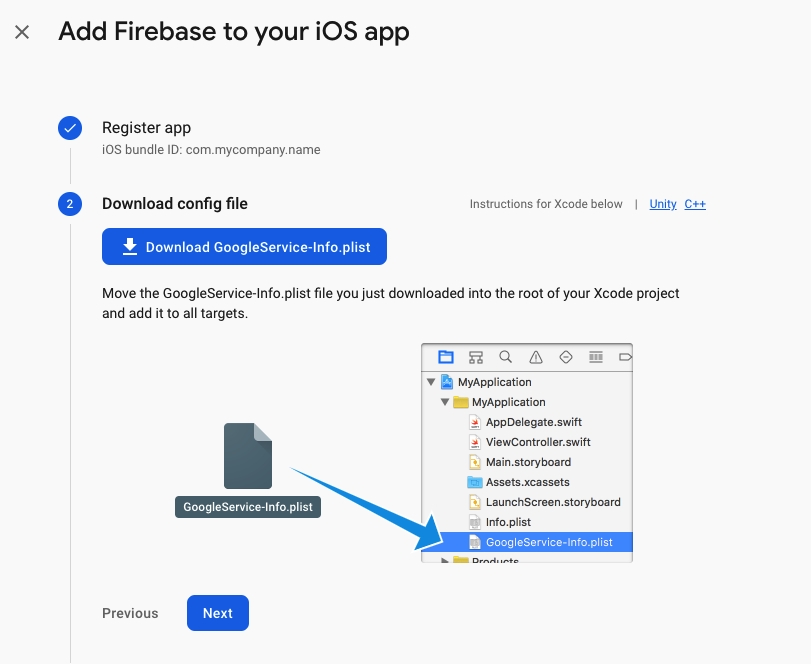
Download the config file and add it to the following folder iOS > Runner of MasterStudy App project.
After that, you will be notified that the file with the same name already exists. Just confirm the file replacement. And you are all set.
Push Notification
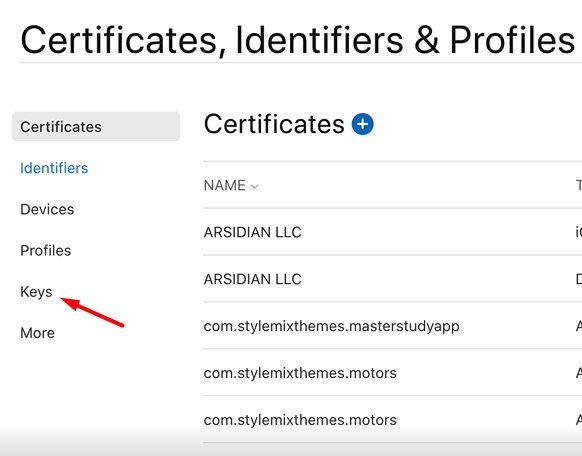
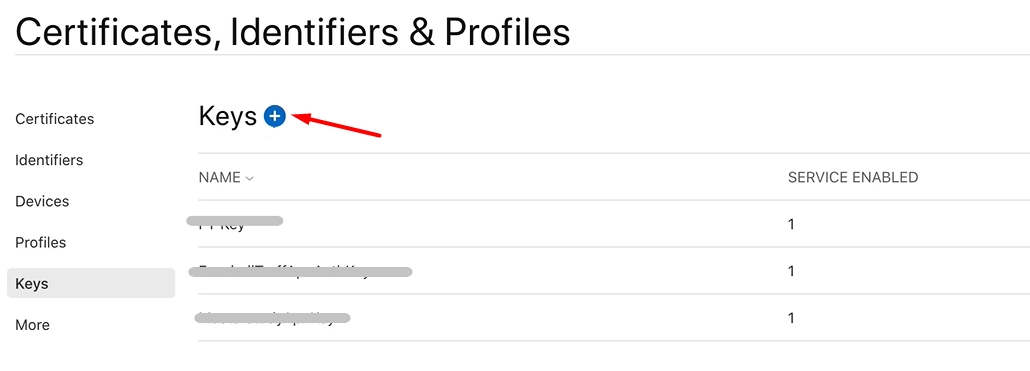
Then follow to the Keys tab and register a new key.
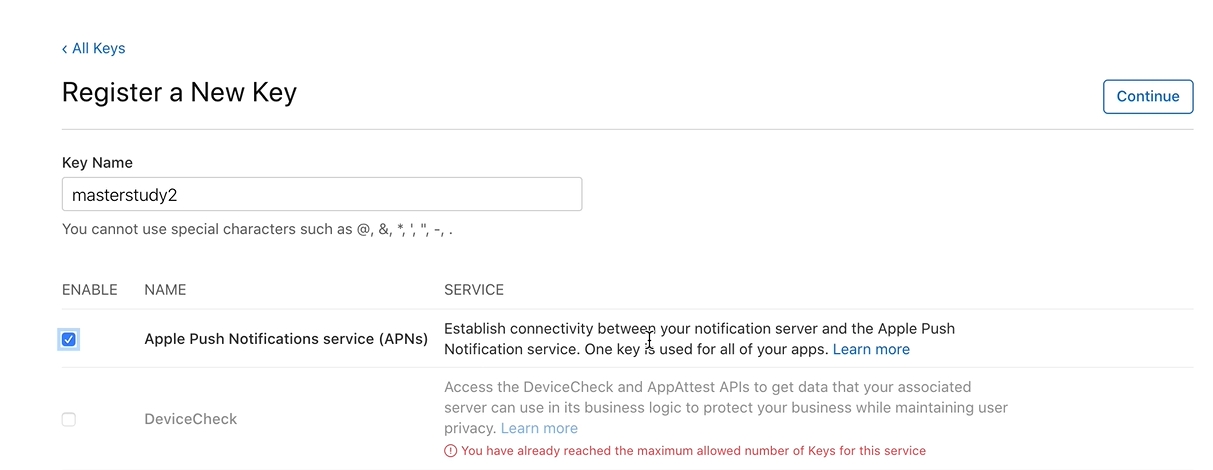
On the new page click in the Plus icon to register a new key.
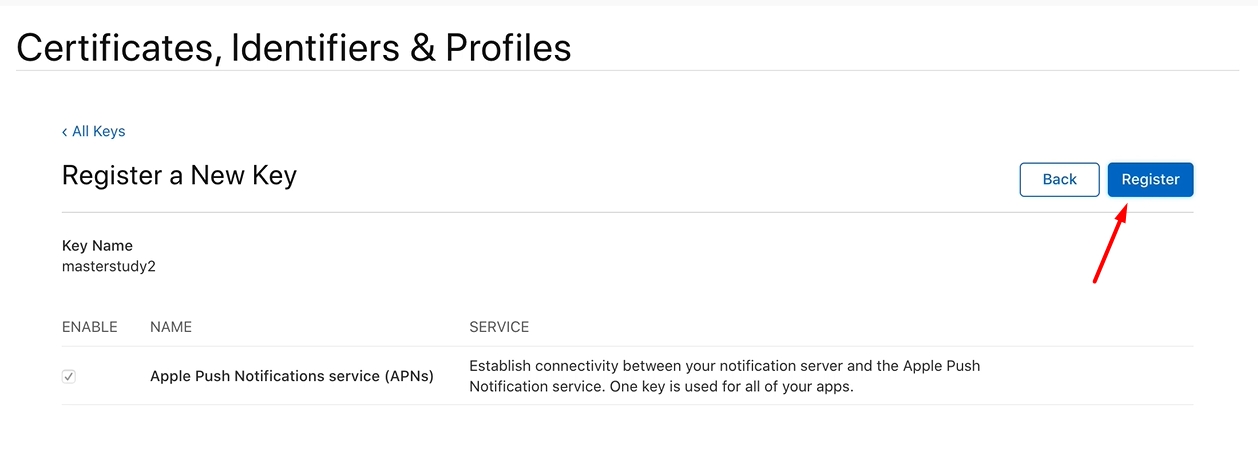
Now, you need to enter the Key Name. And also, on this page, you need to Enable Apple Push Notifications Service (APN). Once you finished click Continue.
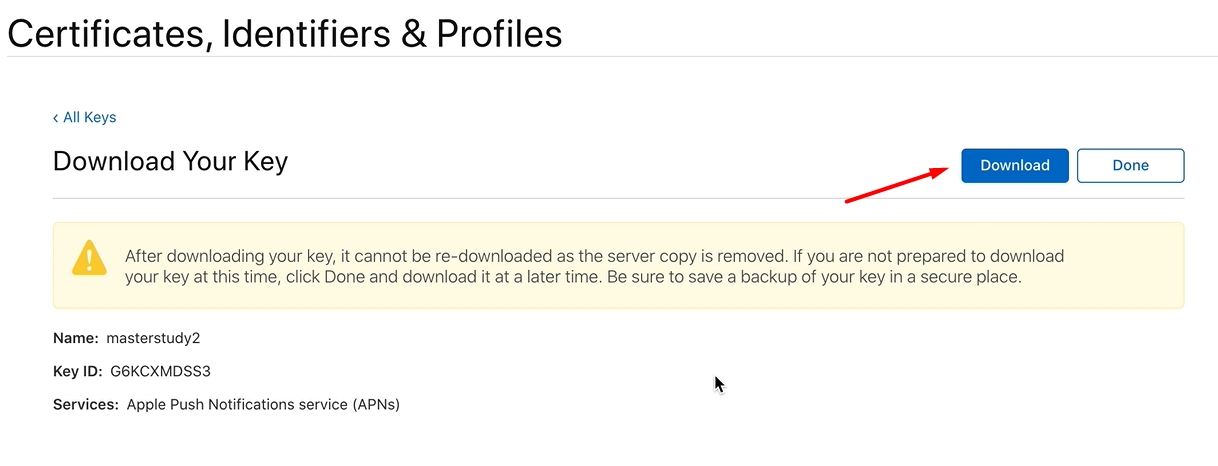
On the new opened window click on Register and download the file with the APN Key.
Save the file and follow the Firebase.
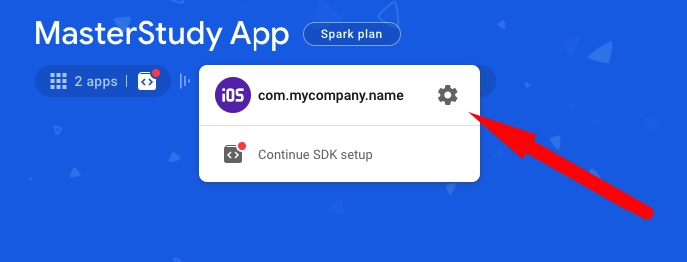
After you generated keys on developer.apple.com open your project in Firebase.
Click on iOS and open its settings.
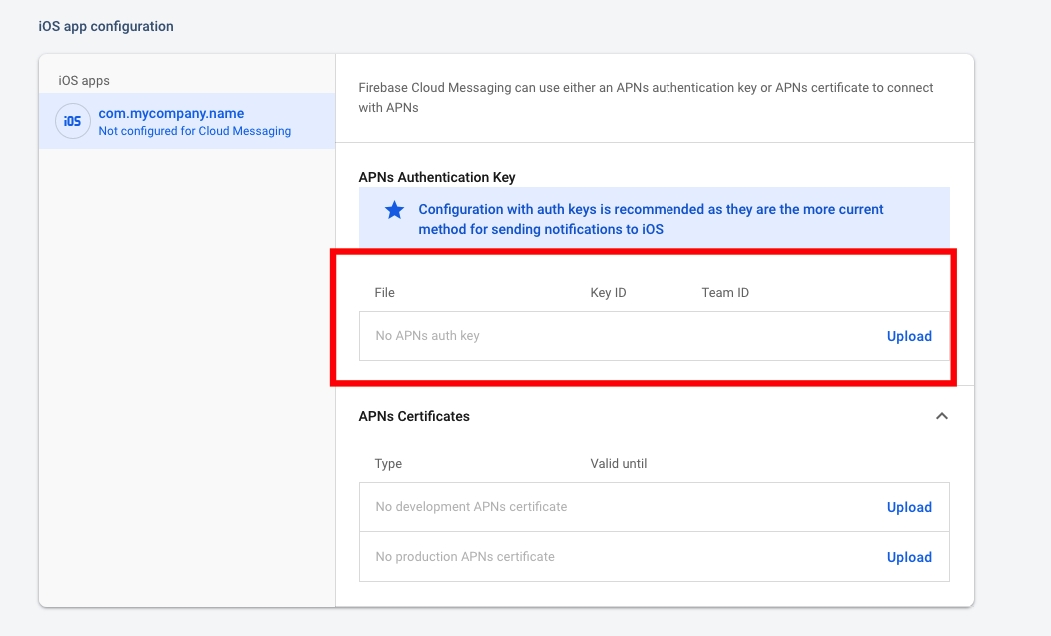
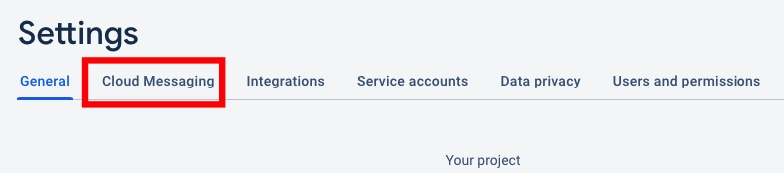
On the Settings page open the Cloud Messaging option.
Follow to the iOS app configuration section and upload there the file with APN Keys. you downloaded earlier.
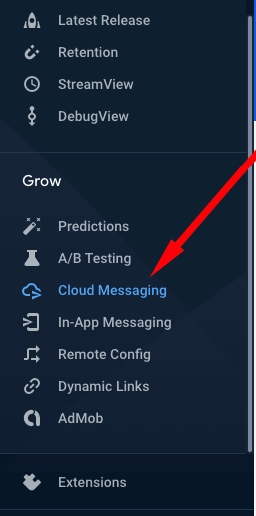
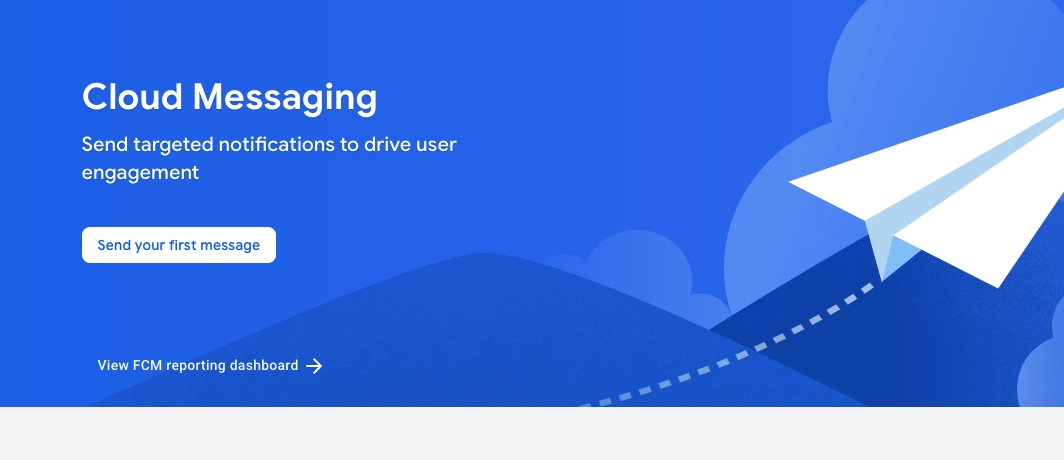
Then, click on the Cloud Messaging menu.
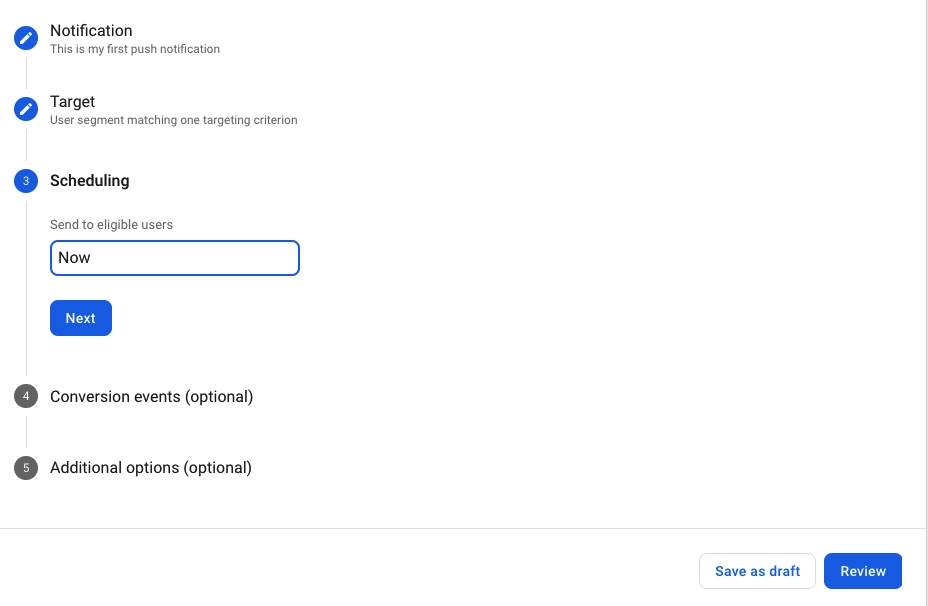
On the new page click on the Send your first message button.
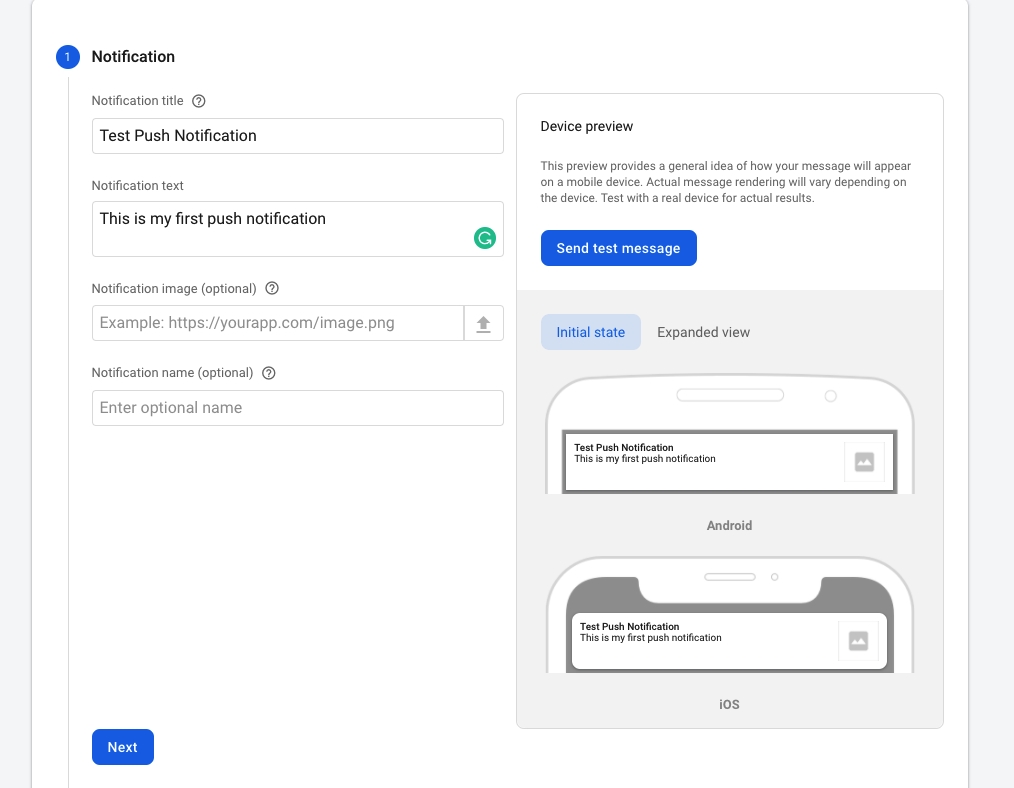
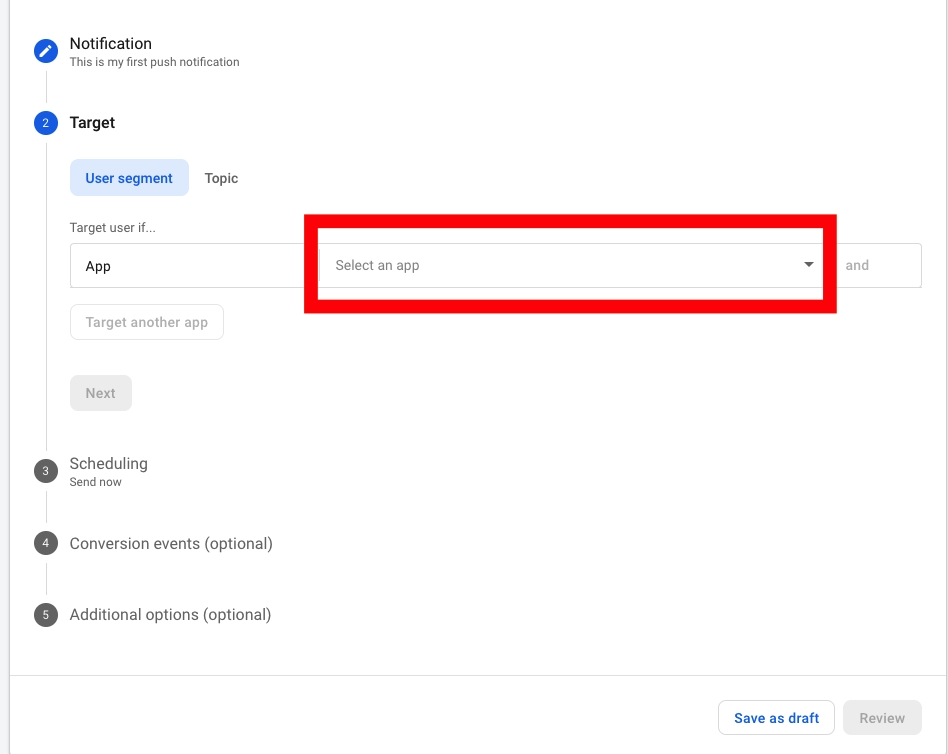
Fill in the required fields and click on Next.
Please note before sending the test message, first you need to set up your App in Android Studio and launch it on the virtual device.
After that, select the name of the project.
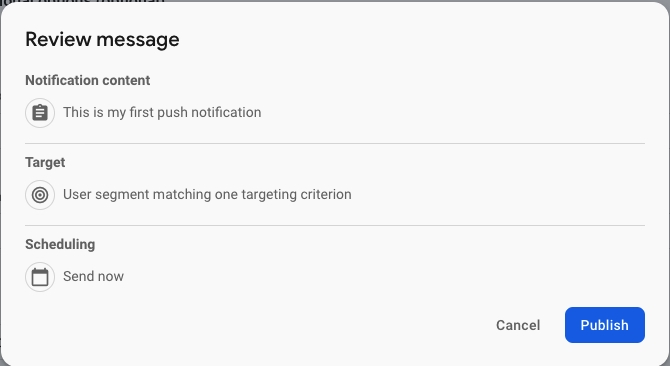
Then, fill the fields that left depending on your preferences and click Review.
You will see the next window, just click Publish and you are set.
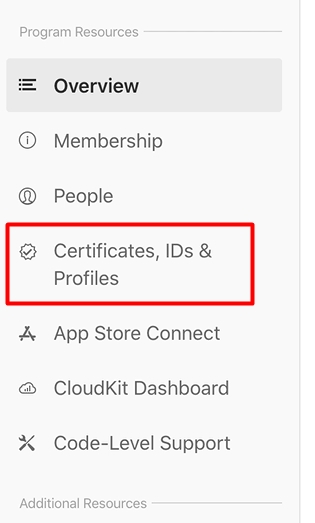
Open your Apple Developer account > and follow to the Certificates, Identifiers & Profiles section.
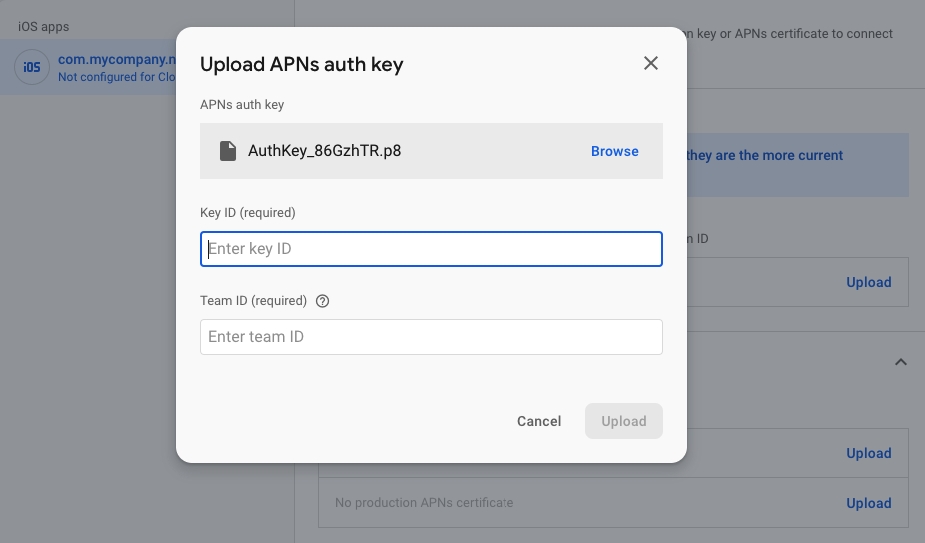
After the file is uploaded, you need to enter Key ID and Team ID. You can find these IDs in the Apple Developer Member Center -