MasterStudy LMS API Plugin Setup
Last updated
Was this helpful?
Last updated
Was this helpful?
Your work will start with the installation of several items. First, you need to install MasterStudy LMS API Plugin.
Watch the video tutorial guide to learn about API Setting for MasterStudy App.
Or you can walk through step by step guideline described in this manual.
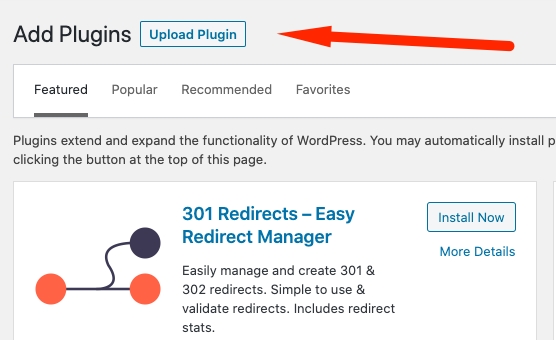
From the admin panel of your website go to Plugins > Add New > Upload Plugins. Upload the zip plugin file and install it.
After the installation is done, don’t forget to activate it. Plugin Settings. Now you can set up the plugin.
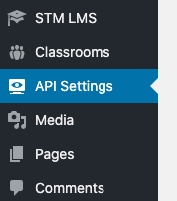
Go to the API Settings menu in the WordPress dashboard.
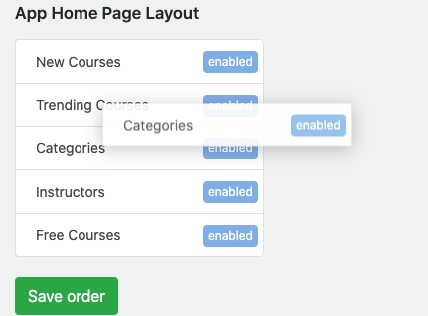
Among the settings you can find App Home Page Layout section where you can enable/disable sections and change their order on the front page by simply dragging them up/down.
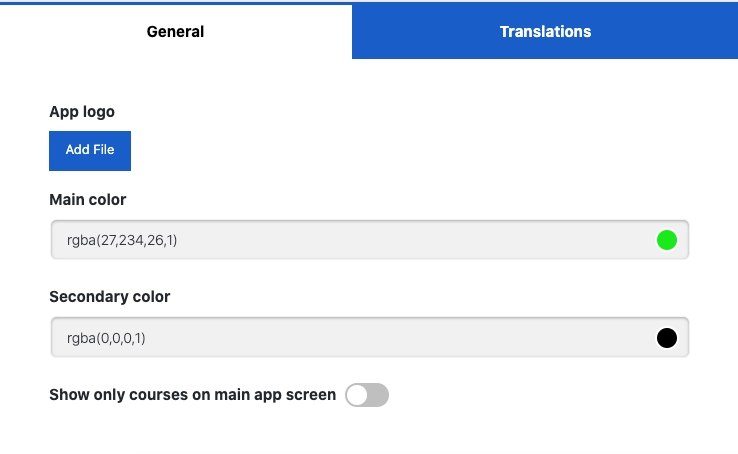
There are also settings you can find under the General Tab, where you can set logo, custom colors, enable/disable the list of the courses. If you enable the display of list of the courses, on the app main screen there will be only the courses list. If this option is disabled the main screen will include categories, popular, featured sections.
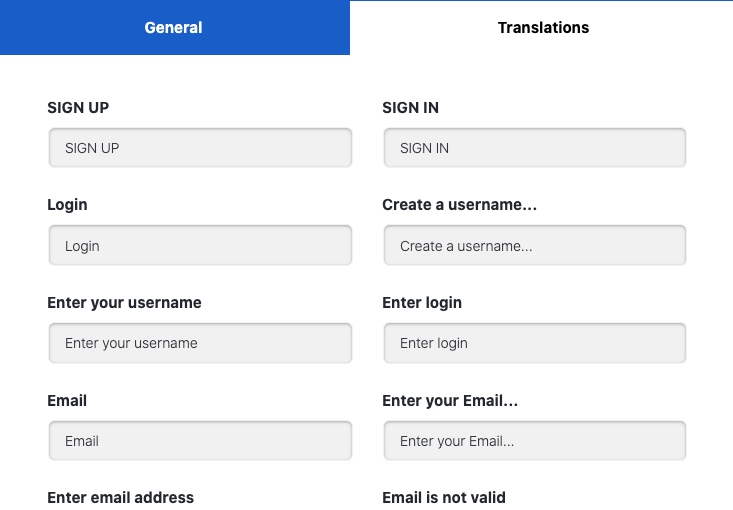
Under the Translations tab, you can translate the static strings used in the app.
