> For the complete documentation index, see [llms.txt](https://docs.stylemixthemes.com/llms.txt). Markdown versions of documentation pages are available by appending `.md` to page URLs; this page is available as [Markdown](https://docs.stylemixthemes.com/consulting-theme-documentation/blocks-and-sidebars/header-builder/pearl-header-builder.md).
# Pearl Header Builder (Deprecated)
{% hint style="warning" %}
The Pearl Header Builder plugin is deprecated from theme version [6.4.3](https://docs.stylemixthemes.com/consulting-theme-documentation/blocks-and-sidebars/header-builder/pages/-MIOnkRuAUZzf1x3RqaY#6.4.3) and cannot be selected as a header builder in theme options. Related Header styles will be removed for new theme installations and demo import.
The Pearl Header Builder keeps working for previously installed sites and is supported. When a different Header Builder is selected, you will not be able to use Pearl Header Builder again and it will be disabled.
{% endhint %}
{% embed url="" %}
The **WordPress Header Builder Plugin – Pearl** that stays under the **Pearl Header Builder** option is an individual plugin that helps easily build any header layout for your website.

{% hint style="success" %}
We suggest to try [Default Header Styles](/consulting-theme-documentation/blocks-and-sidebars/header.md) or [Elementor Header & Footer builder](/consulting-theme-documentation/blocks-and-sidebars/header-builder/elementor-header-builder.md).
{% endhint %}
{% hint style="info" %}
When a custom header is built using [Elementor Header & Footer Builder](/consulting-theme-documentation/blocks-and-sidebars/header-builder/elementor-header-builder.md) plugin and selected **Display on** the **Entire website**, instead of the default header custom header will be displayed.
{% endhint %}
## Installation Process
It is required to install and activate the **WordPress Header Builder Plugin – Pearl** plugin from the default repository of WordPress. Go to the **Dashboard > Plugins > Add New** (1), search **WordPress Header Builder Plugin – Pearl** (2), install and activate it (3).

After, the **Header Builder** menu appears to set up the Pearl Header Builder plugin.

Choose **create a new header** link to create a custom header.

Enter the header name and click the **Add New Header** button.

Copy one of the codes and go to the **header template**.

Paste it on the body part of the header.php file and click the **Upload File** button.

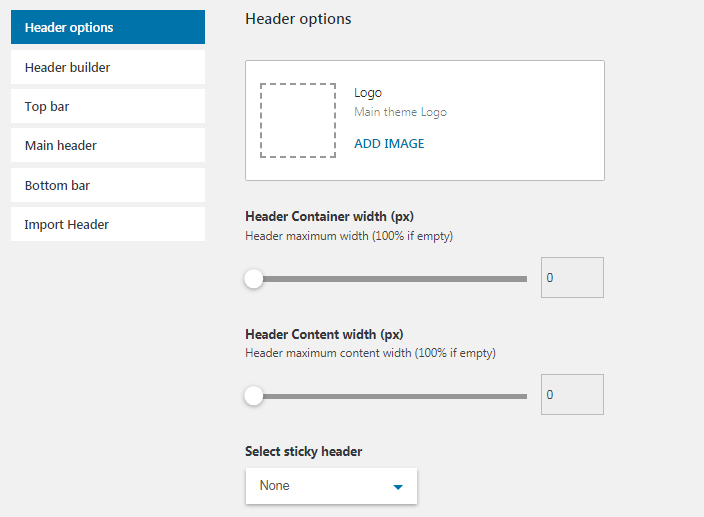
## Header Options
This section contains options for setting a logo, width of the header container and content, and a feature for selecting a sticky part of the header (Top, Main, Bottom).
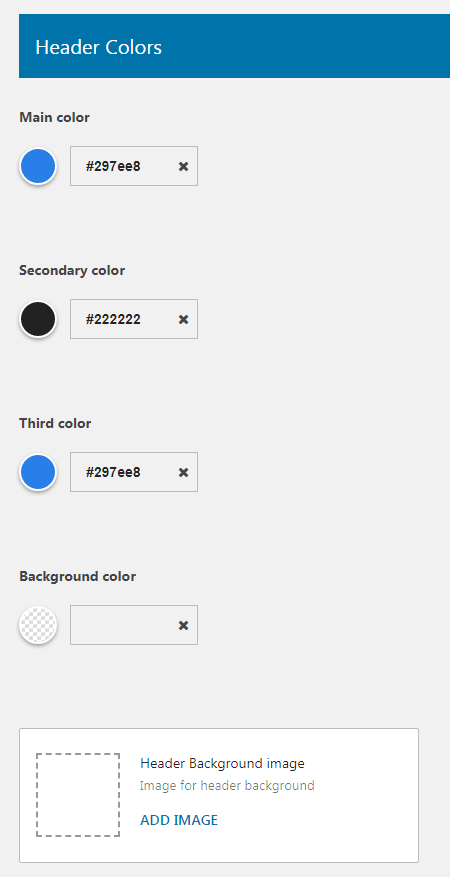
### Header Colors
In this section, you can set the default colors of the header. Those colors are for texts, links, and background. Also, you upload a background image to the header.
### Header Socials
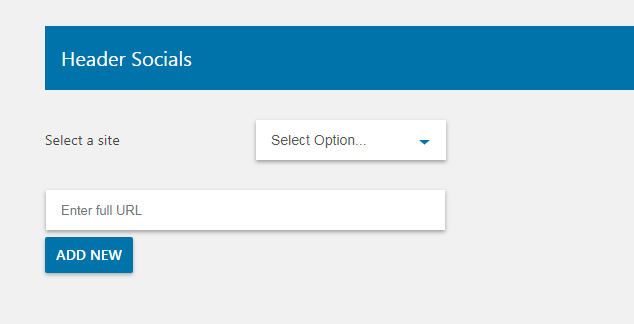
You can add links to all the needed social networks and display them by using a Socials item.
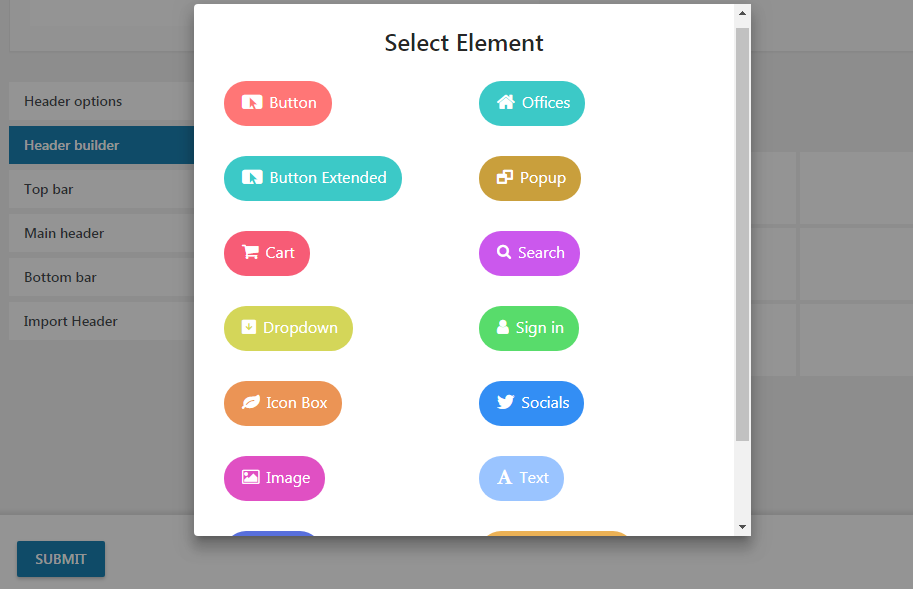
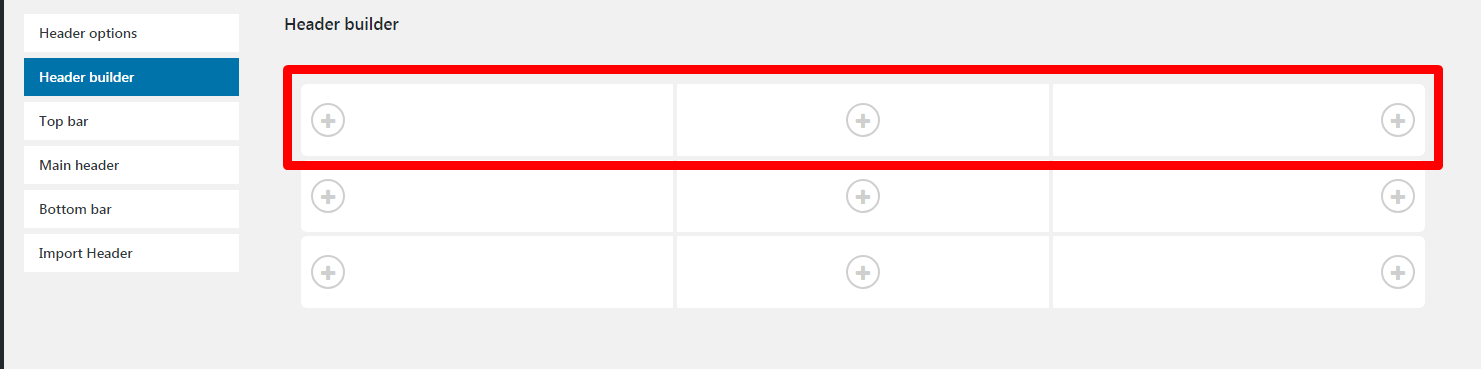
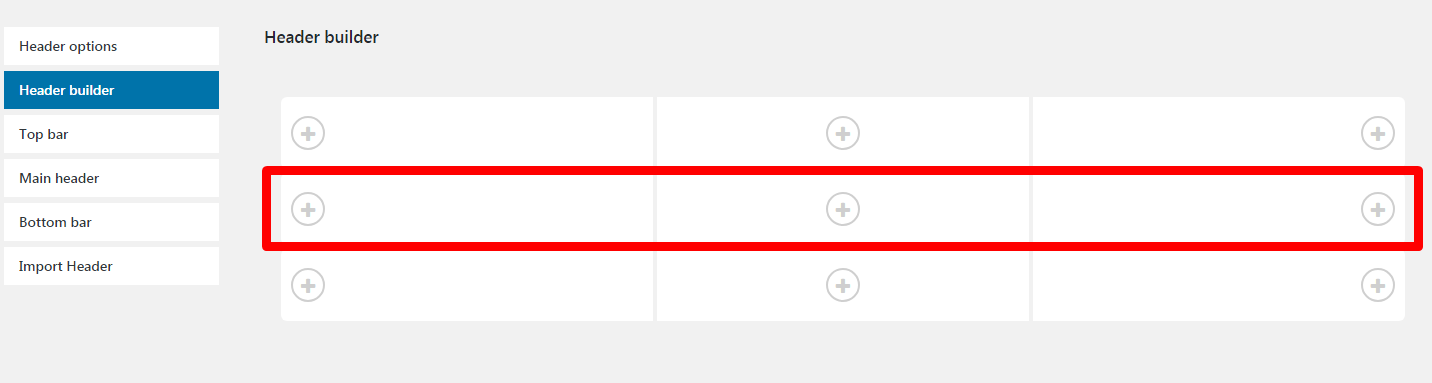
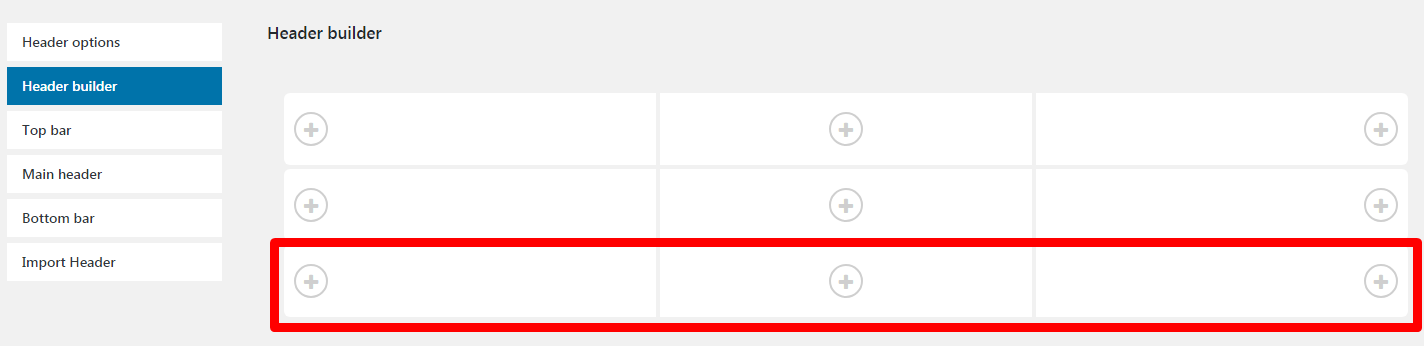
## Header Builder
This is the main section of the plugin where you need to add header elements. It divides into three parts - Top, Main, Bottom respectively.

Plus icon buttons open a window with header elements and you need to select the needed elements.
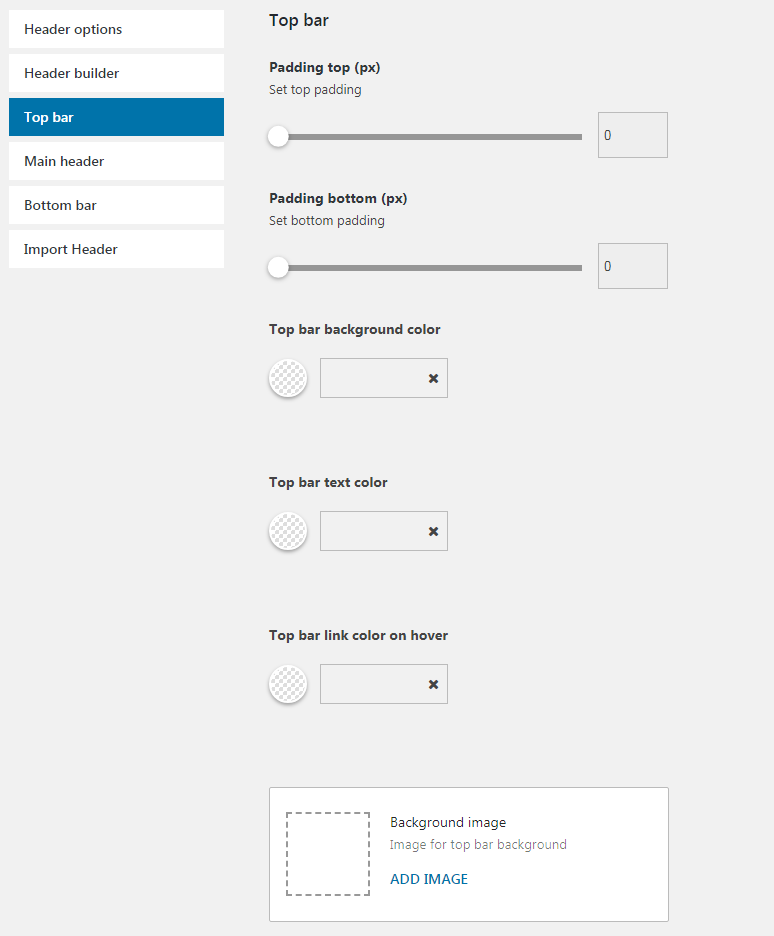
## Top bar
The Top Bar contains the default settings of a top part of the Header Builder. The Top Bar, Main Header, and Bottom Bar sections consist of similar options for changing padding values, background and text colors as well as the background image.
## Main Header
You can set up a middle part of the Header Builder plugin in the Main Header section.
## Bottom Bar
In this section, you are able to set up a bottom part of your header.
## Header Builder Elements
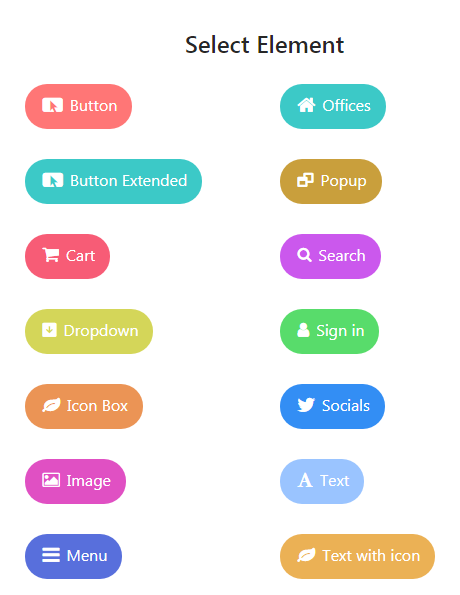
Here is a list of all the available elements:
* Button - button with custom link and label
* Extended Button - button with a different style and additional option
* Cart - WooCoomerce cart icon with a counter.
* Dropdown - displays a dropdown list of custom links and language switcher
* Icon Box - a box with a title, description text, and icon
* Image - element for displaying a site logo as well as custom images
* Menu - displays the website menu from the Appearance -> Menus section of the WordPress
* Office - includes a dropdown list with different content.
* Popup - button with a popup window which displays the selected page content
* Search - search bar with different styles
* Sign In - WooCommerce login/register links
* Socials - social network icons
* Text - element for displaying a simple text
* Text with Icon - text block with icon selection option
The Header Builder supports a drag\&drop feature. So you can easily change the location of the header elements.
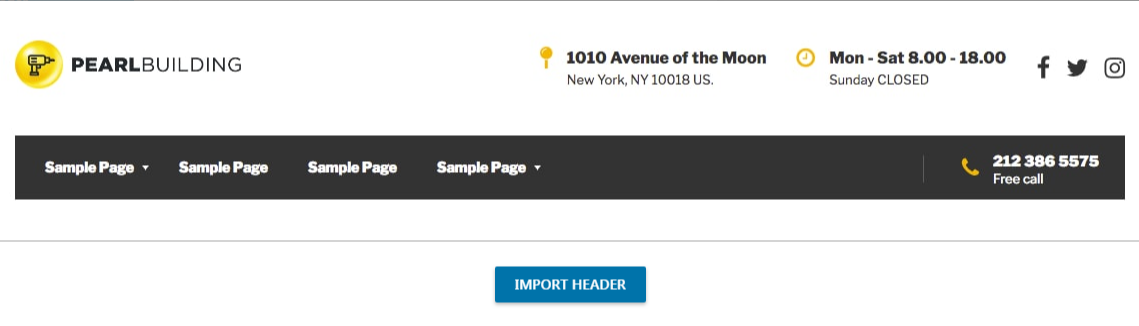
## Import Header
There are 12 header templates in this section and you are able to import these templates. They contain different prebuilt header structures.
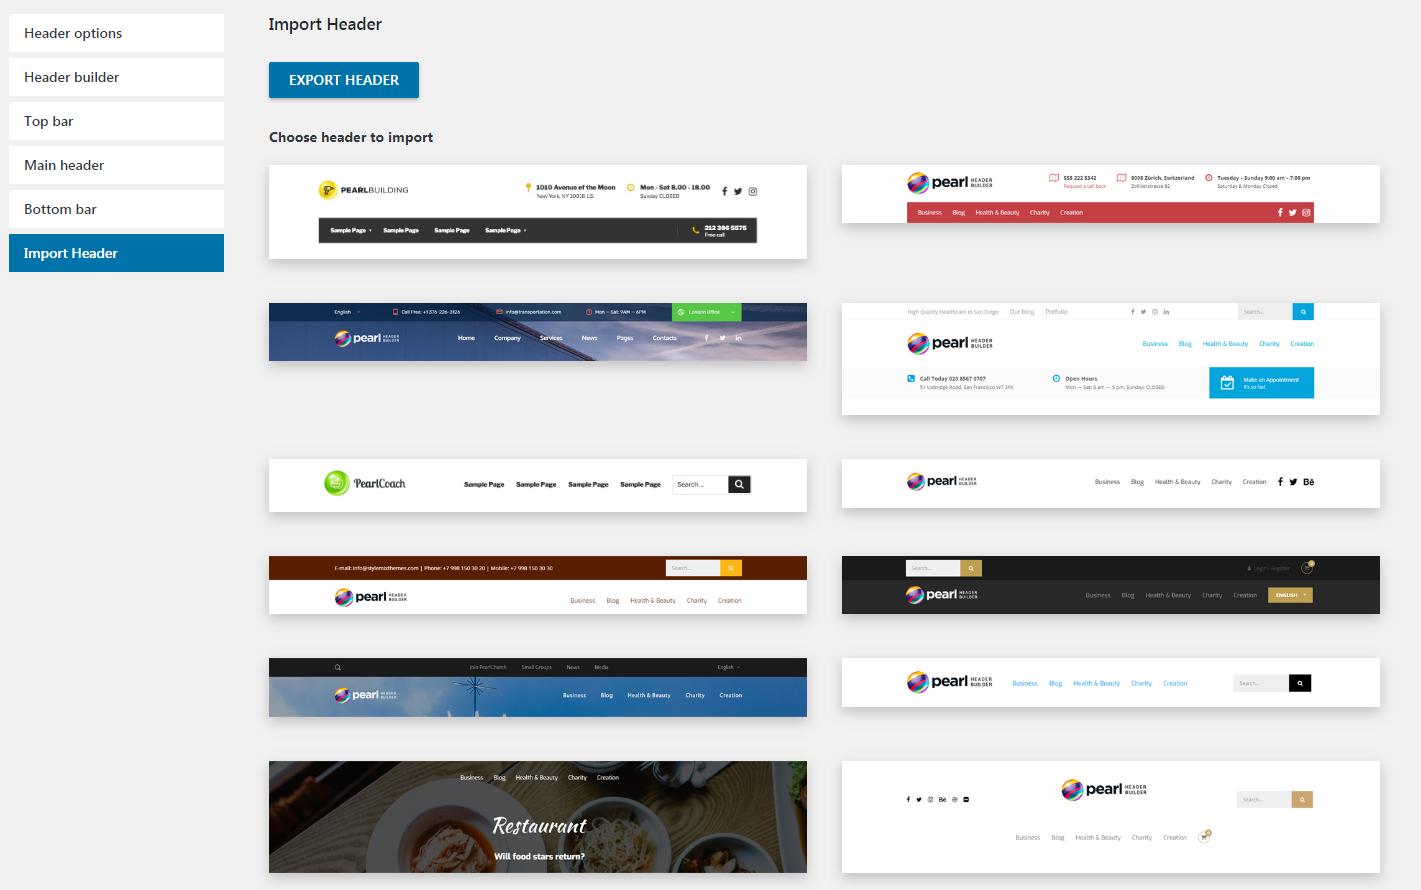
In order to import a header template, you need to click on the template image and the **Import Header** button. The page will be refreshed after the importing process is done.
The white boxed area displays a shortcode or action of the header template. You can select the imported header and copy one of these codes.
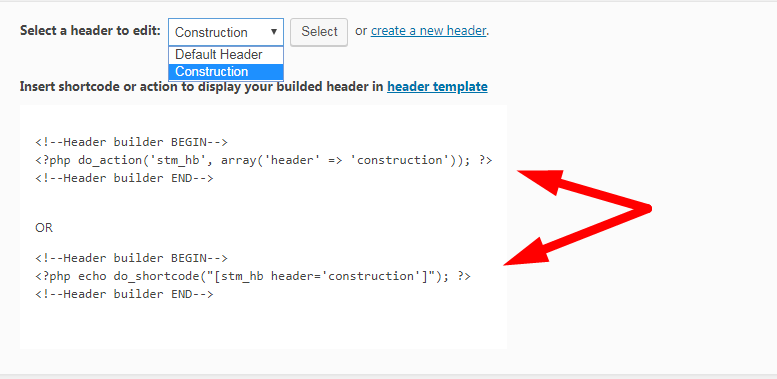
The copied code should be inserted into the header.php file of your theme.

---
# Agent Instructions
This documentation is published with GitBook. GitBook is the documentation platform designed so that both humans and AI agents can read, navigate, and reason over technical content effectively. Learn more at gitbook.com.
## Querying This Documentation
If you need additional information that is not directly available in this page, you can query the documentation dynamically by asking a question.
Perform an HTTP GET request on the current page URL with the `ask` query parameter, and the optional `goal` query parameter:
```
GET https://docs.stylemixthemes.com/consulting-theme-documentation/blocks-and-sidebars/header-builder/pearl-header-builder.md?ask=&goal=
```
`ask` is the immediate question: it should be specific, self-contained, and written in natural language.
`goal` is optional and describes the broader end goal you are ultimately trying to accomplish on behalf of the user. GitBook uses it to tailor the answer towards what is most useful for that goal.
The response will contain a direct answer to the question and relevant excerpts and sources from the documentation.
Use this mechanism when the answer is not explicitly present in the current page, you need clarification or additional context, or you want to retrieve related documentation sections.