Plugin Installation
uListing WordPress plugin has two types, basic free, and pro versions with additional five addons. According to the version of it, the installation process will differ.
Free Plugin Installation
Installing “uListing” plugin is just like any other WordPress plugin and it can be installed in two easy ways.
In a first way, download the plugin archive file here https://wordpress.org/plugins/ulisting/#description
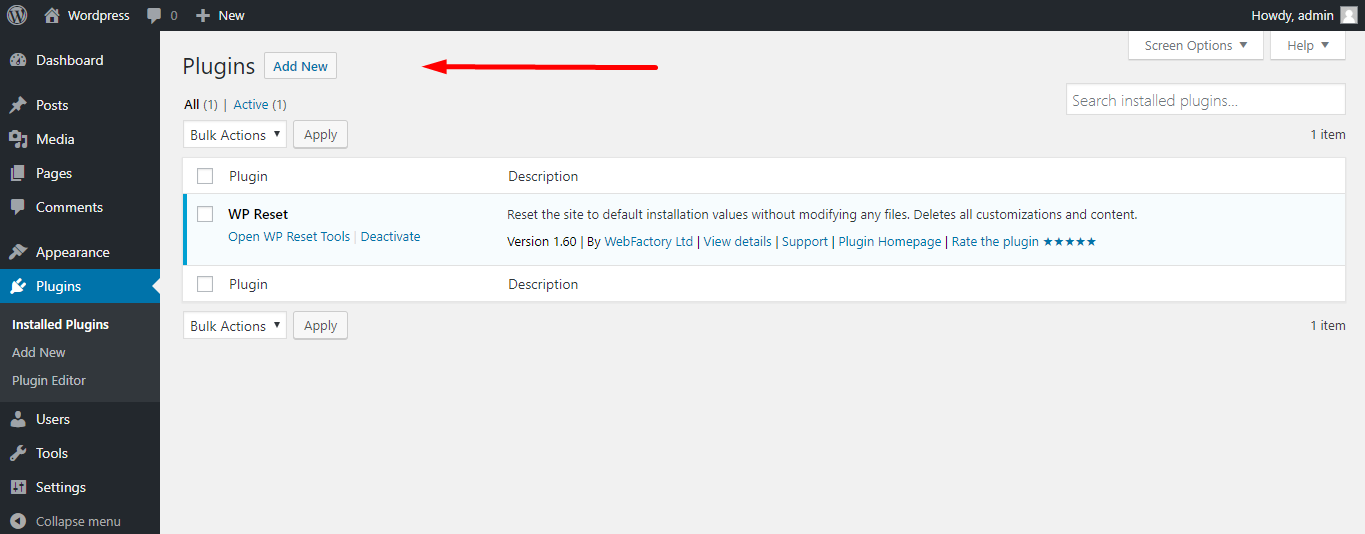
Follow to Plugins > Add New from your dashboard.

Click on the Upload Plugin button and select the uListing plugin downloaded file from your local folders.

Click Install Now and wait for the installation to finish.
After installing it successfully, you need to activate the plugin.
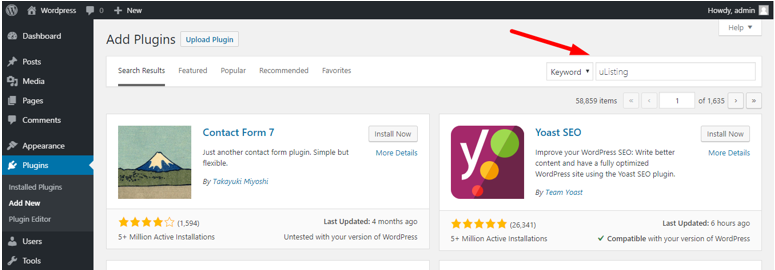
In the second way, navigate to your WordPress “Plugins” page, inside of your WordPress dashboard click “Add New” and follow these instructions:

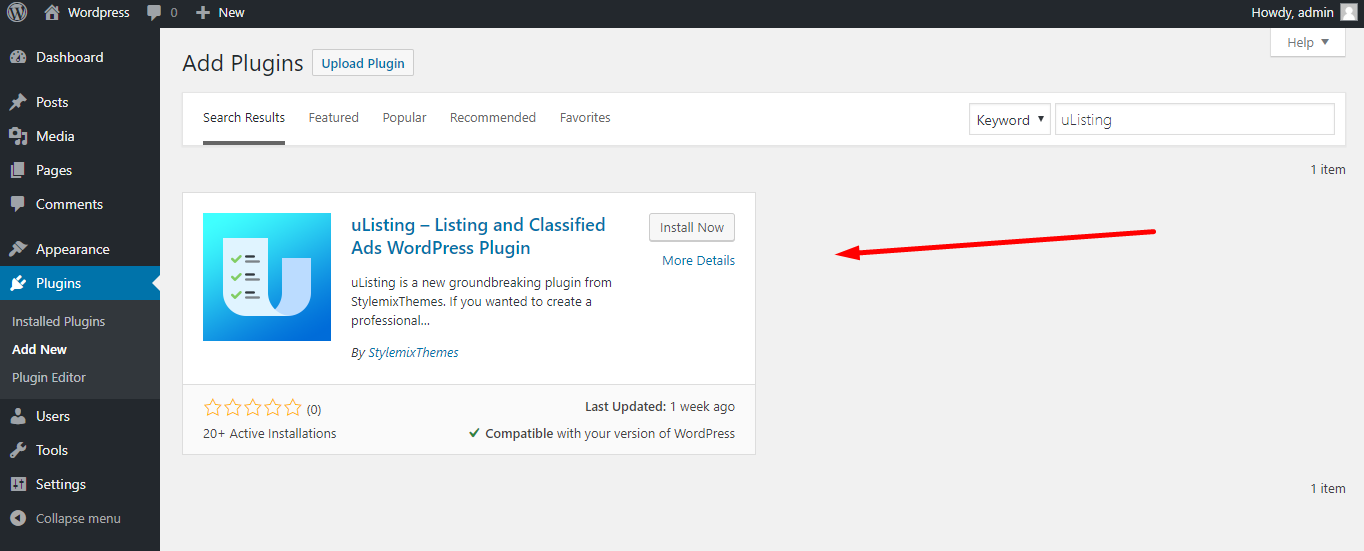
In the search field enter “uListing plugin”. Then hit Enter.


Click “Install Now”. Once installed, click “Activate”.
Pro Plugin Addons Installation
Make sure you have the uListing plugin basic free version is installed and activated before installing the pro addons
When all your data is found to be correct about your buying, you will get a welcome message by Freemius sent to your email. Then you can install the bundle of additional uListing addons in the following steps.
uListing plugin pro version includes five additional addons ( uListing Subscription, User Roles, Compare, Social Login, and Wishlist) that you can buy them as a single bundle.

In that message, you will be aware of the link of the Pro Plugin's download page with the license key to activate the plugin. You will also be informed with some personal data and instructions for activation.
Go to Plugins sections from your dashboard, then go to Add new and choose Upload plugin function from there.

Choose the given archived file from the local system where you downloaded. Then, you have to choose any uListing extra addon to install and activate.

Freemius gives you all addon in a single folder, you will install all of them or any desired ones. Below, installation is shown for all addons.


Then, click the Install Now button.
Click the Activate Plugin button. Then you will be directed to the activation board where you should paste the license key that you are given by Freemius. In the following image, you can see uListing Compare addon activation, but the same procedure happens for other addons.

Press the button Agree & Activate License to activate:
After activating successfully, you can see the notifications about all addons are installed:

uListing Plugin free and pro versions are installed and activated, good job!
Last updated
Was this helpful?

