Classified Layouts
Unlike Dealership Layouts settings, the mega menu in the Classified type mostly adjusted via WPBakery builder. That is why the first thing you need to do is enable WPBakery for mega menu, as by default the builder is activated only for pages.
Open WPBakery Page Builder > Role Manager from the dashboard menu.
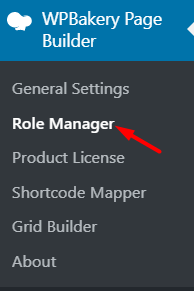
After this, on the newly opened page find the Post Type section and select Custom from the drop-down menu. Now you can enable builder for anything you need. Check the option stm_megamenu to activate the WPBakery.

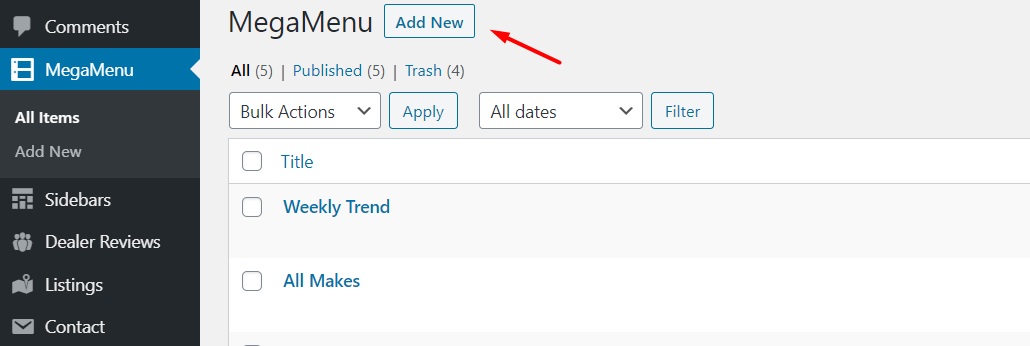
Now you can start your work. To add new menu items go to Mega Menu on the dashboard panel and click on the Add New button.
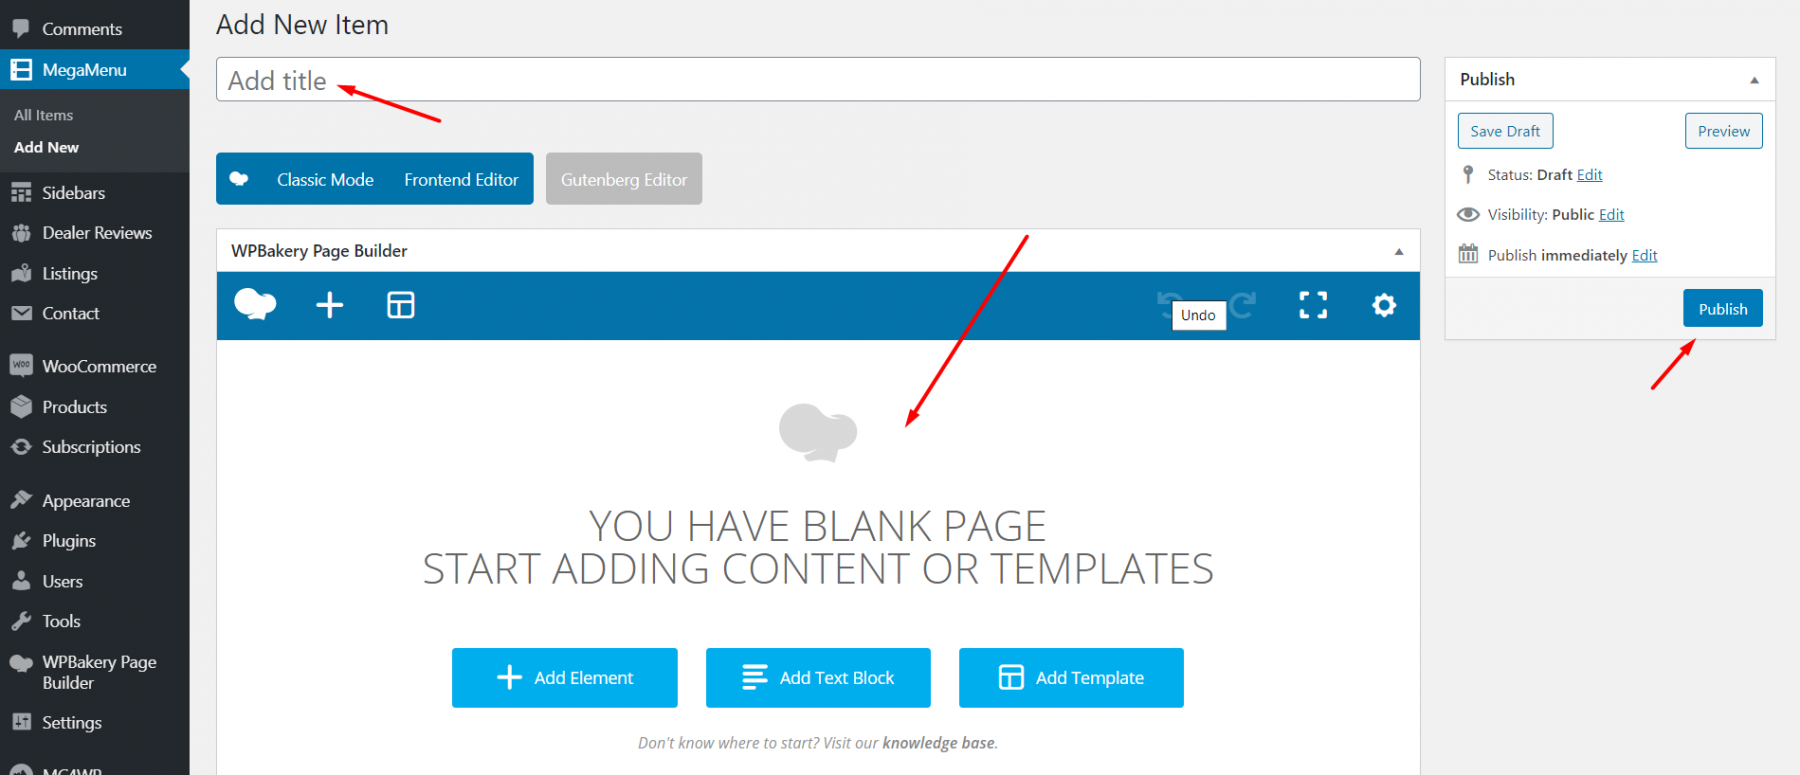
On the Add New Item page enter the title for your new menu, use the WPBakery builder to set it up and publish.
How to use WPBakery Builder?
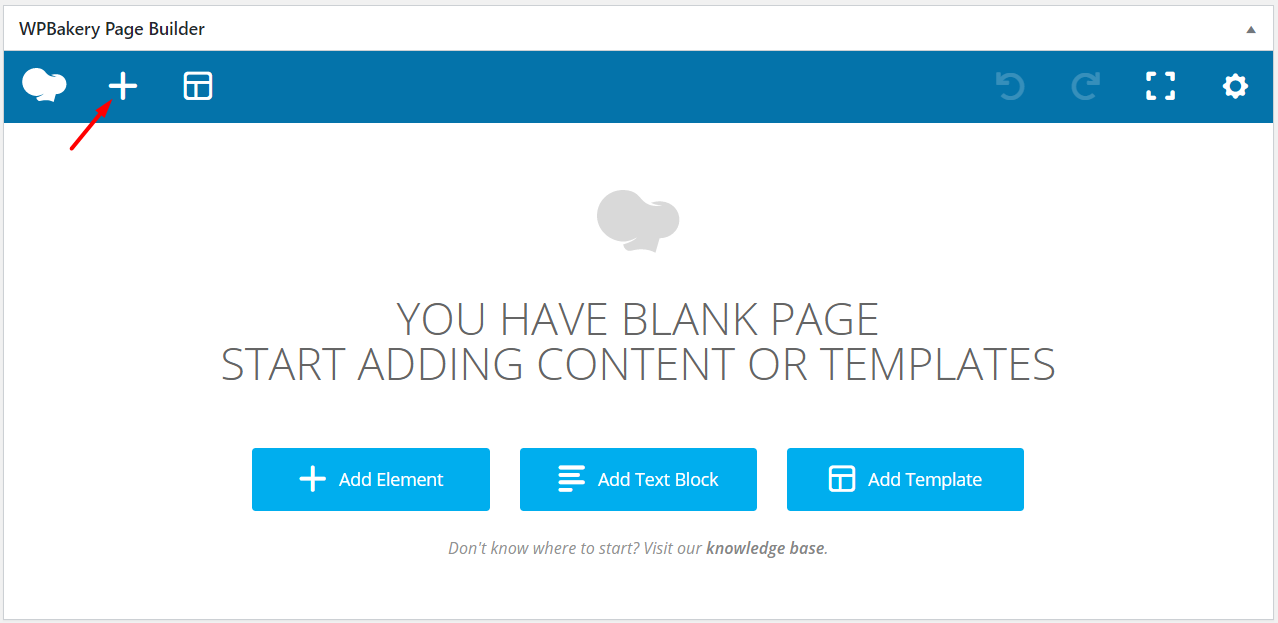
Click on the Plus icon from the builder toolbar and reveal popup.
Here you need to open an additional menu and follow to the STM MegaMenu.
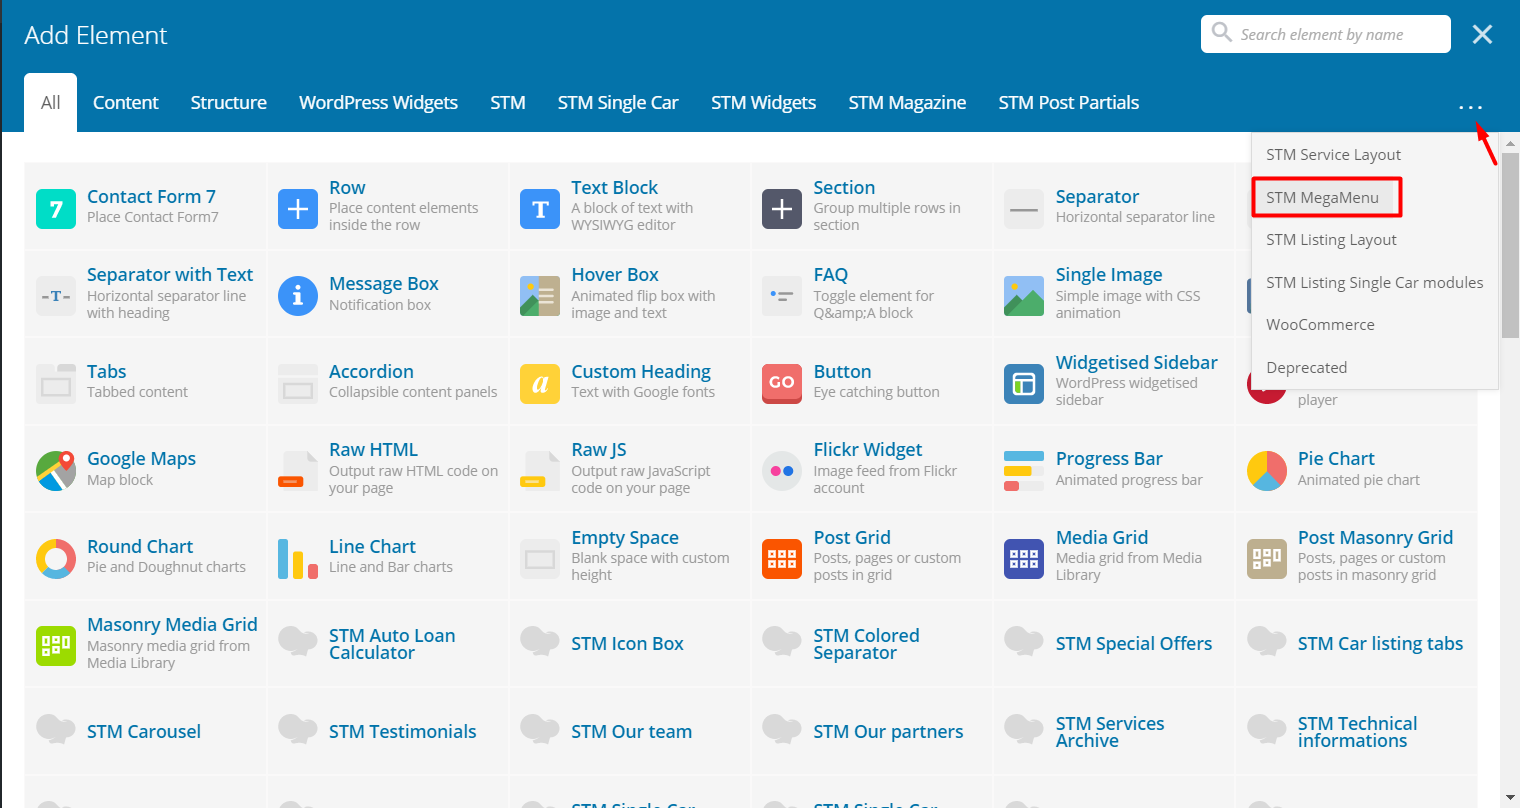
You will have three options here to choose from:
STM MegaMenu Top Categories
STM MegaMenu Top Vehicles
STM MegaMenu Top Makes Tabs
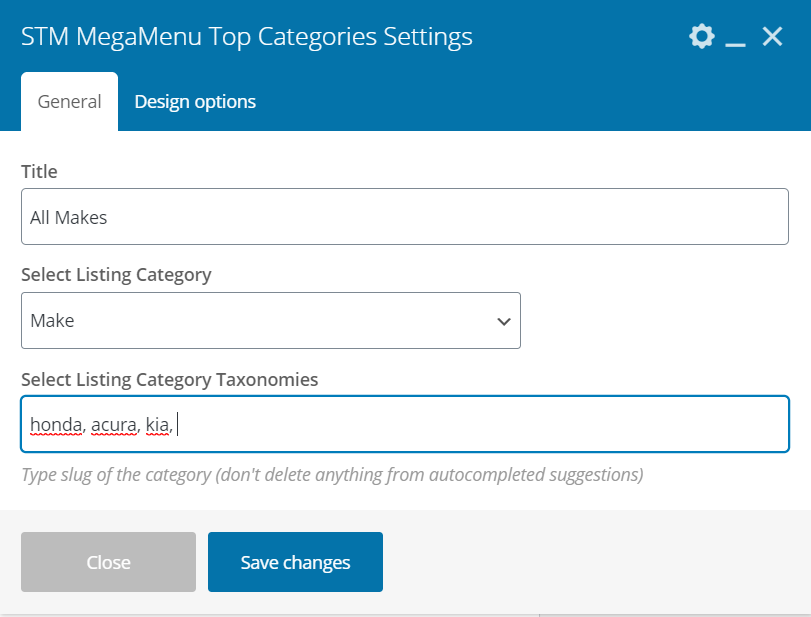
 Each of them can be customized depending on the categories, vehicles and makes respectively. Let’s Create All makes section in the mega menu, to display all available makes on the website.
Click on the STM MegaMenu Top Categories. Enter a title for the section, select a listing category and select taxonomies (autocomplete available). Save changes and publish the menu.
How to use STM MegaMenu Top Vehicles?
This option allows you to display items according to the vehicle type and its quantity presented on the website.
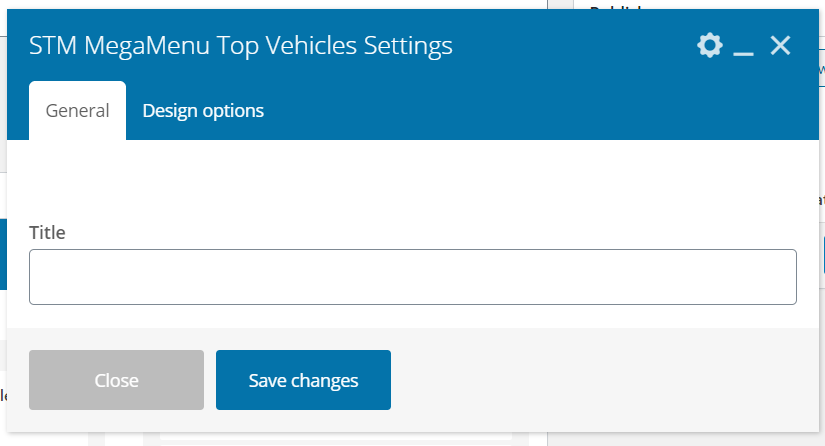
Open STM MegaMenu Top Vehicles settings and enter a title for this section. All necessary data will be loaded automatically from the respective categories on your website.
How to use STM MegaMenu Top Makes Tabs?
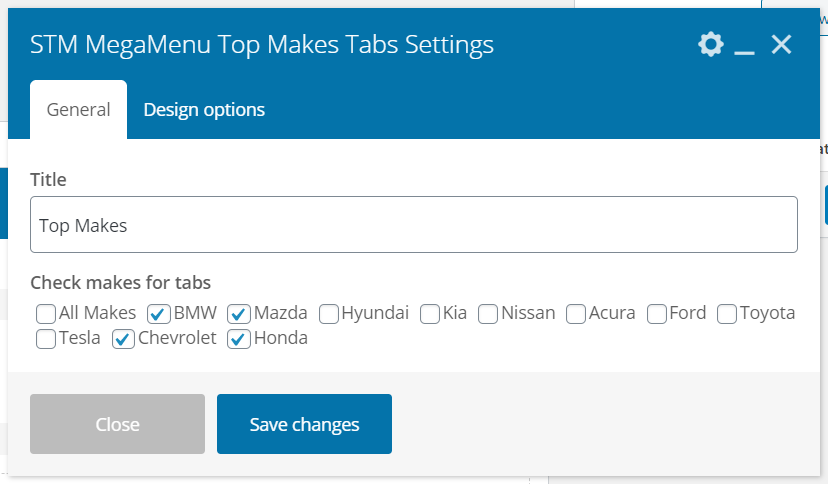
The next option works with the same principle. Open STM MegaMenu Top Makes Tabs Settings and enter the title for this section on the menu. Check the makes you want to display in this tab.
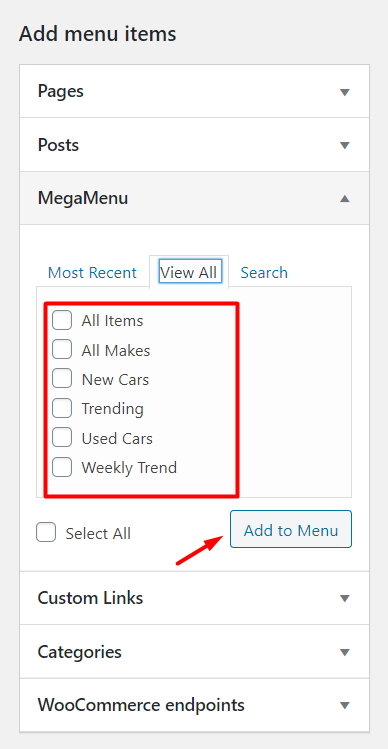
Now go to Appearance > Menus and organize the structure of your mega menu. Use the panel Add menu items where you can find the Mega Menu section.
If you don’t have this option you can easily add it to the panel. Find the Screen Options tab in the top right corner. Reveal it and check the MegaMenu.

Go back to the Add menu items. Select the mega menu and choose items you want to add.
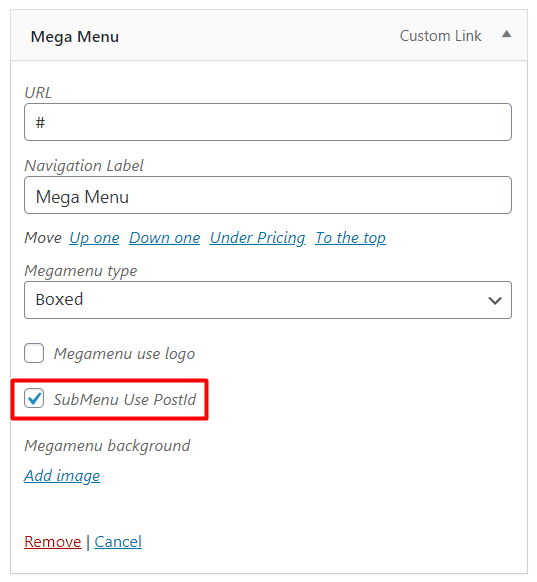
Mark the SubMenu Use PostId in the parent menu (in our case it is called Mega Menu) so all the data in sub items could be displayed properly.
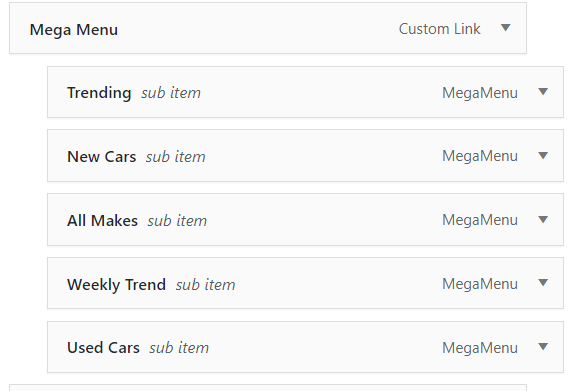
Now organize the structure of the menu by dragging items.
Once you finished setting up check the menu on your site. The overall look should be similar to one that is below:
(1)

(2)

Last updated
Was this helpful?

