For the complete documentation index, see llms.txt. This page is also available as Markdown.

Course Player

The Course Player tab of the MS LMS Settings will set up how students will see and learn courses on the LMS. You can reach it by following MS LMS > Settings > Courses > Course Player:

Default Theme

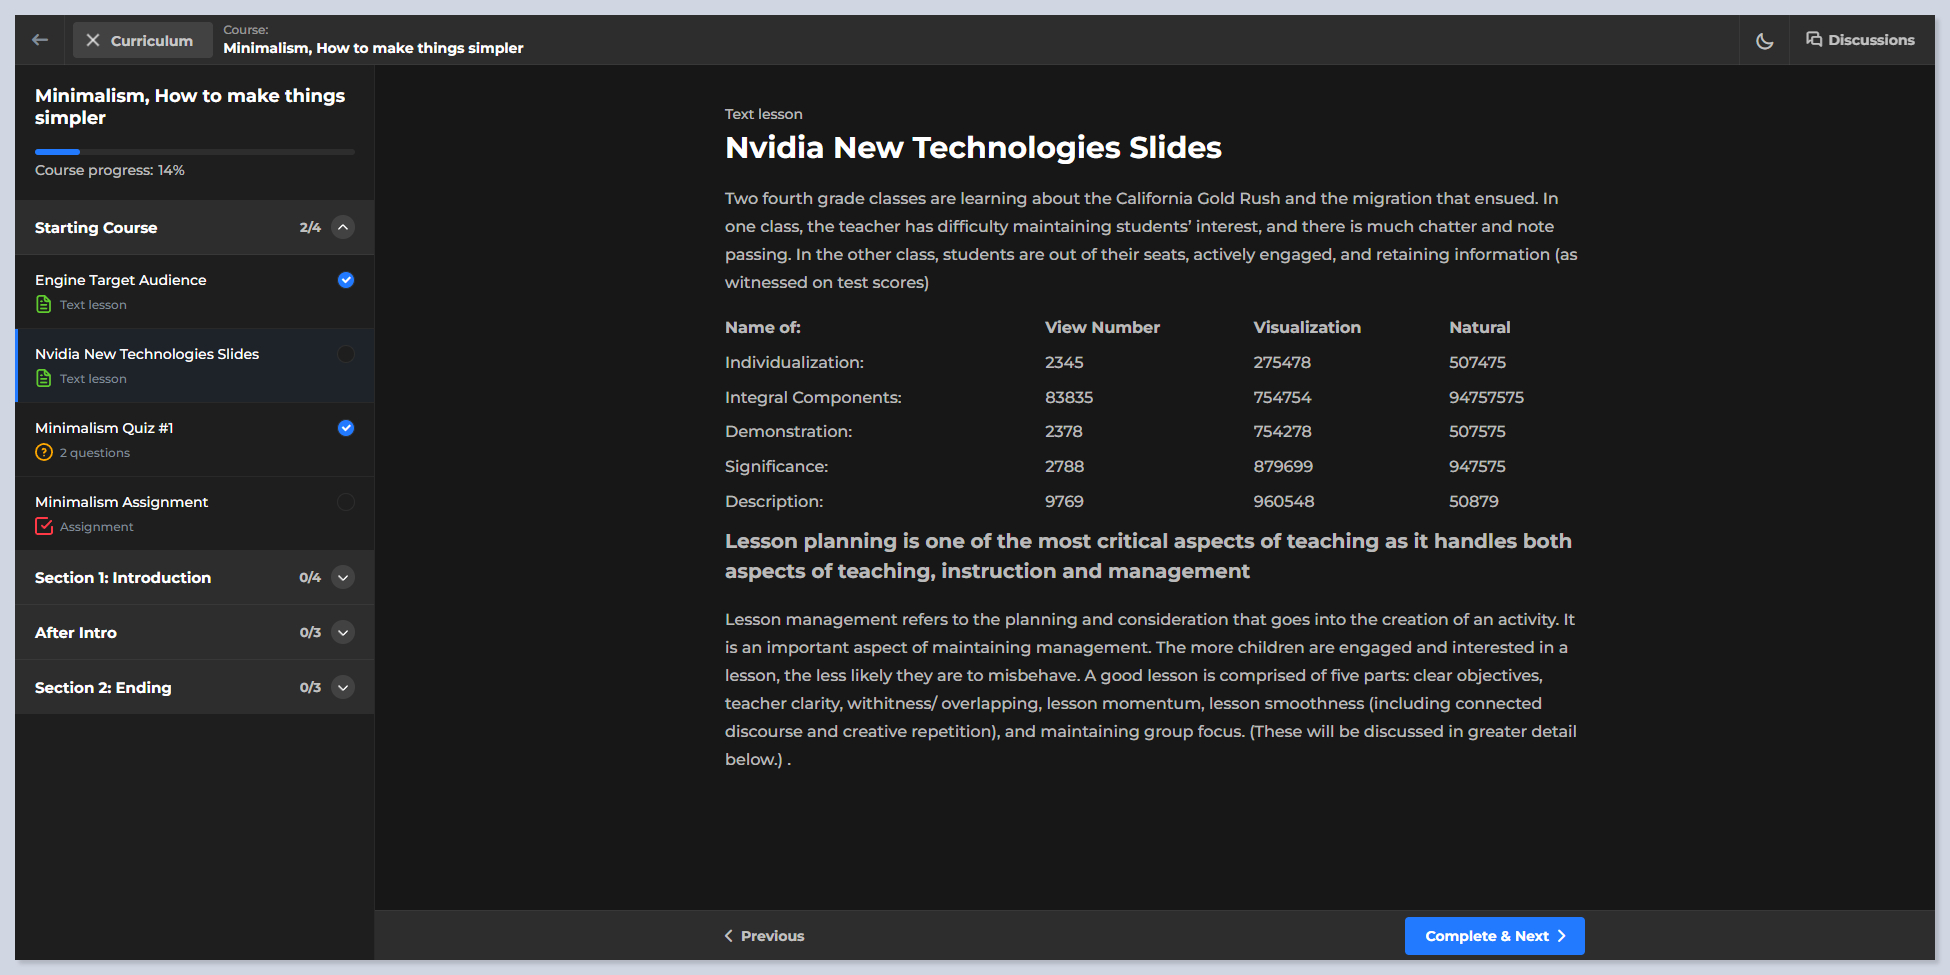
Select the appearance of the course player by choosing between light and dark themes. This defines the overall look and feel of the player.

Students can change the mode at any time in their Course Player.

NOTE

If you have made changes in the lesson text color, these changes may display incorrectly when changing to dark mode.

Assigning a custom Text Color will display the text in that color regardless of the Course Player Mode (Dark or Light). If you copy text with a custom black text color, it appears black regardless of the mode, causing visibility issues in dark mode. The same applies to text with white colors.

Therefore, be cautious when working with white and black colors. When copying text from another website or document, ensure you Clear Formatting first in Course Builder Editor.

Use Theme Fonts

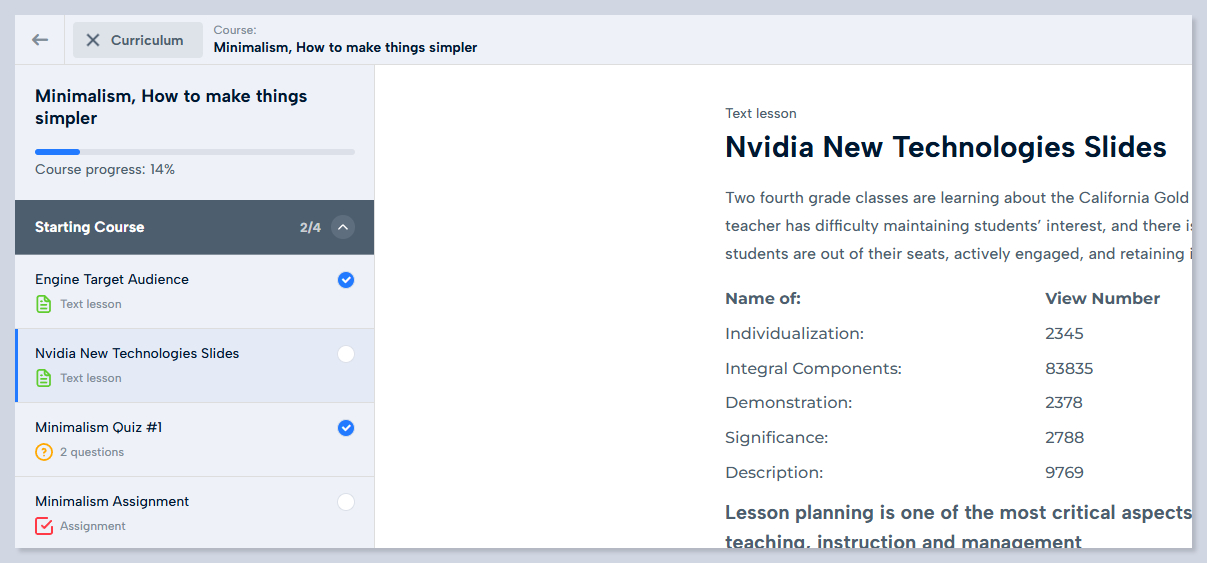
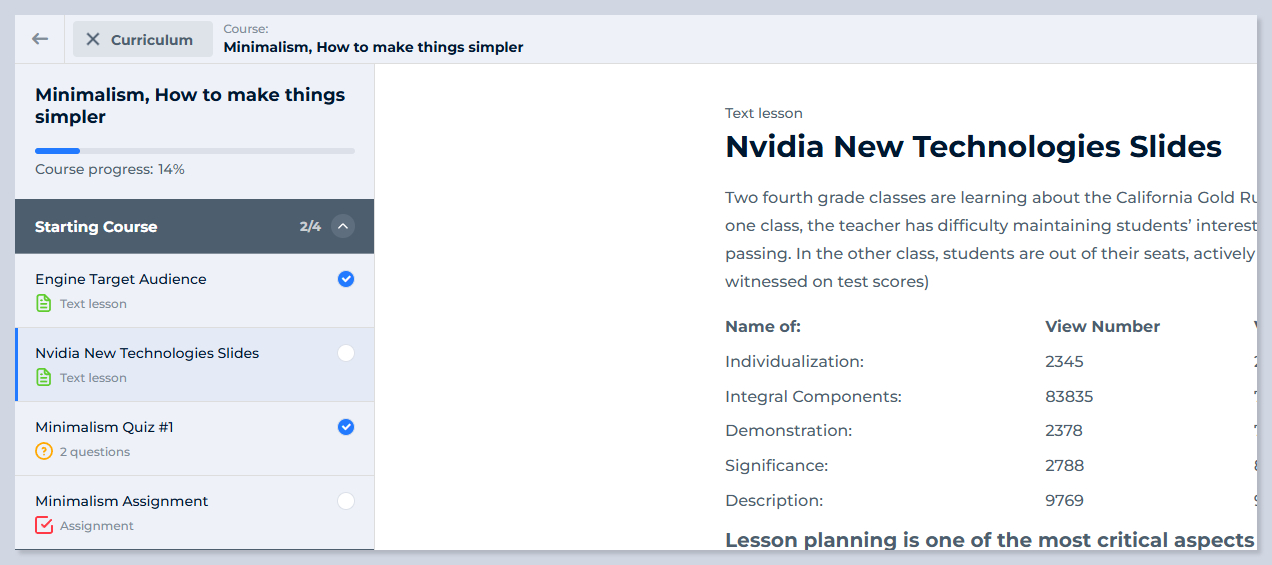
Enable this option to apply the fonts from your website’s theme to the lesson page. Disabling it allows the use of custom fonts of MasterStudy LMS.

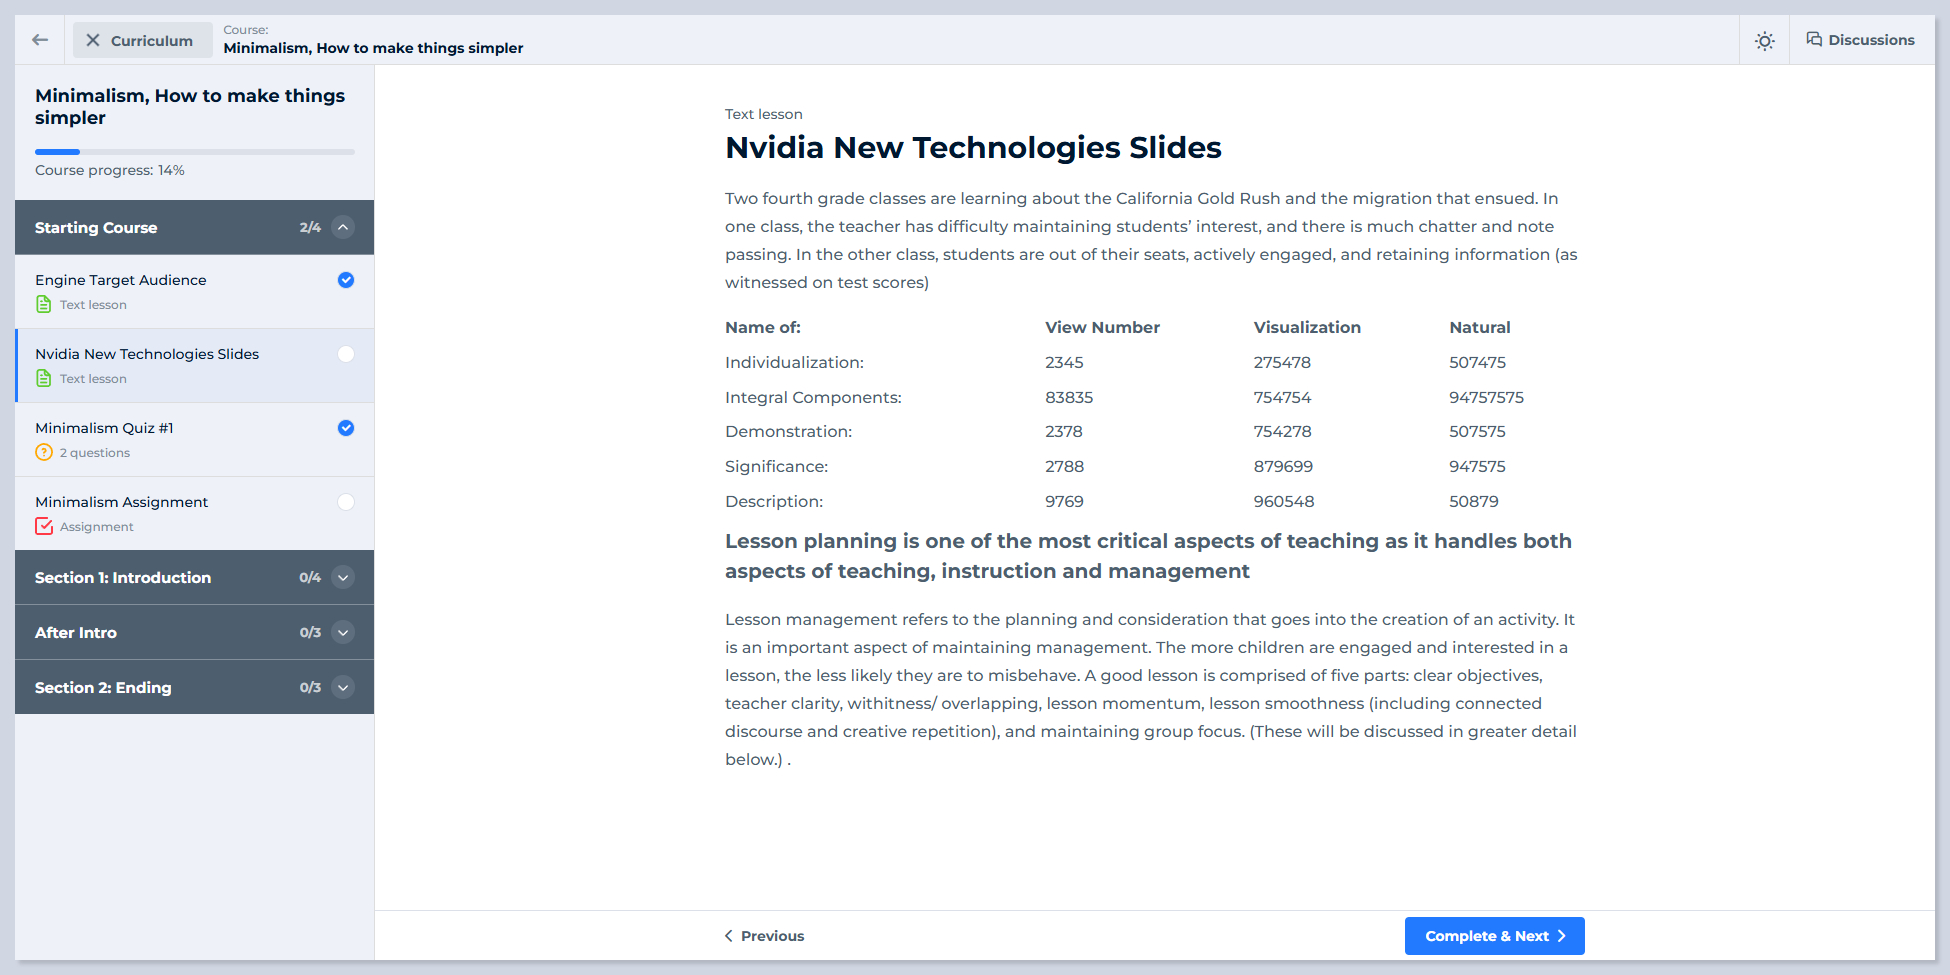
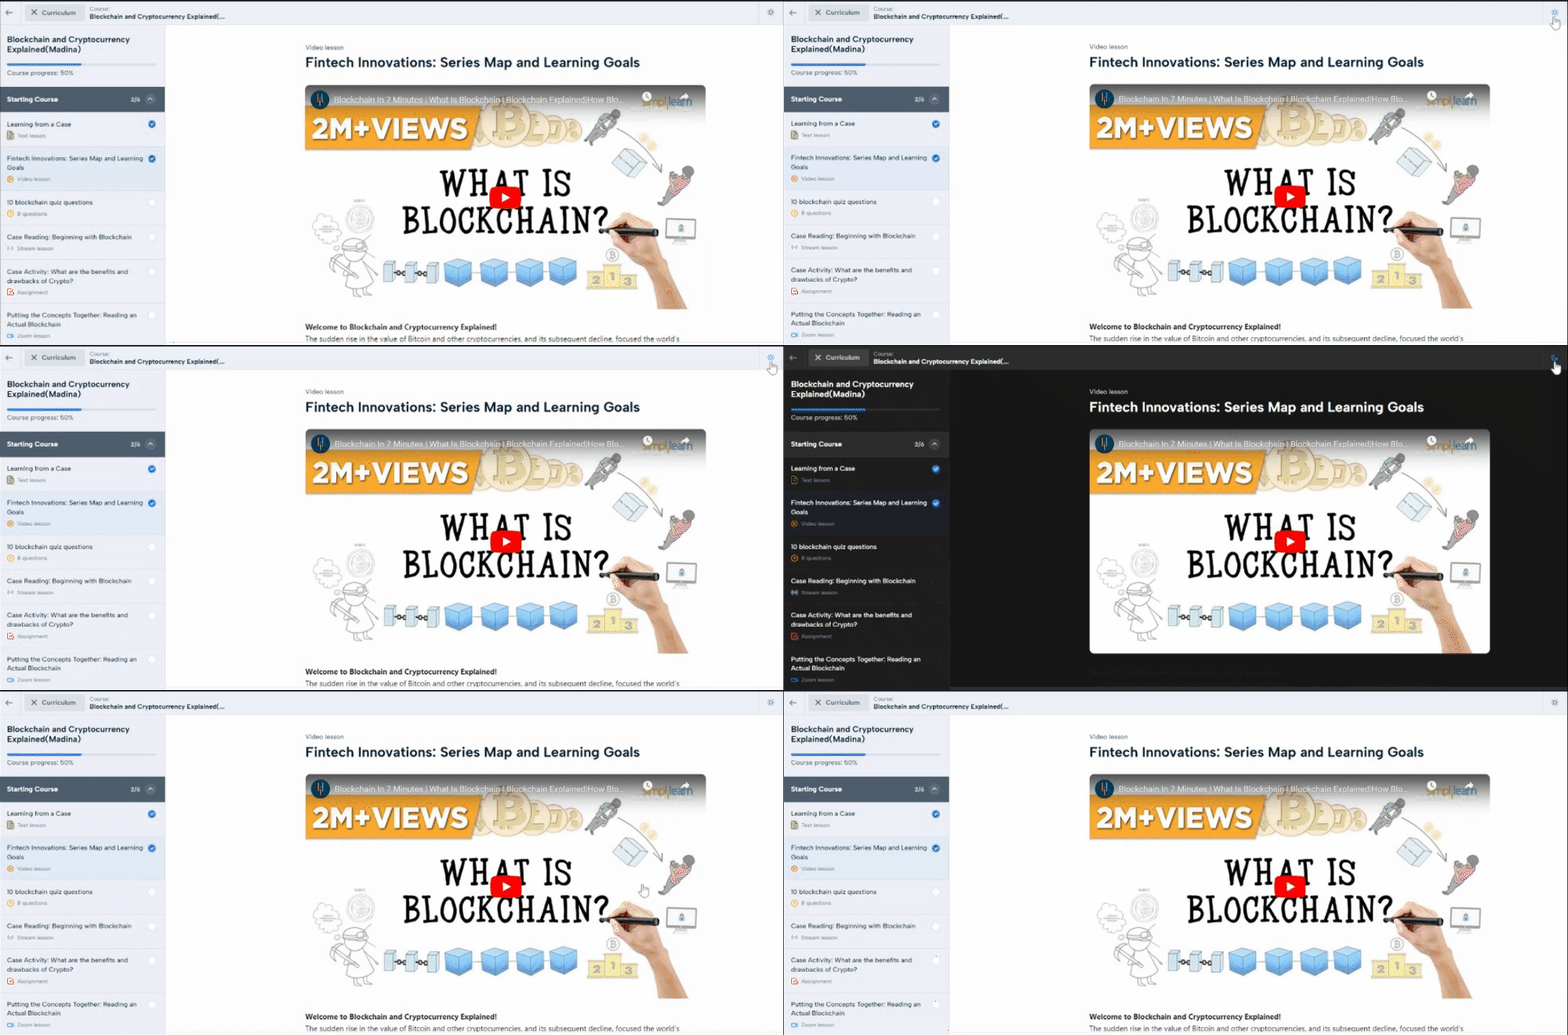
Use Theme Fonts is OFF

Use Theme Fonts is ON

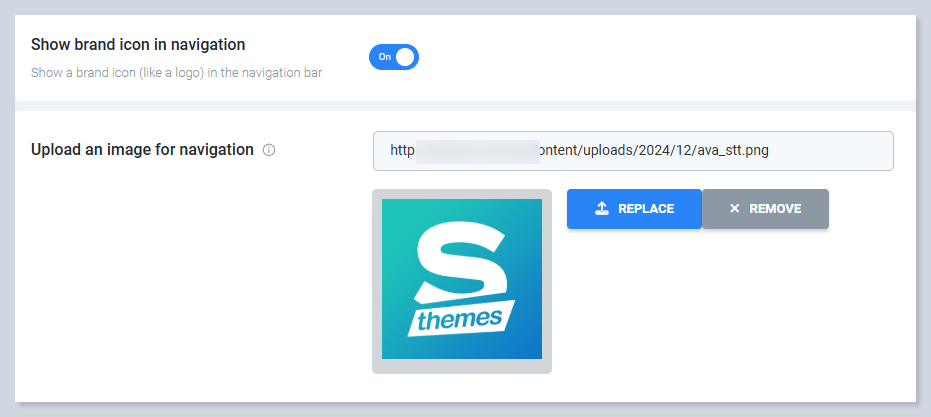
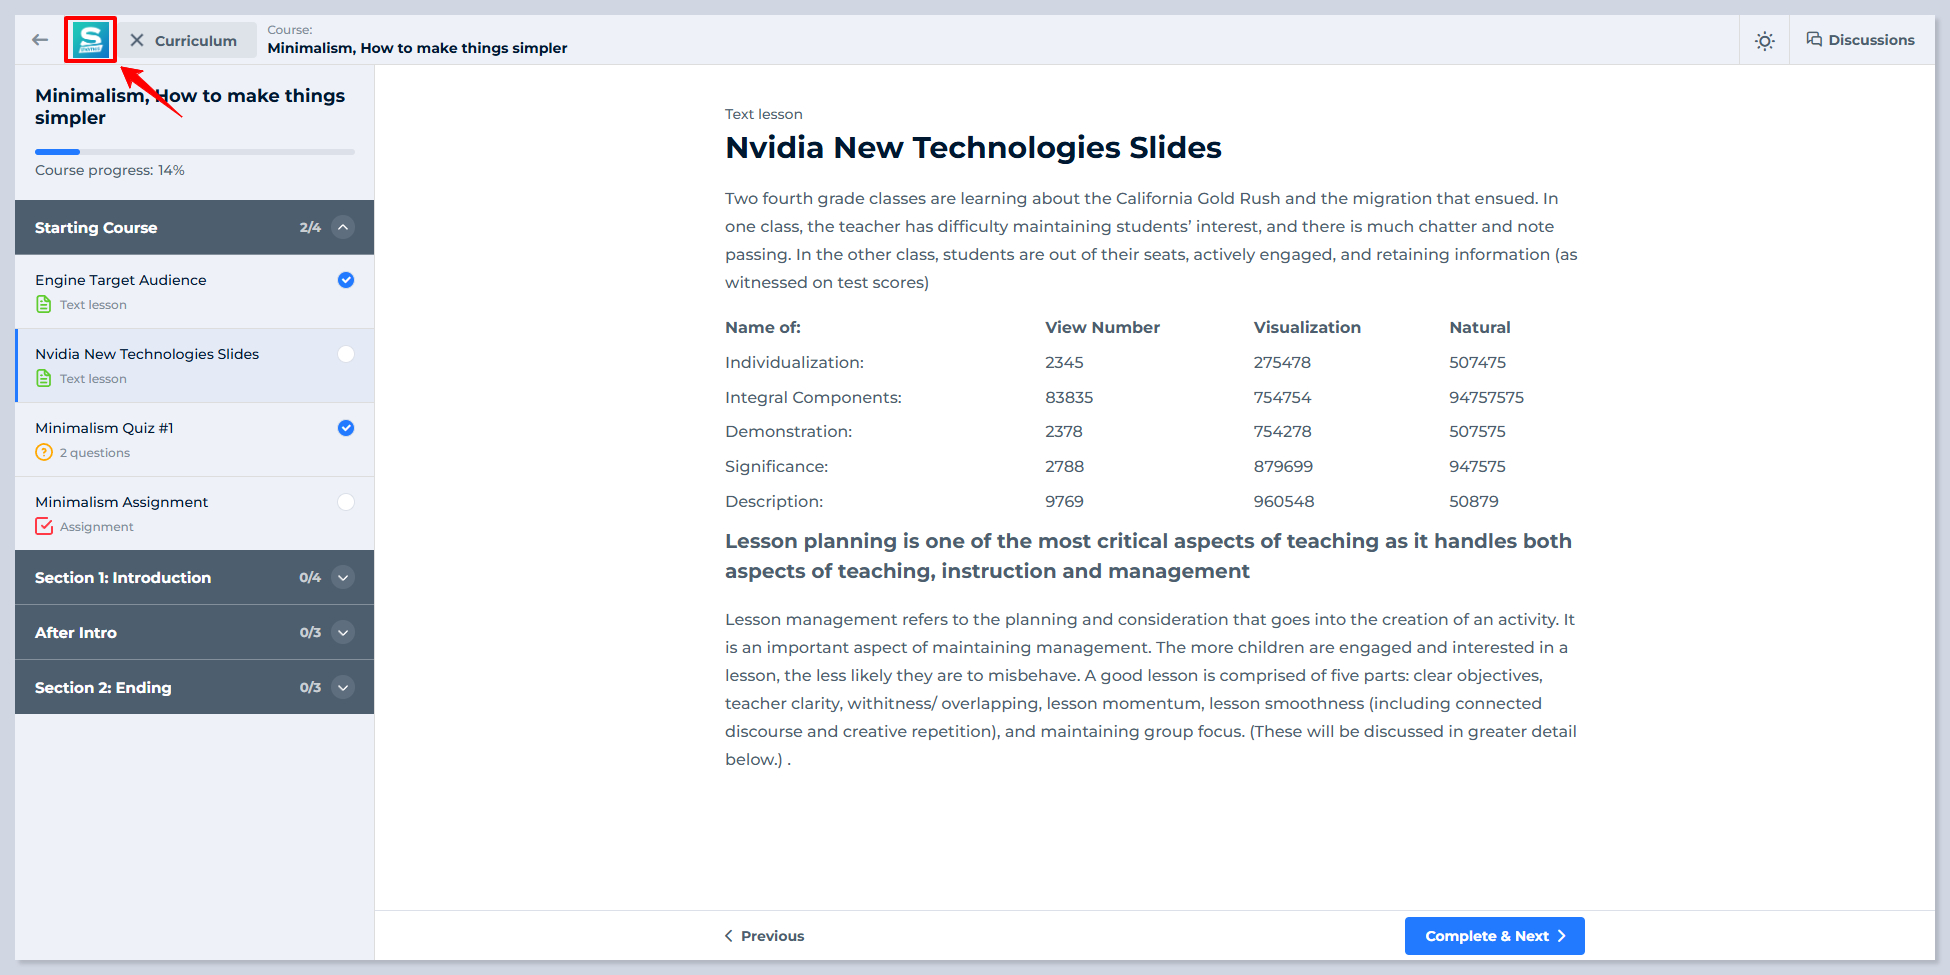
Show Brand Icon in Navigation

Display a logo in the course player's navigation bar to enhance branding. The logo will be visible to users in learning.

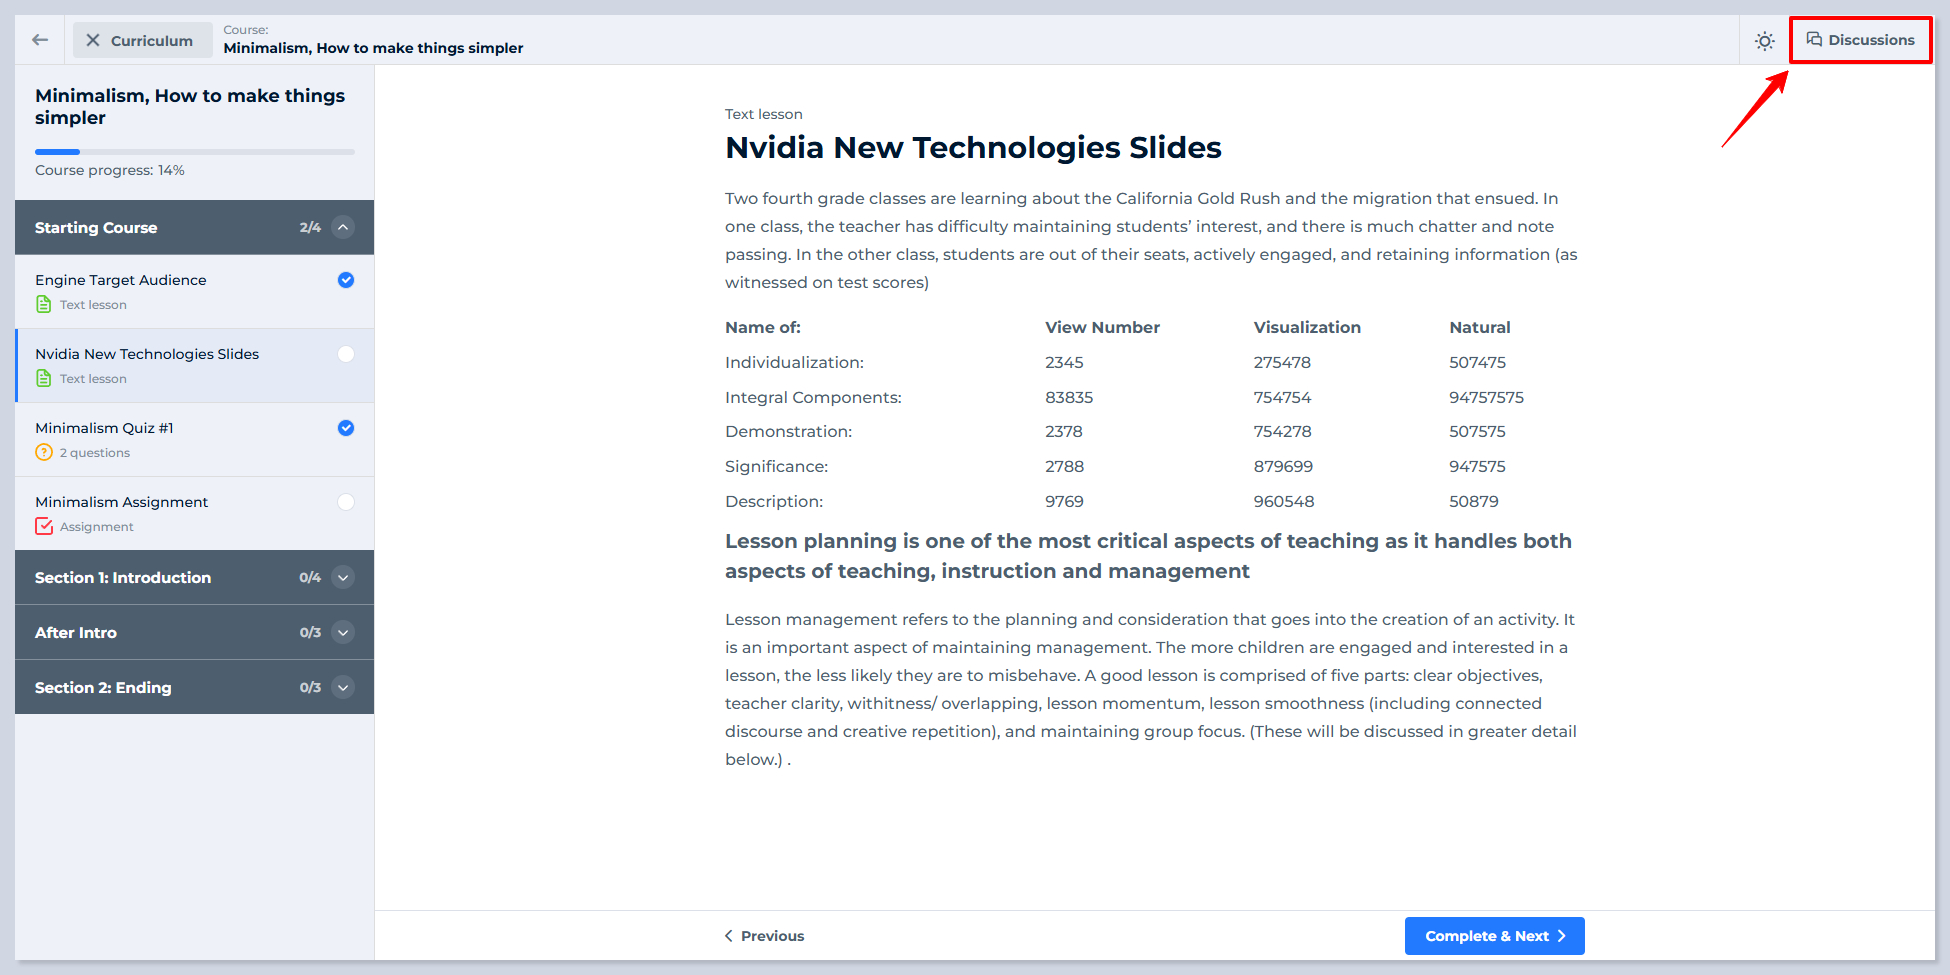
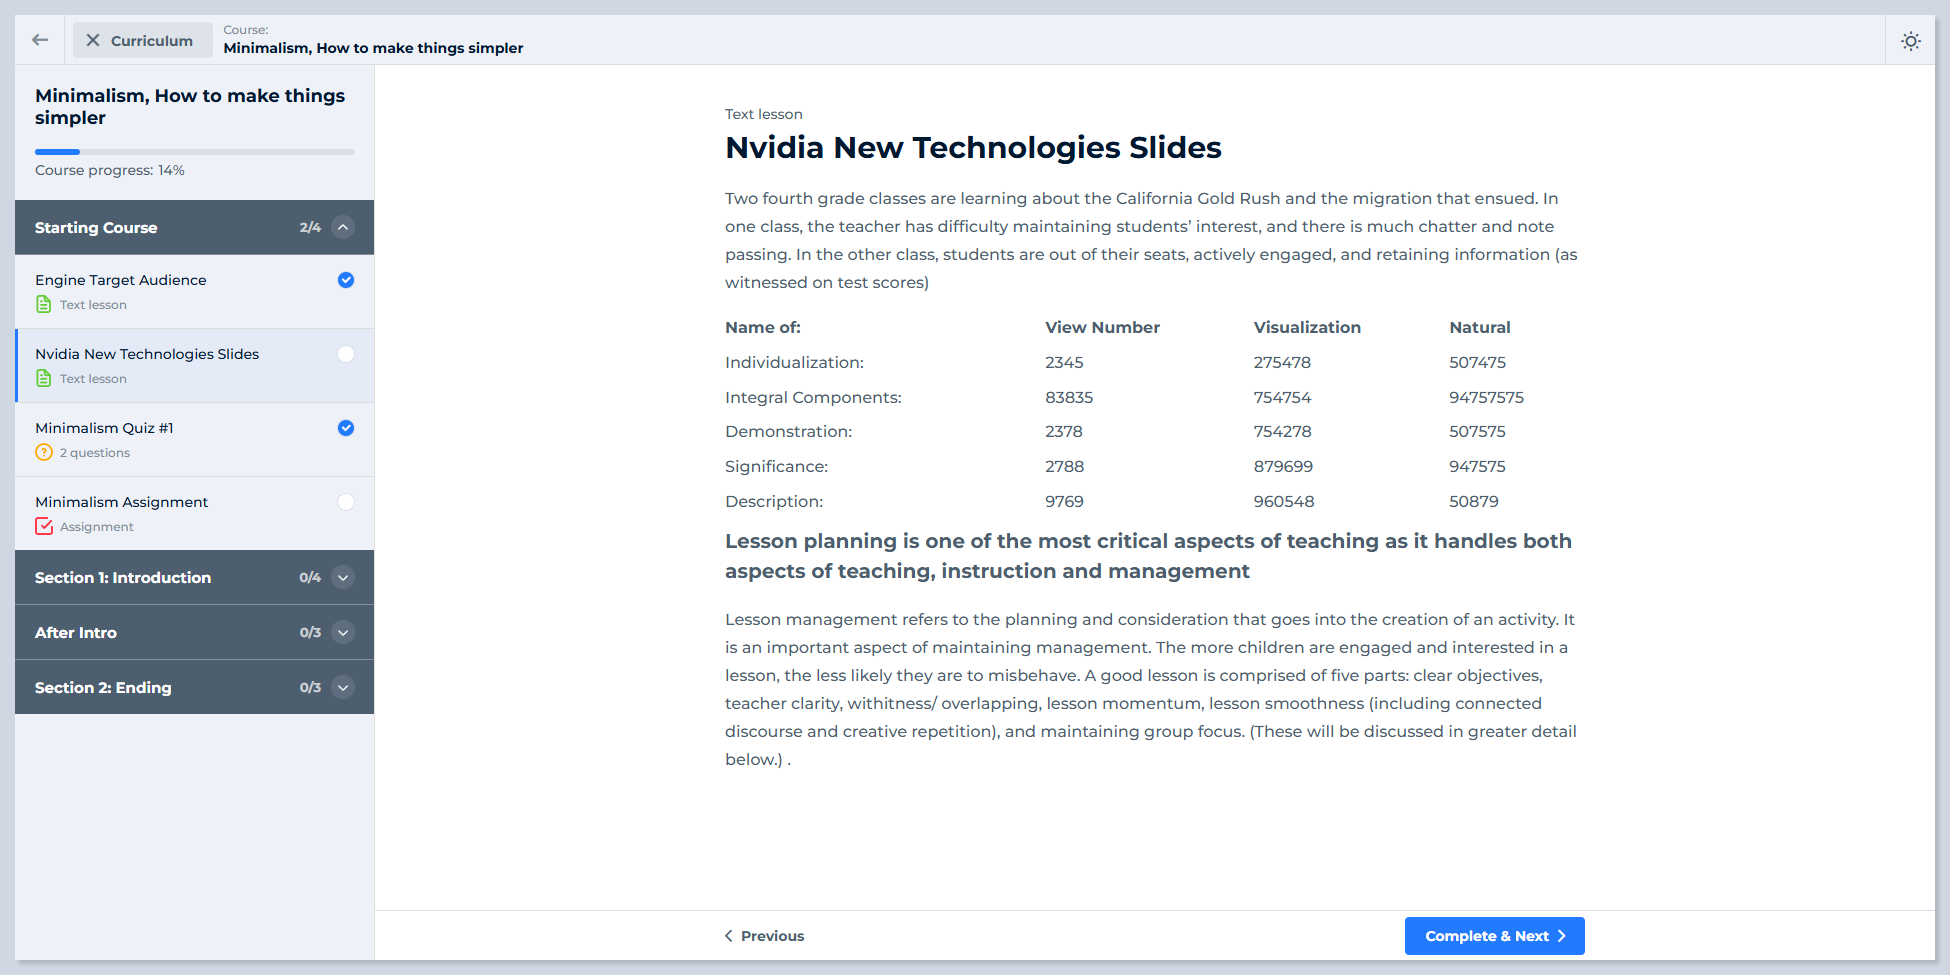
Discussions Board Sidebar

Enable a sidebar for discussion boards to foster interaction between students and instructors. This feature supports community engagement.

Lesson Q&A Management

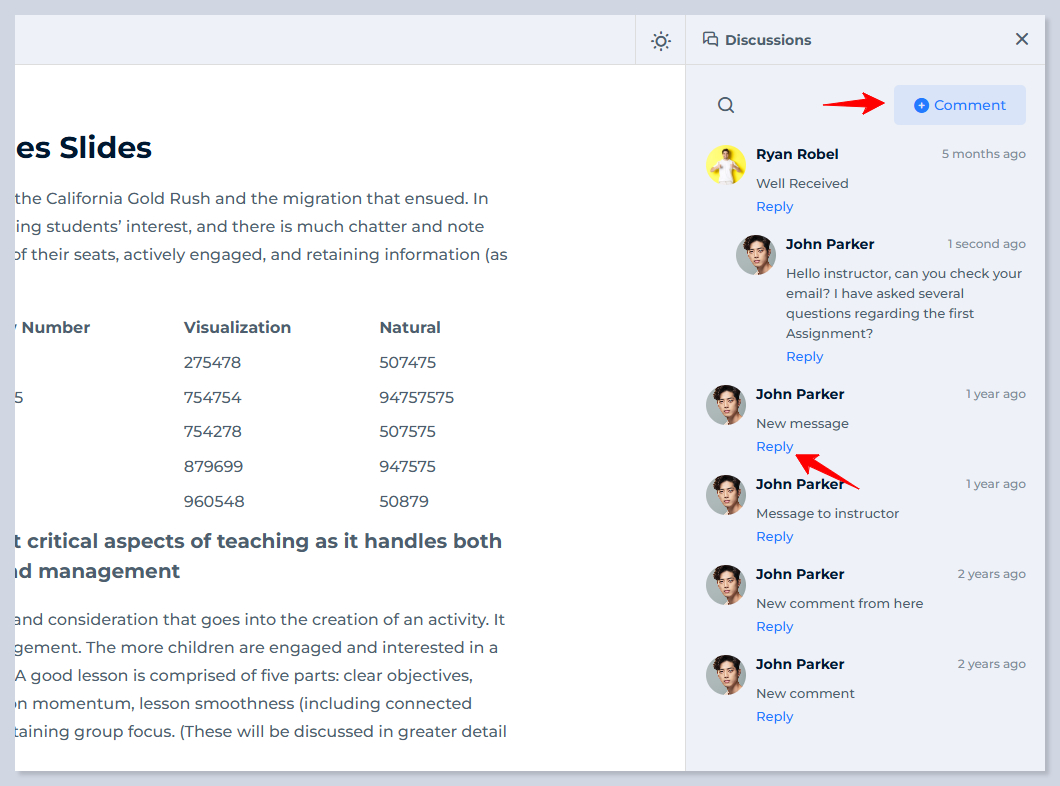
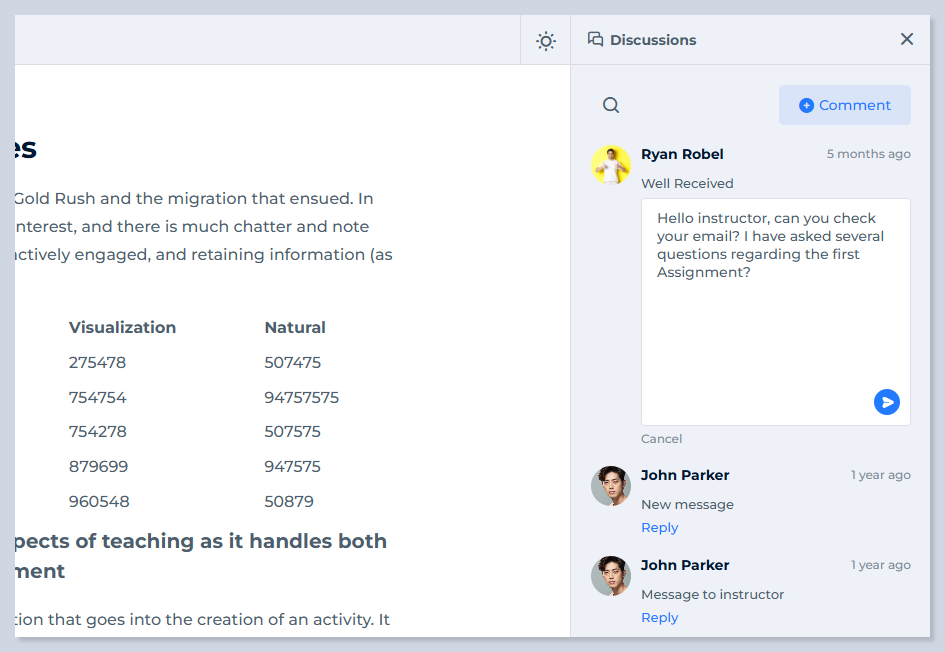
Users can leave comments on each lesson by clicking +Comment or Reply buttons.

Note that there is no moderation for comments in the discussion board. They will be published directly.

Each lesson has its own dedicated discussion board, ensuring that discussions for one lesson are not visible in others.

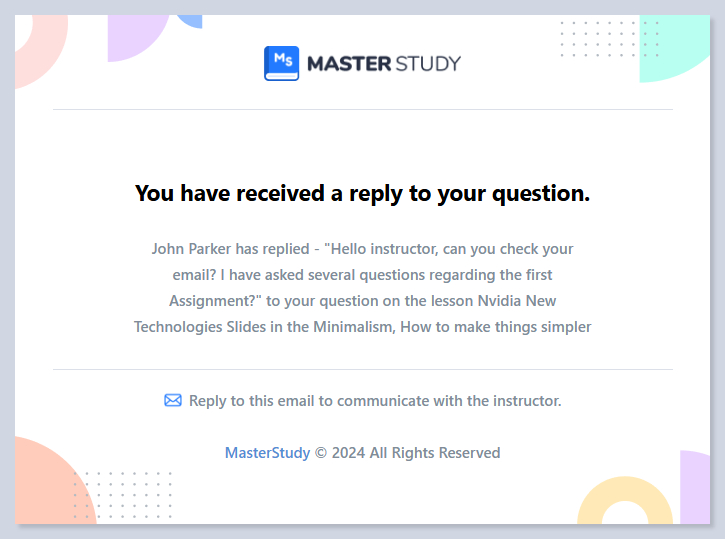
Once a student leaves a comment, the instructor will be notified via email. By default, it will be enabled, but the admin can manage it in Email Manager.

Once the student gets his reply, he will also get an email notification about his comment.

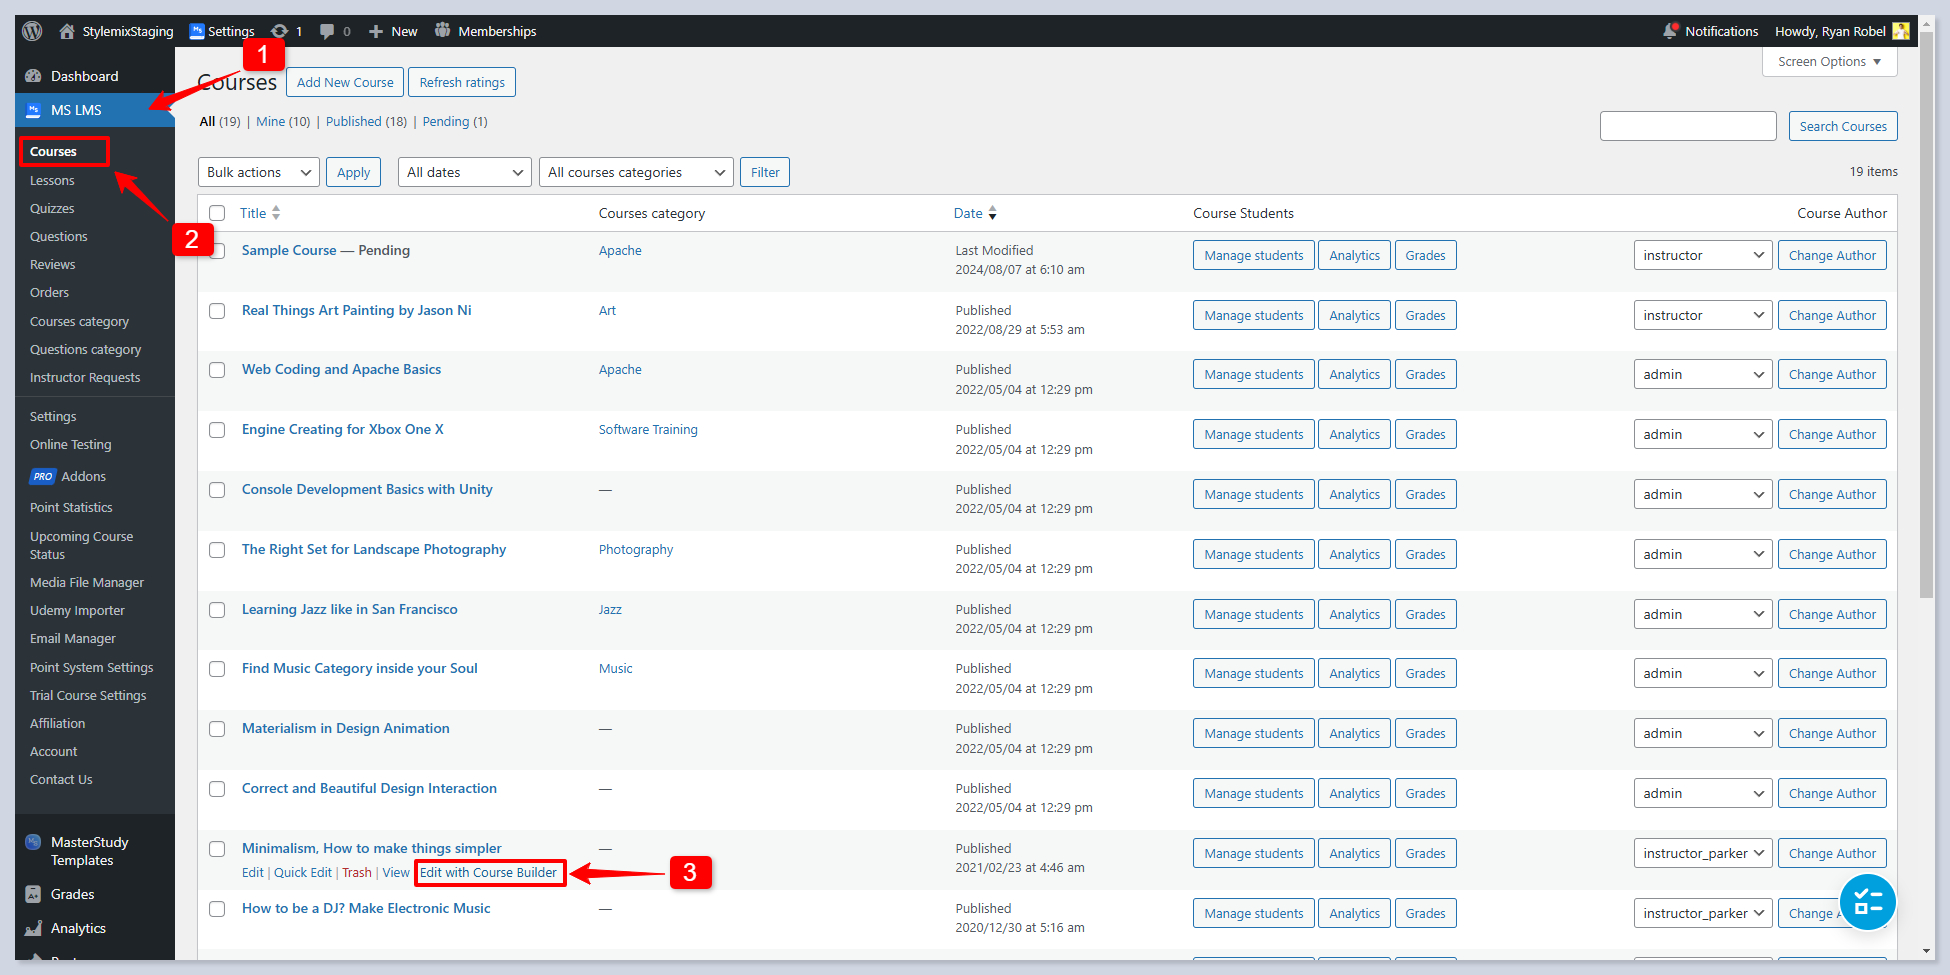
Instructors can check the discussions in the Course Builder for each lesson. This can be done by following WP Dashboard > MS LMS > Courses > Edit with Course Builder:

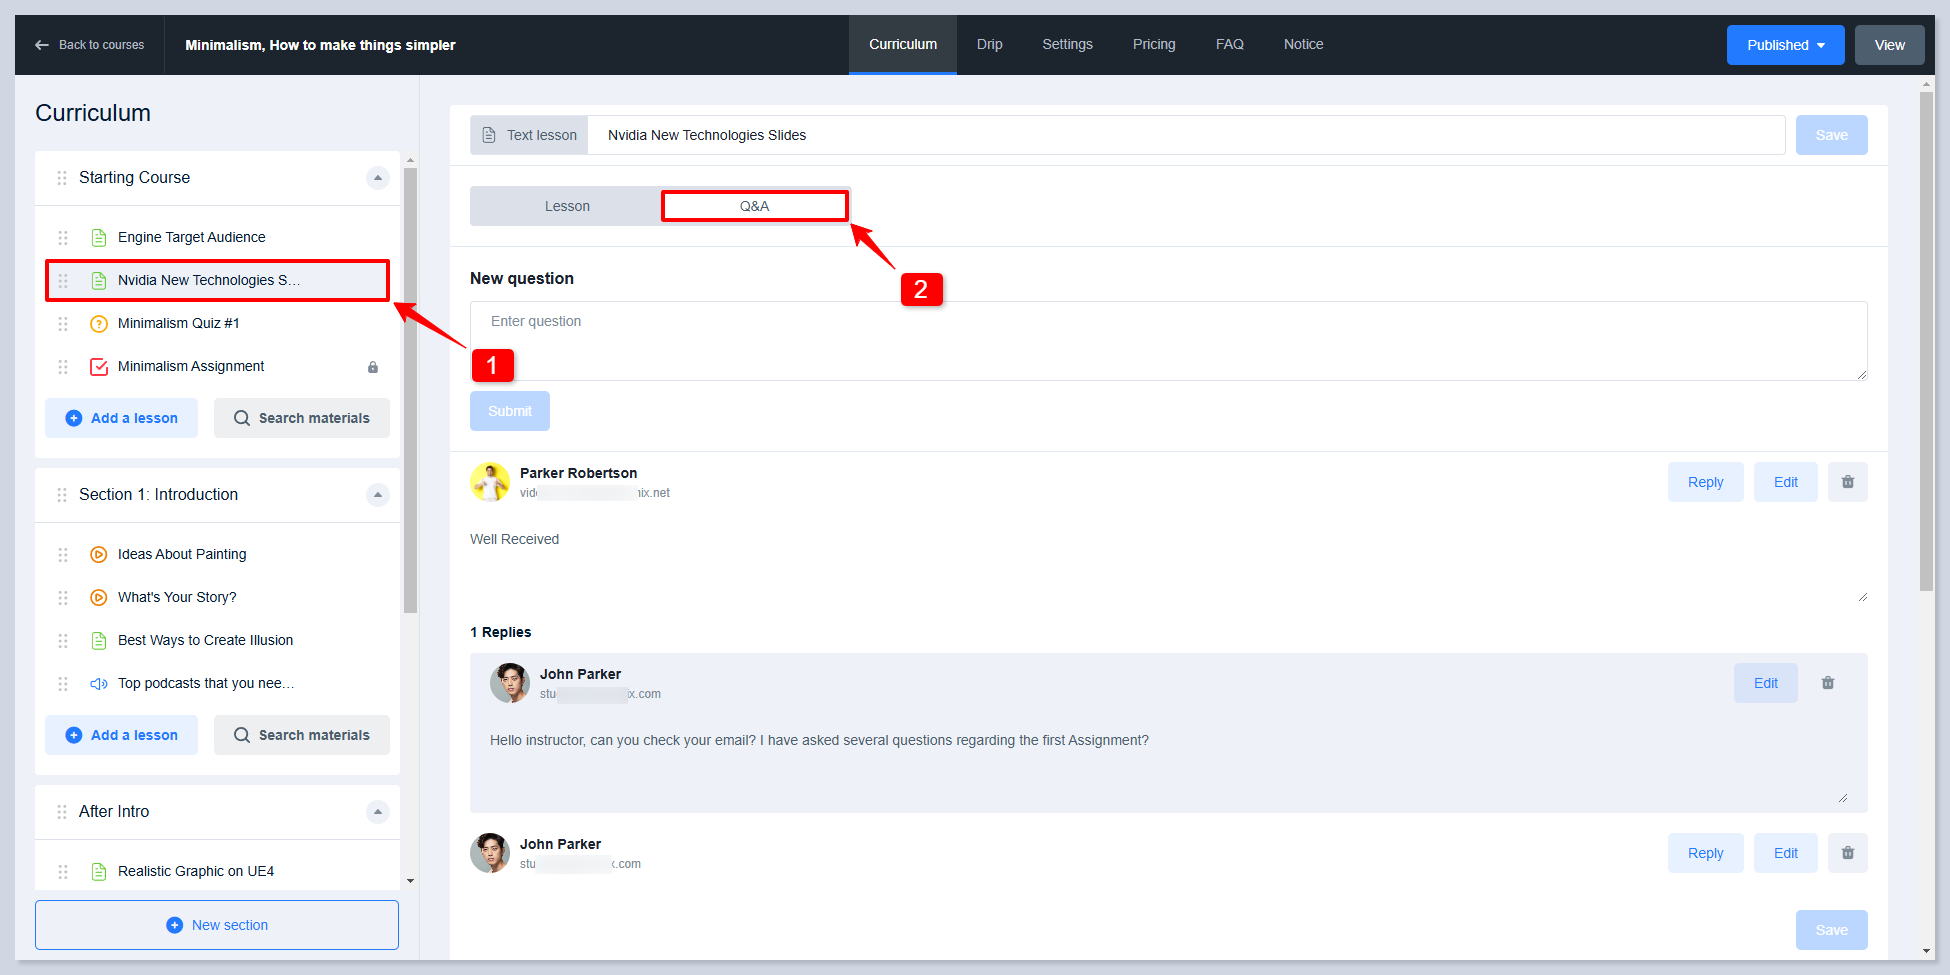
Choose the necessary lesson and move to the Q&A tab. In this tab, you can manage the discussion board for the lesson. There is an availability to edit, delete, and reply to students' comments on the discussion board.

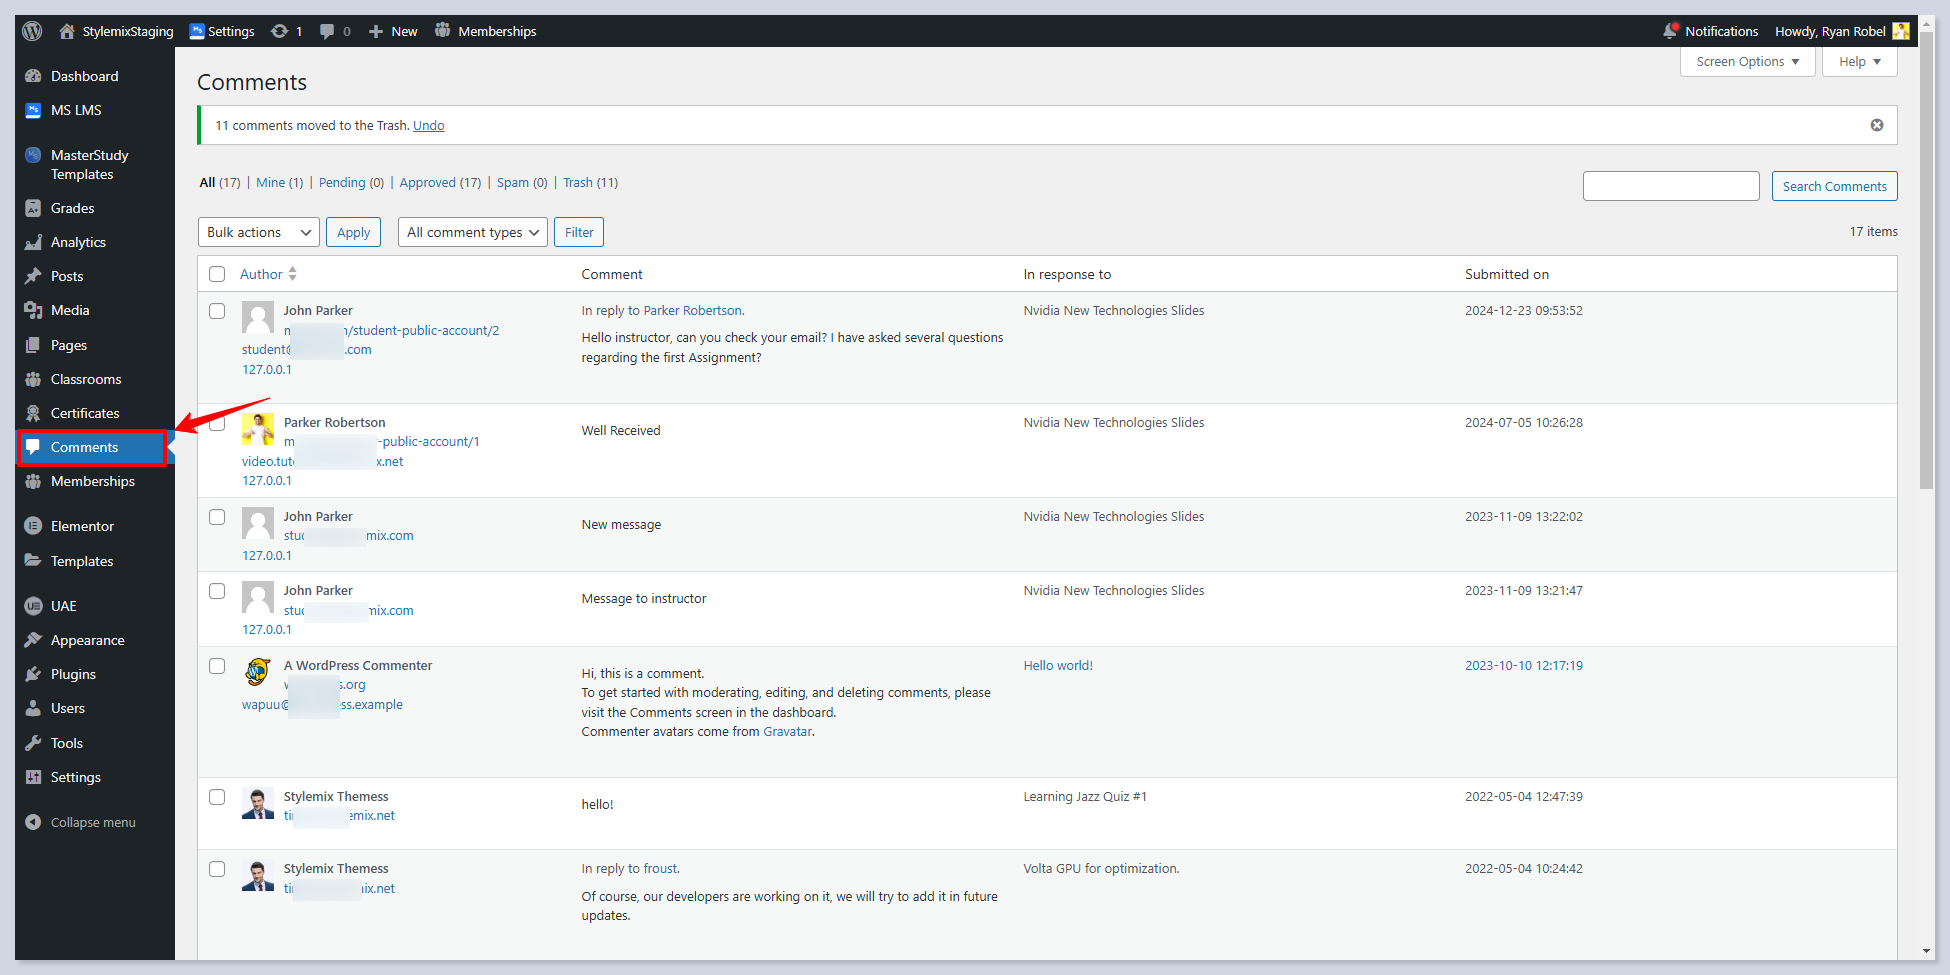
Comments tab in WP Dashboard

Discussions can also be managed by following WP Dashboard > Comments section as well:

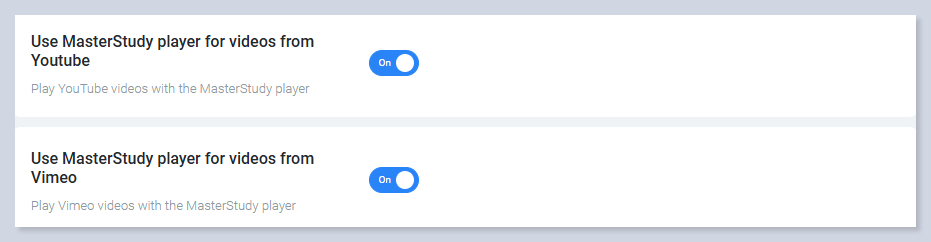
Use MasterStudy Player for Videos from YouTube & Vimeo

When adding video lessons from YouTube or Vimeo to your courses in MasterStudy LMS, the default settings include clickable icons that link to the original video sources. Removing these icons helps keep the video within the educational context of the course and discourages content sharing.

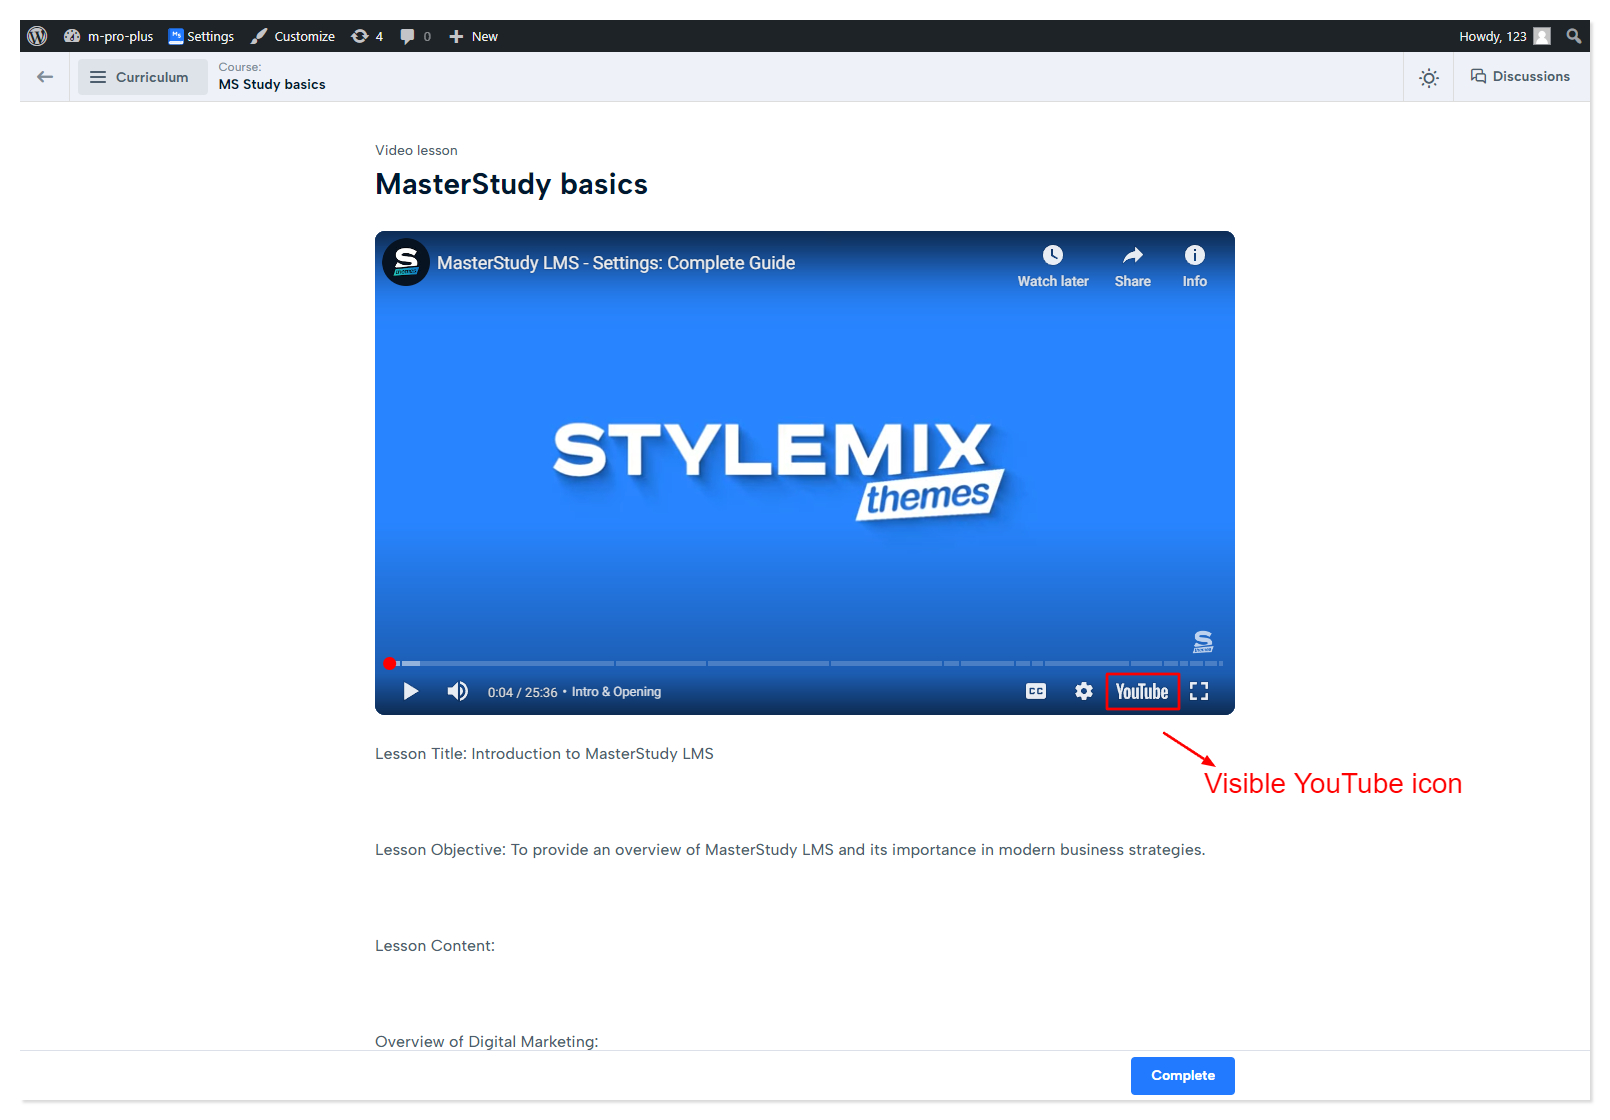
Use MasterStudy player for videos from YouTube is OFF

Screenshot which displays Visible YouTube Icon
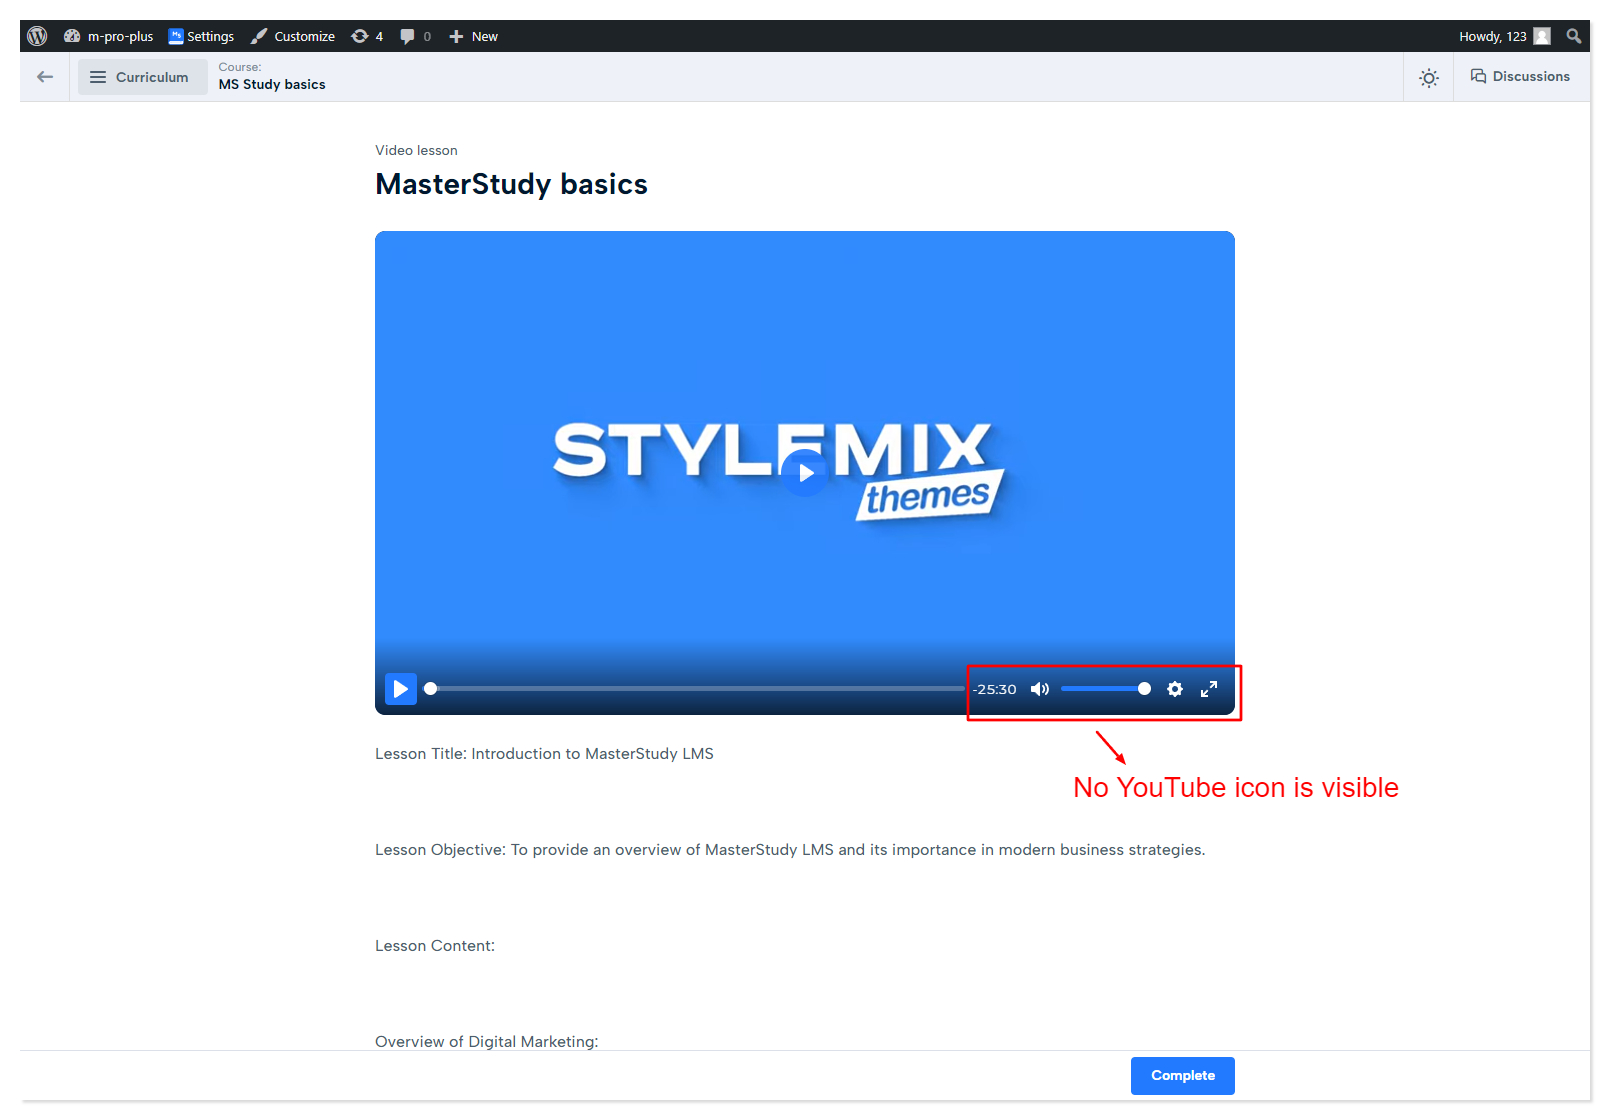
Use MasterStudy player for videos from YouTube is ON

Screenshot which displays invisble YouTube Icon
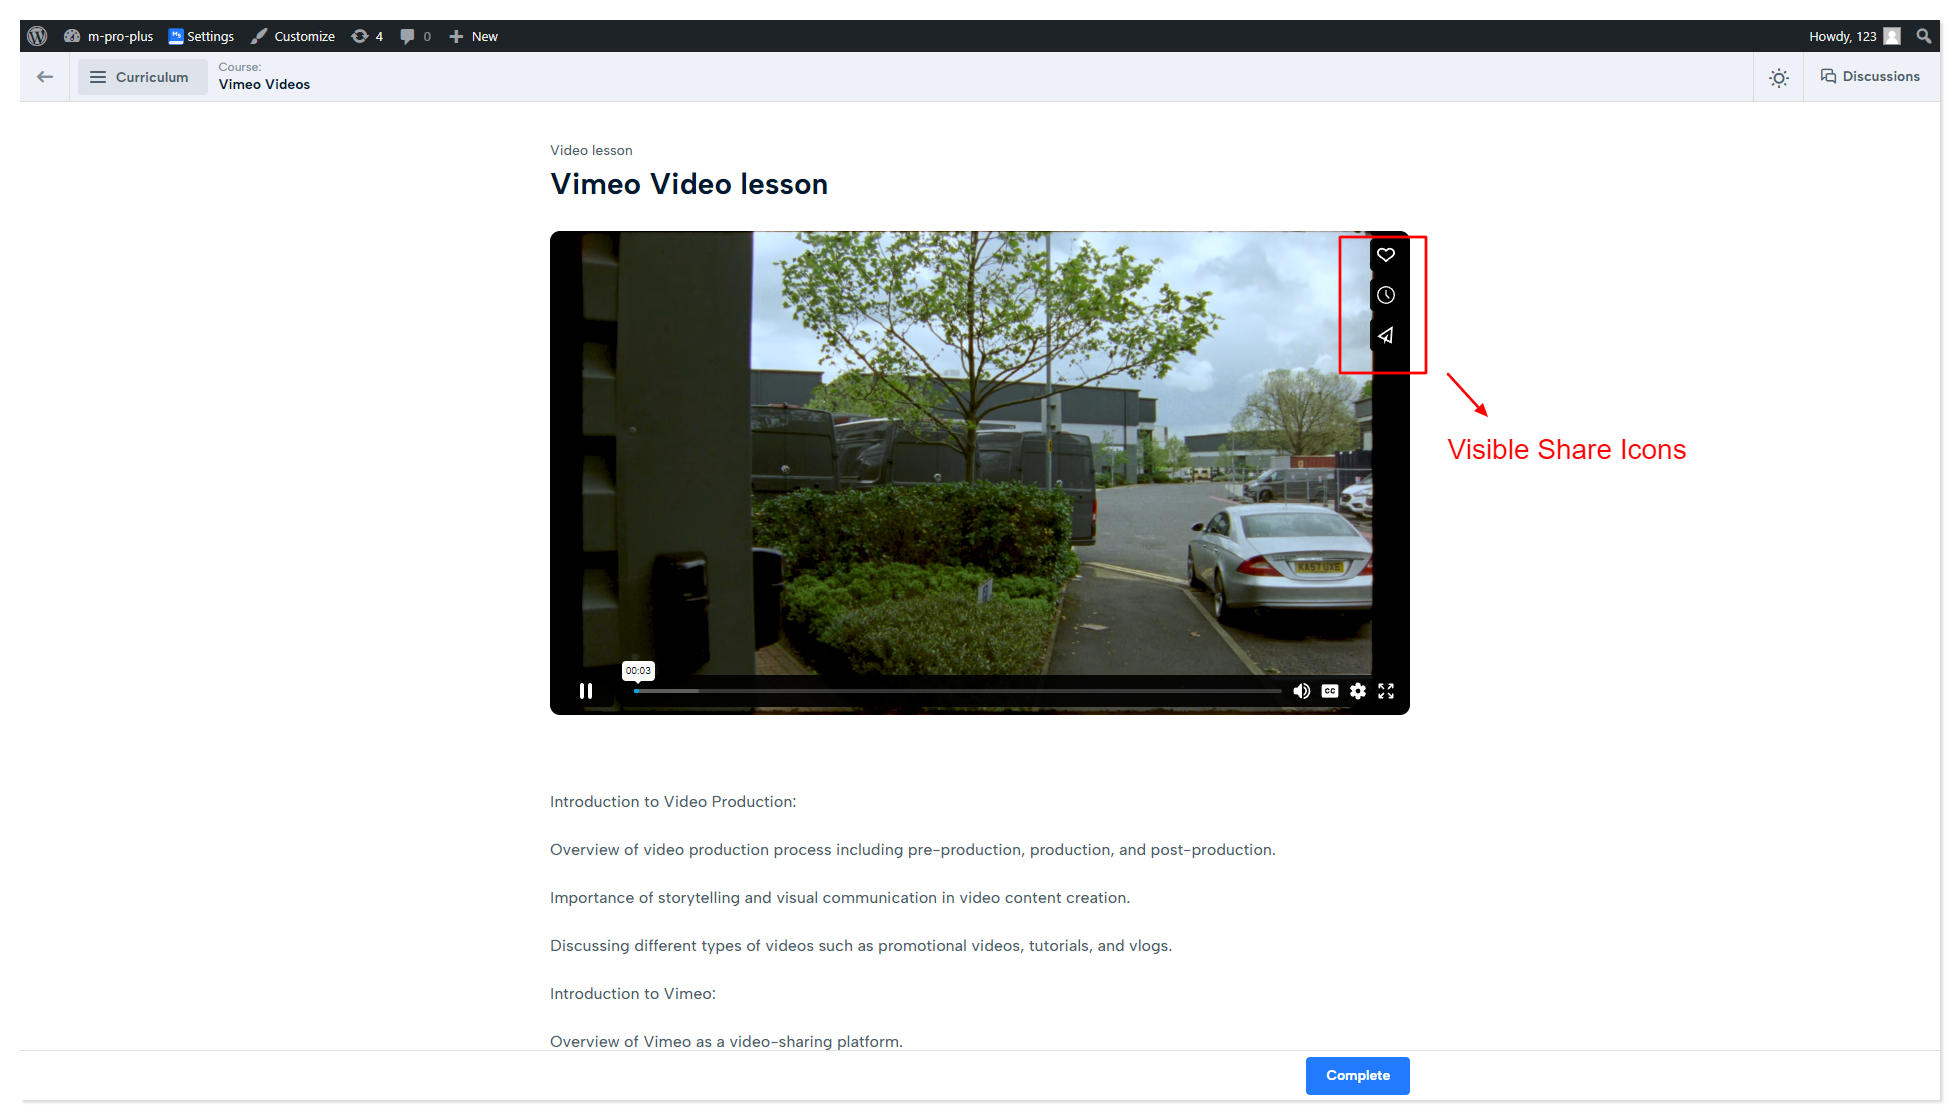
Use MasterStudy player for videos from Vimeo is OFF

Screenshot which displays visible Vimeo share icons
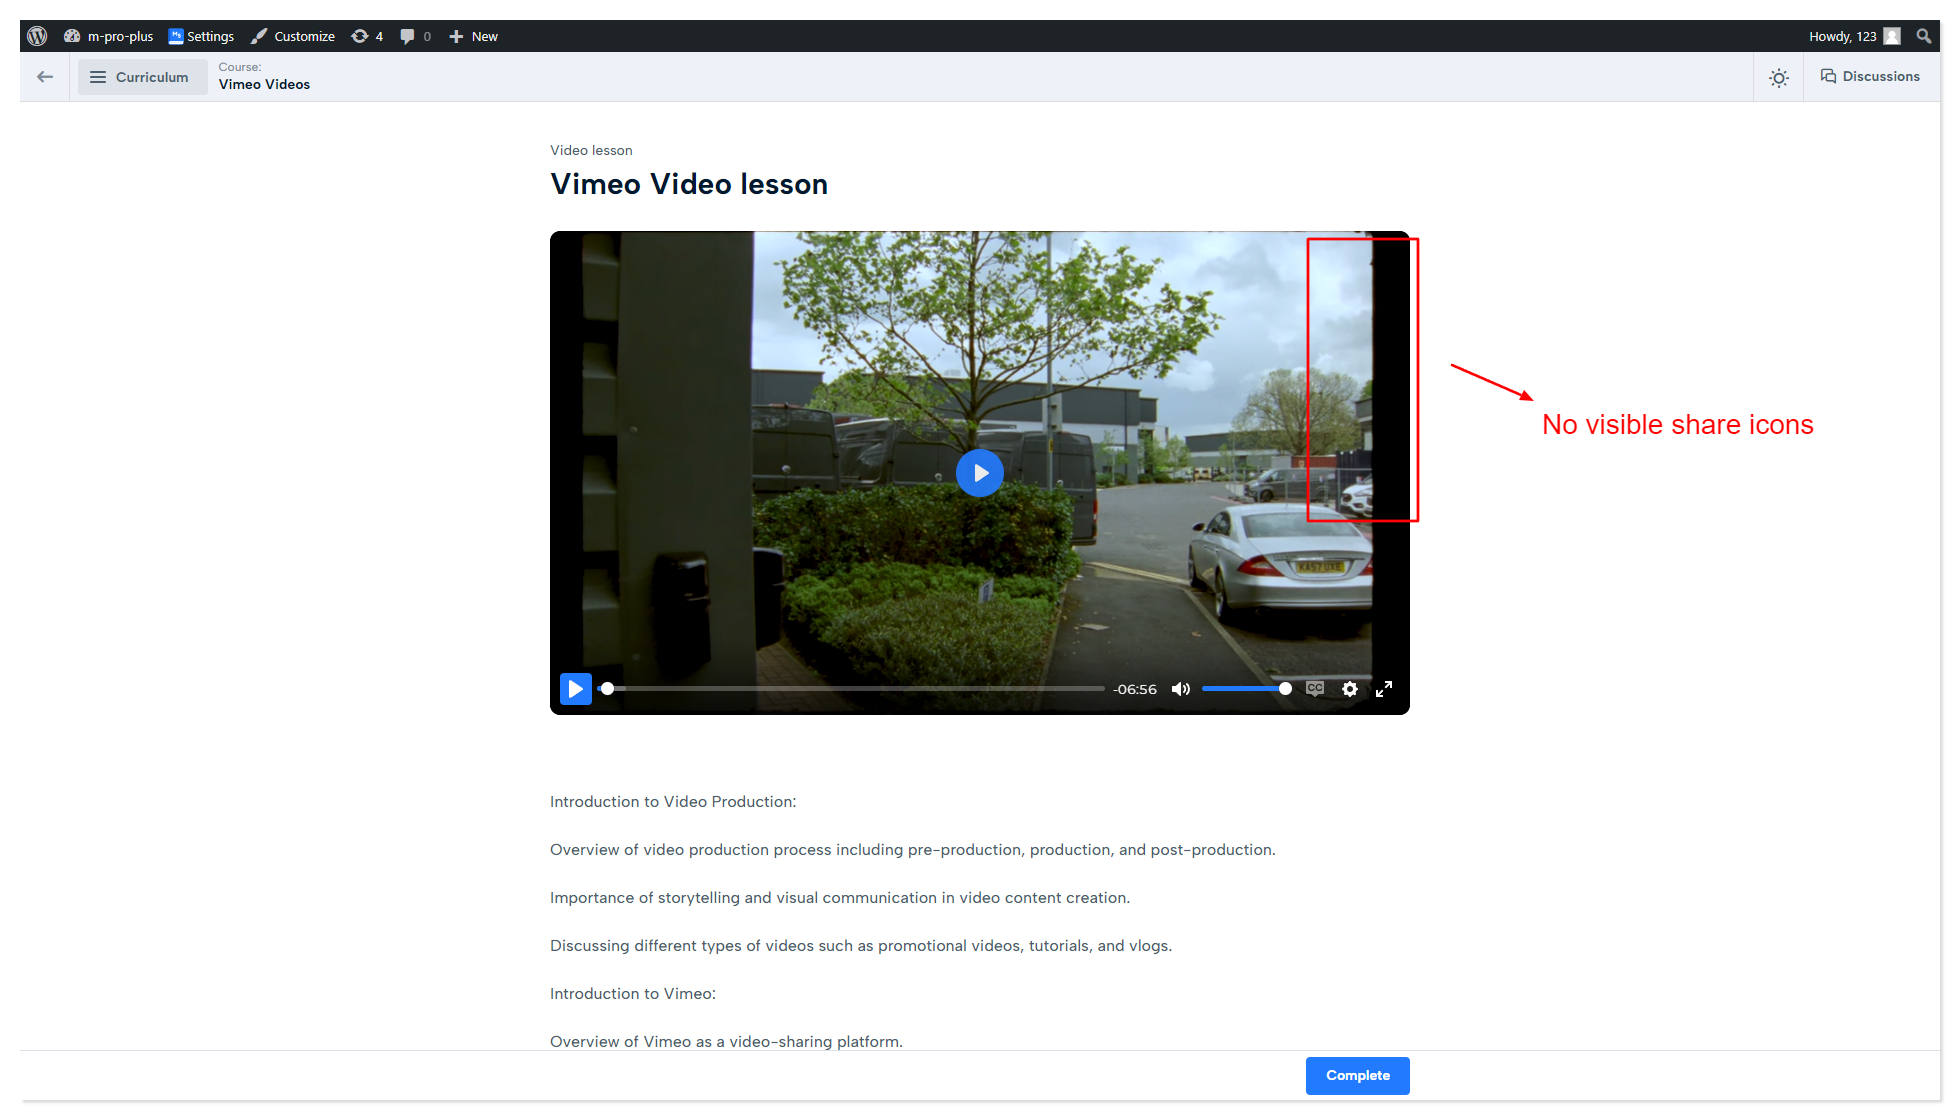
Use MasterStudy player for videos from Vimeo is ON

Screenshot which displays invisible VImeo share icons

For more information, refer to the related manual:

Video Lessons

Lesson Notes

Lesson Notes settings enable students to take notes in lessons quickly, so they can later use them anytime.

Once the setting is enabled, you can see the special Take Note buttons in lessons:

In full-screen mode, at the bottom right corner of the player, there is a special button that enables you to take a note with a timecode:

In text and other lessons, the button appears once you select some text. After the note is taken, the text will be underlined in yellow.

Once you click on the Take Note button, the special pop-up opens:

Taken notes can be accessed in the Course Player in a special Notes tab:

On this page, you can check the notes for the current lesson and the notes of the entire course as well.

Additionally, you can check notes in all courses from the student's profile, in a special Notes tab:

Notes of the student are available only to them. Instructors/admins can't access them.

Last updated

Was this helpful?